

After posting photos of our home tour last weekend, I’ve been extra excited to share the details of the projects we’ve done so far – especially our painted wallpaper in dining room. I love that we were able to get the same effect as wallpaper by avoiding it altogether (there is nothing fun about putting that stuff up!) I also love that the design we chose isn’t permanent, and can be easily reversed with some white paint. For homeowners and apartment dwellers alike, it’s a great solution if you’re looking to add a special touch to any room. Best of all? It cost less than $38 bucks.
Now onto the fun stuff.
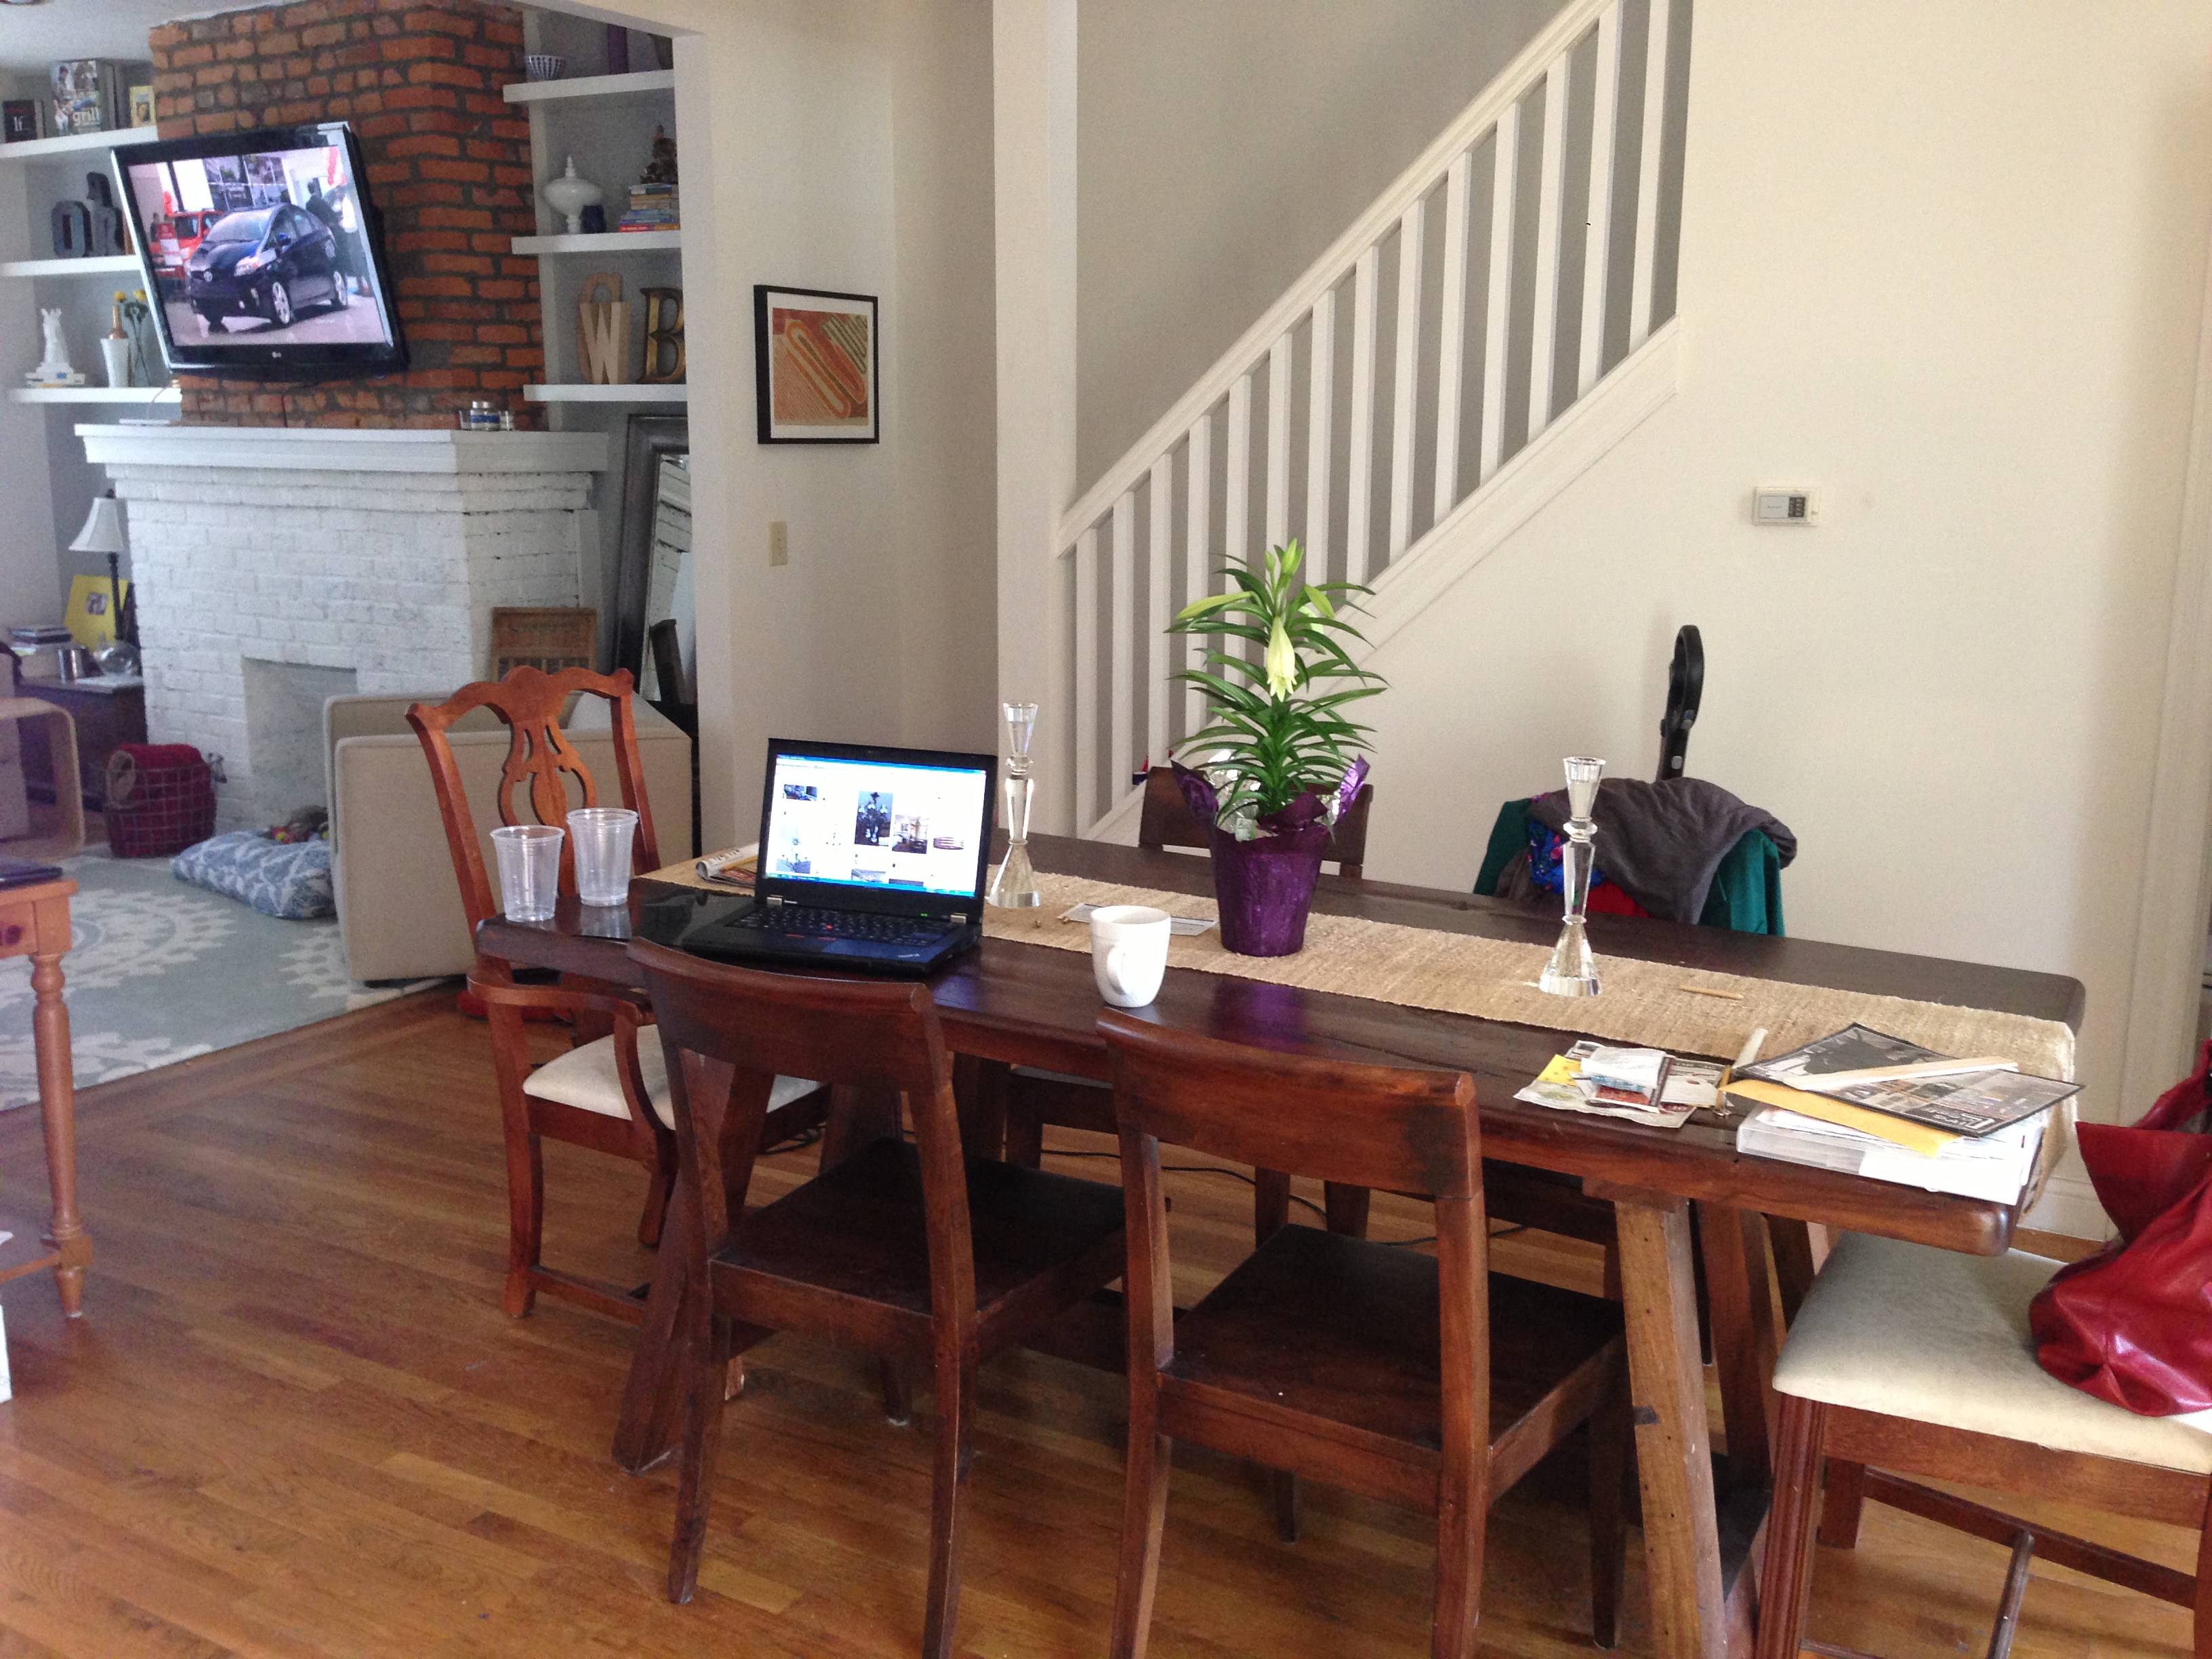
This is what the dining room looked like pre-painted wallpaper:
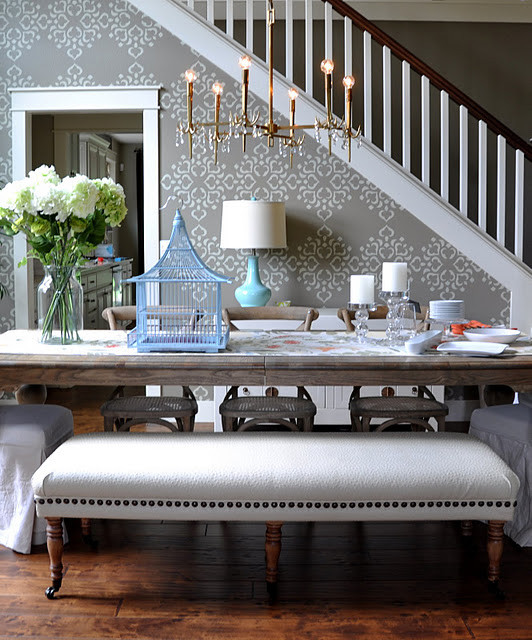
 It was a perfect wall for some added visual interest, right? It was just a matter of what. To get the creative juices flowing, I started searching my two favorite sources for design inspiration: Pinterest and Houzz. I came across this photo and got excited because our dining room area has a very similar setup (side note: LOVE everything about this room!)
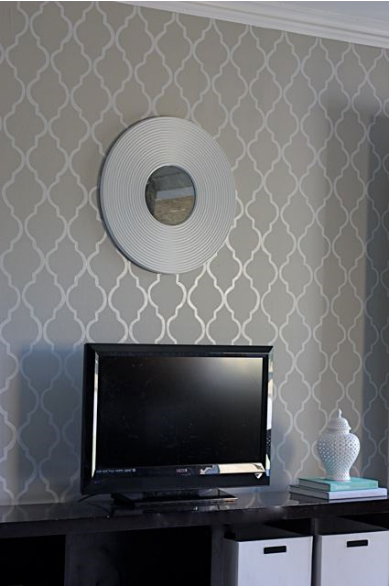
I kept looking, and came across this awesome tutorial on how to paint your own stenciled wall, sans the stencil. Then I found this blog post about a wall that was done using a high gloss/flat paint combo.
In taking all of these wonderful photos into consideration, we knew exactly what we wanted to do and got started by purchasing these items:
1 Qt. of Allen + Roth Marble Tile – Flat – $15
1 Qt. of Allen + Roth Vail (one shade lighter than Marble Tile) – High Gloss – $15
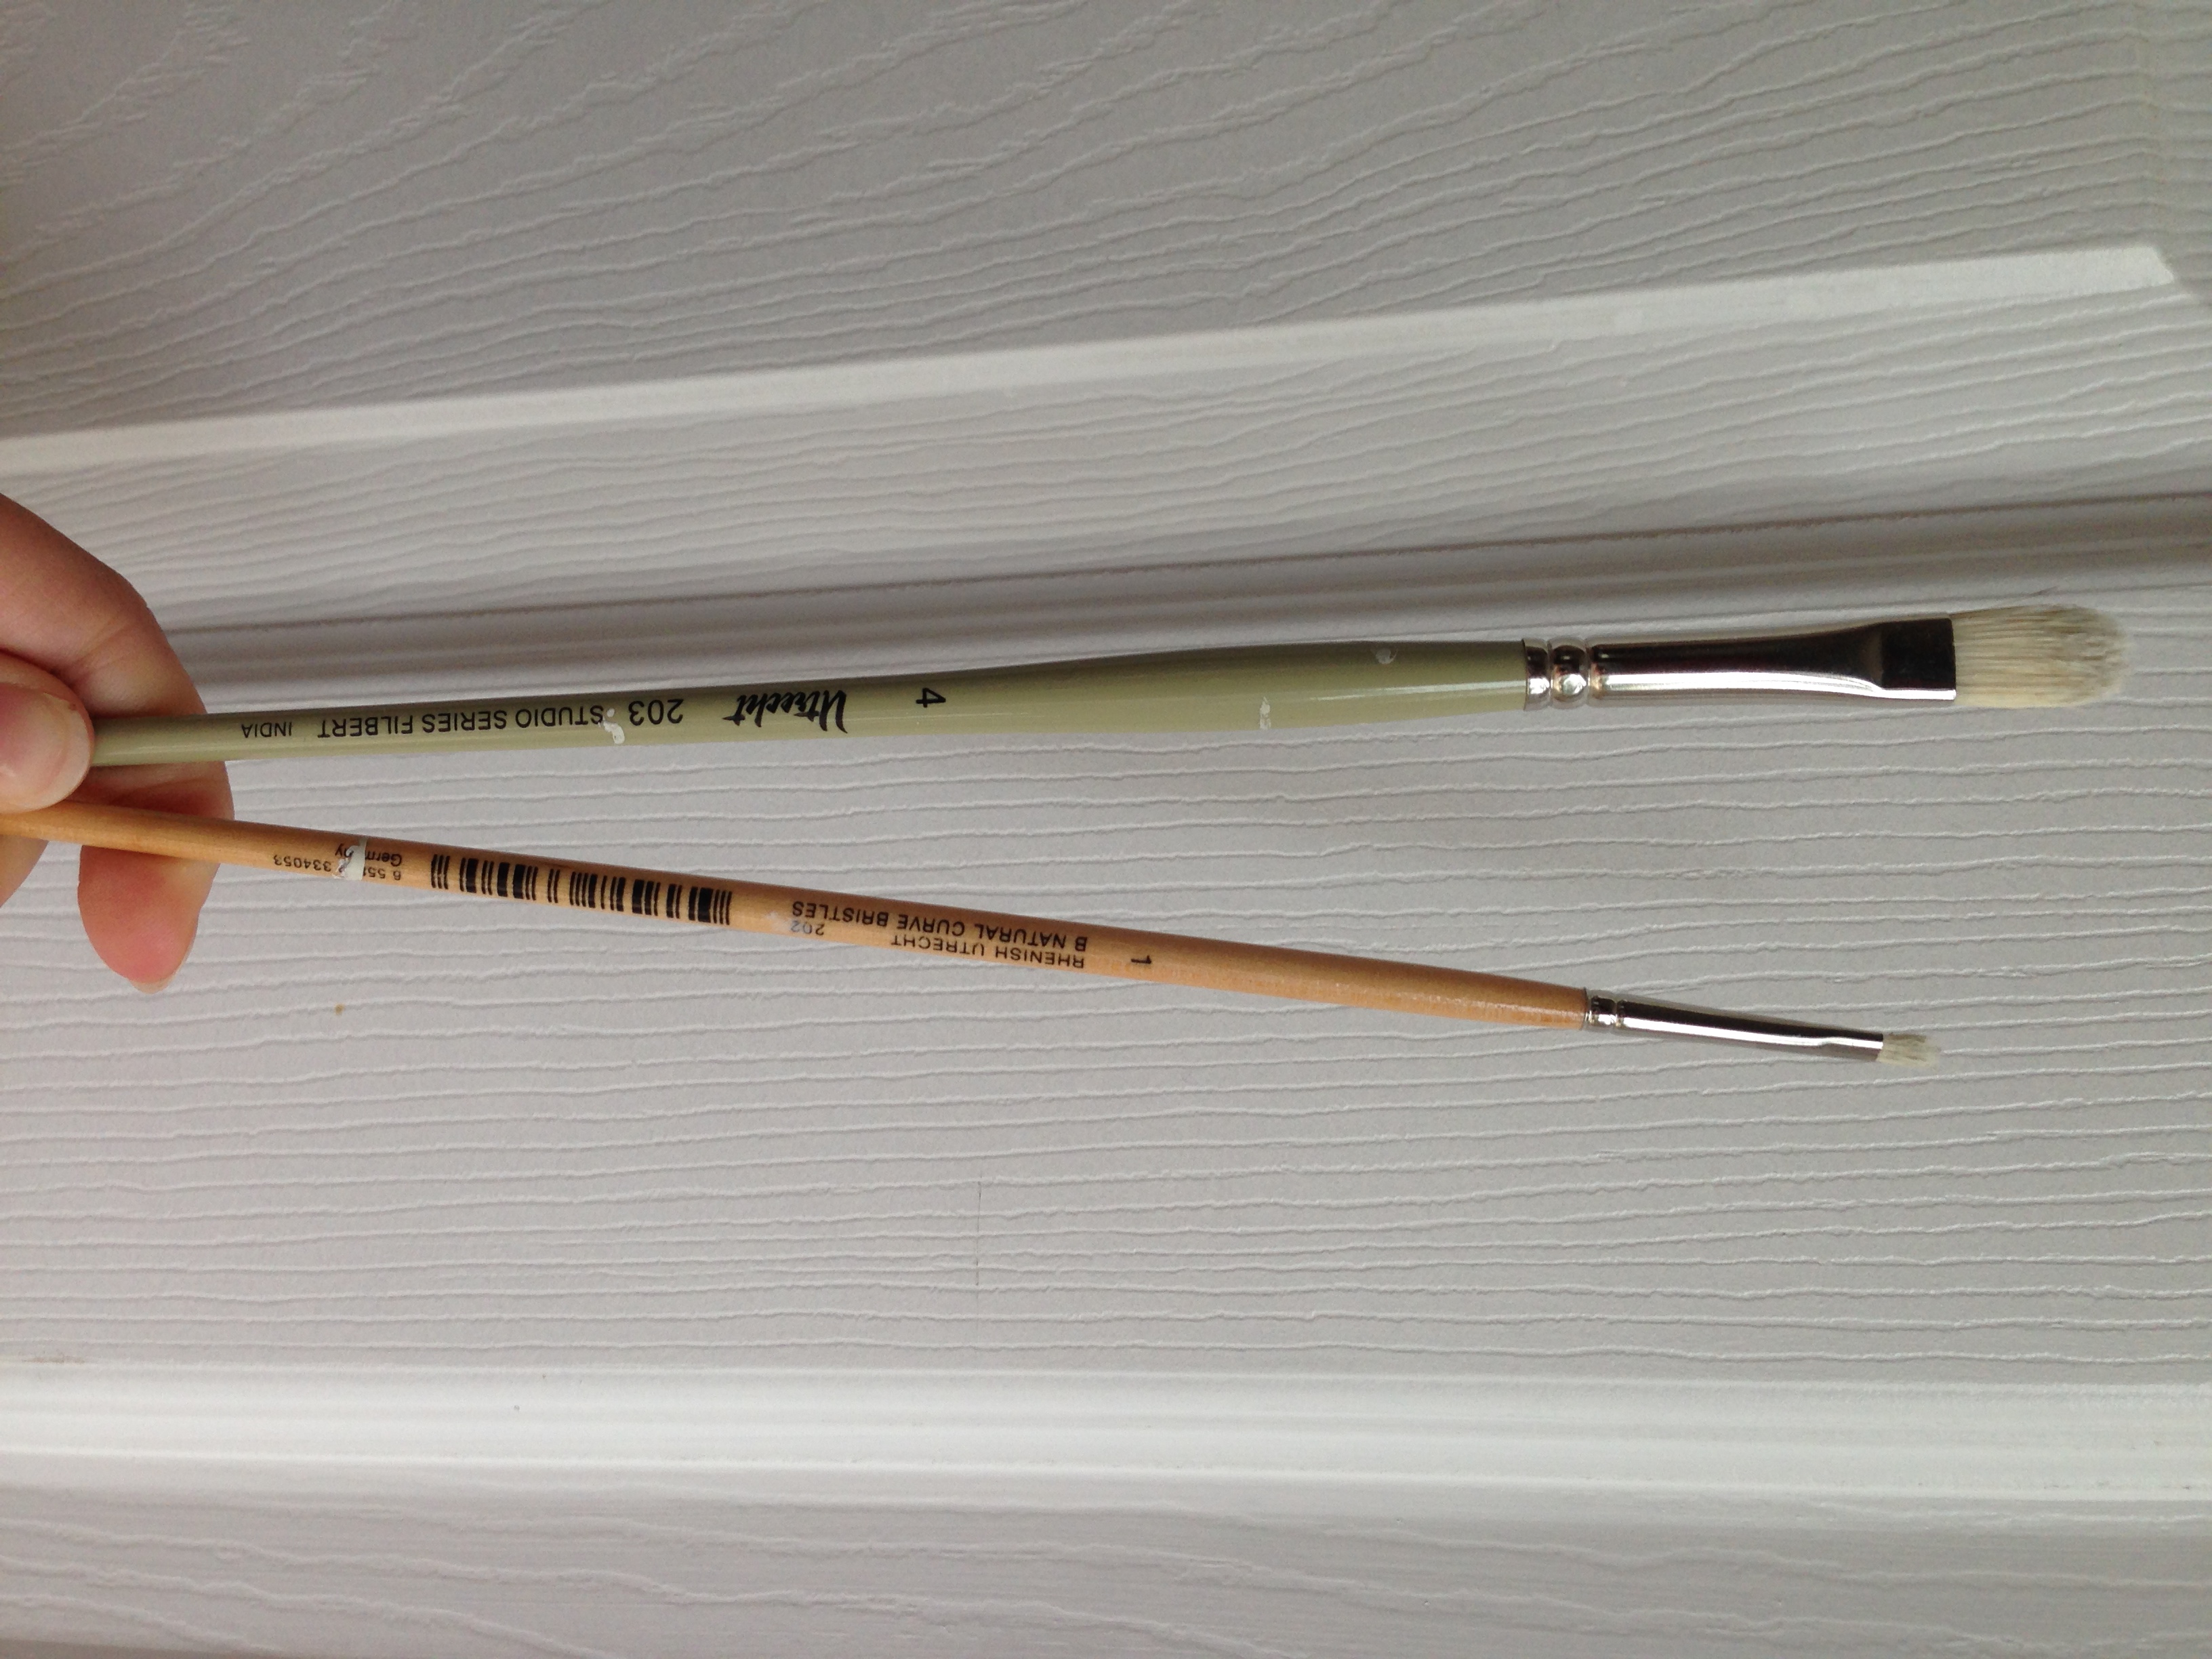
2 paint brushes from a local art store – $7
Painter’s tape – $0 (had it)
Drop clothes – $0 (had it)
Pencil – $0 (had it)
Scissors – $0 (had it)
Pattern – $.50 (see below for details)
Total Cost: $37.50
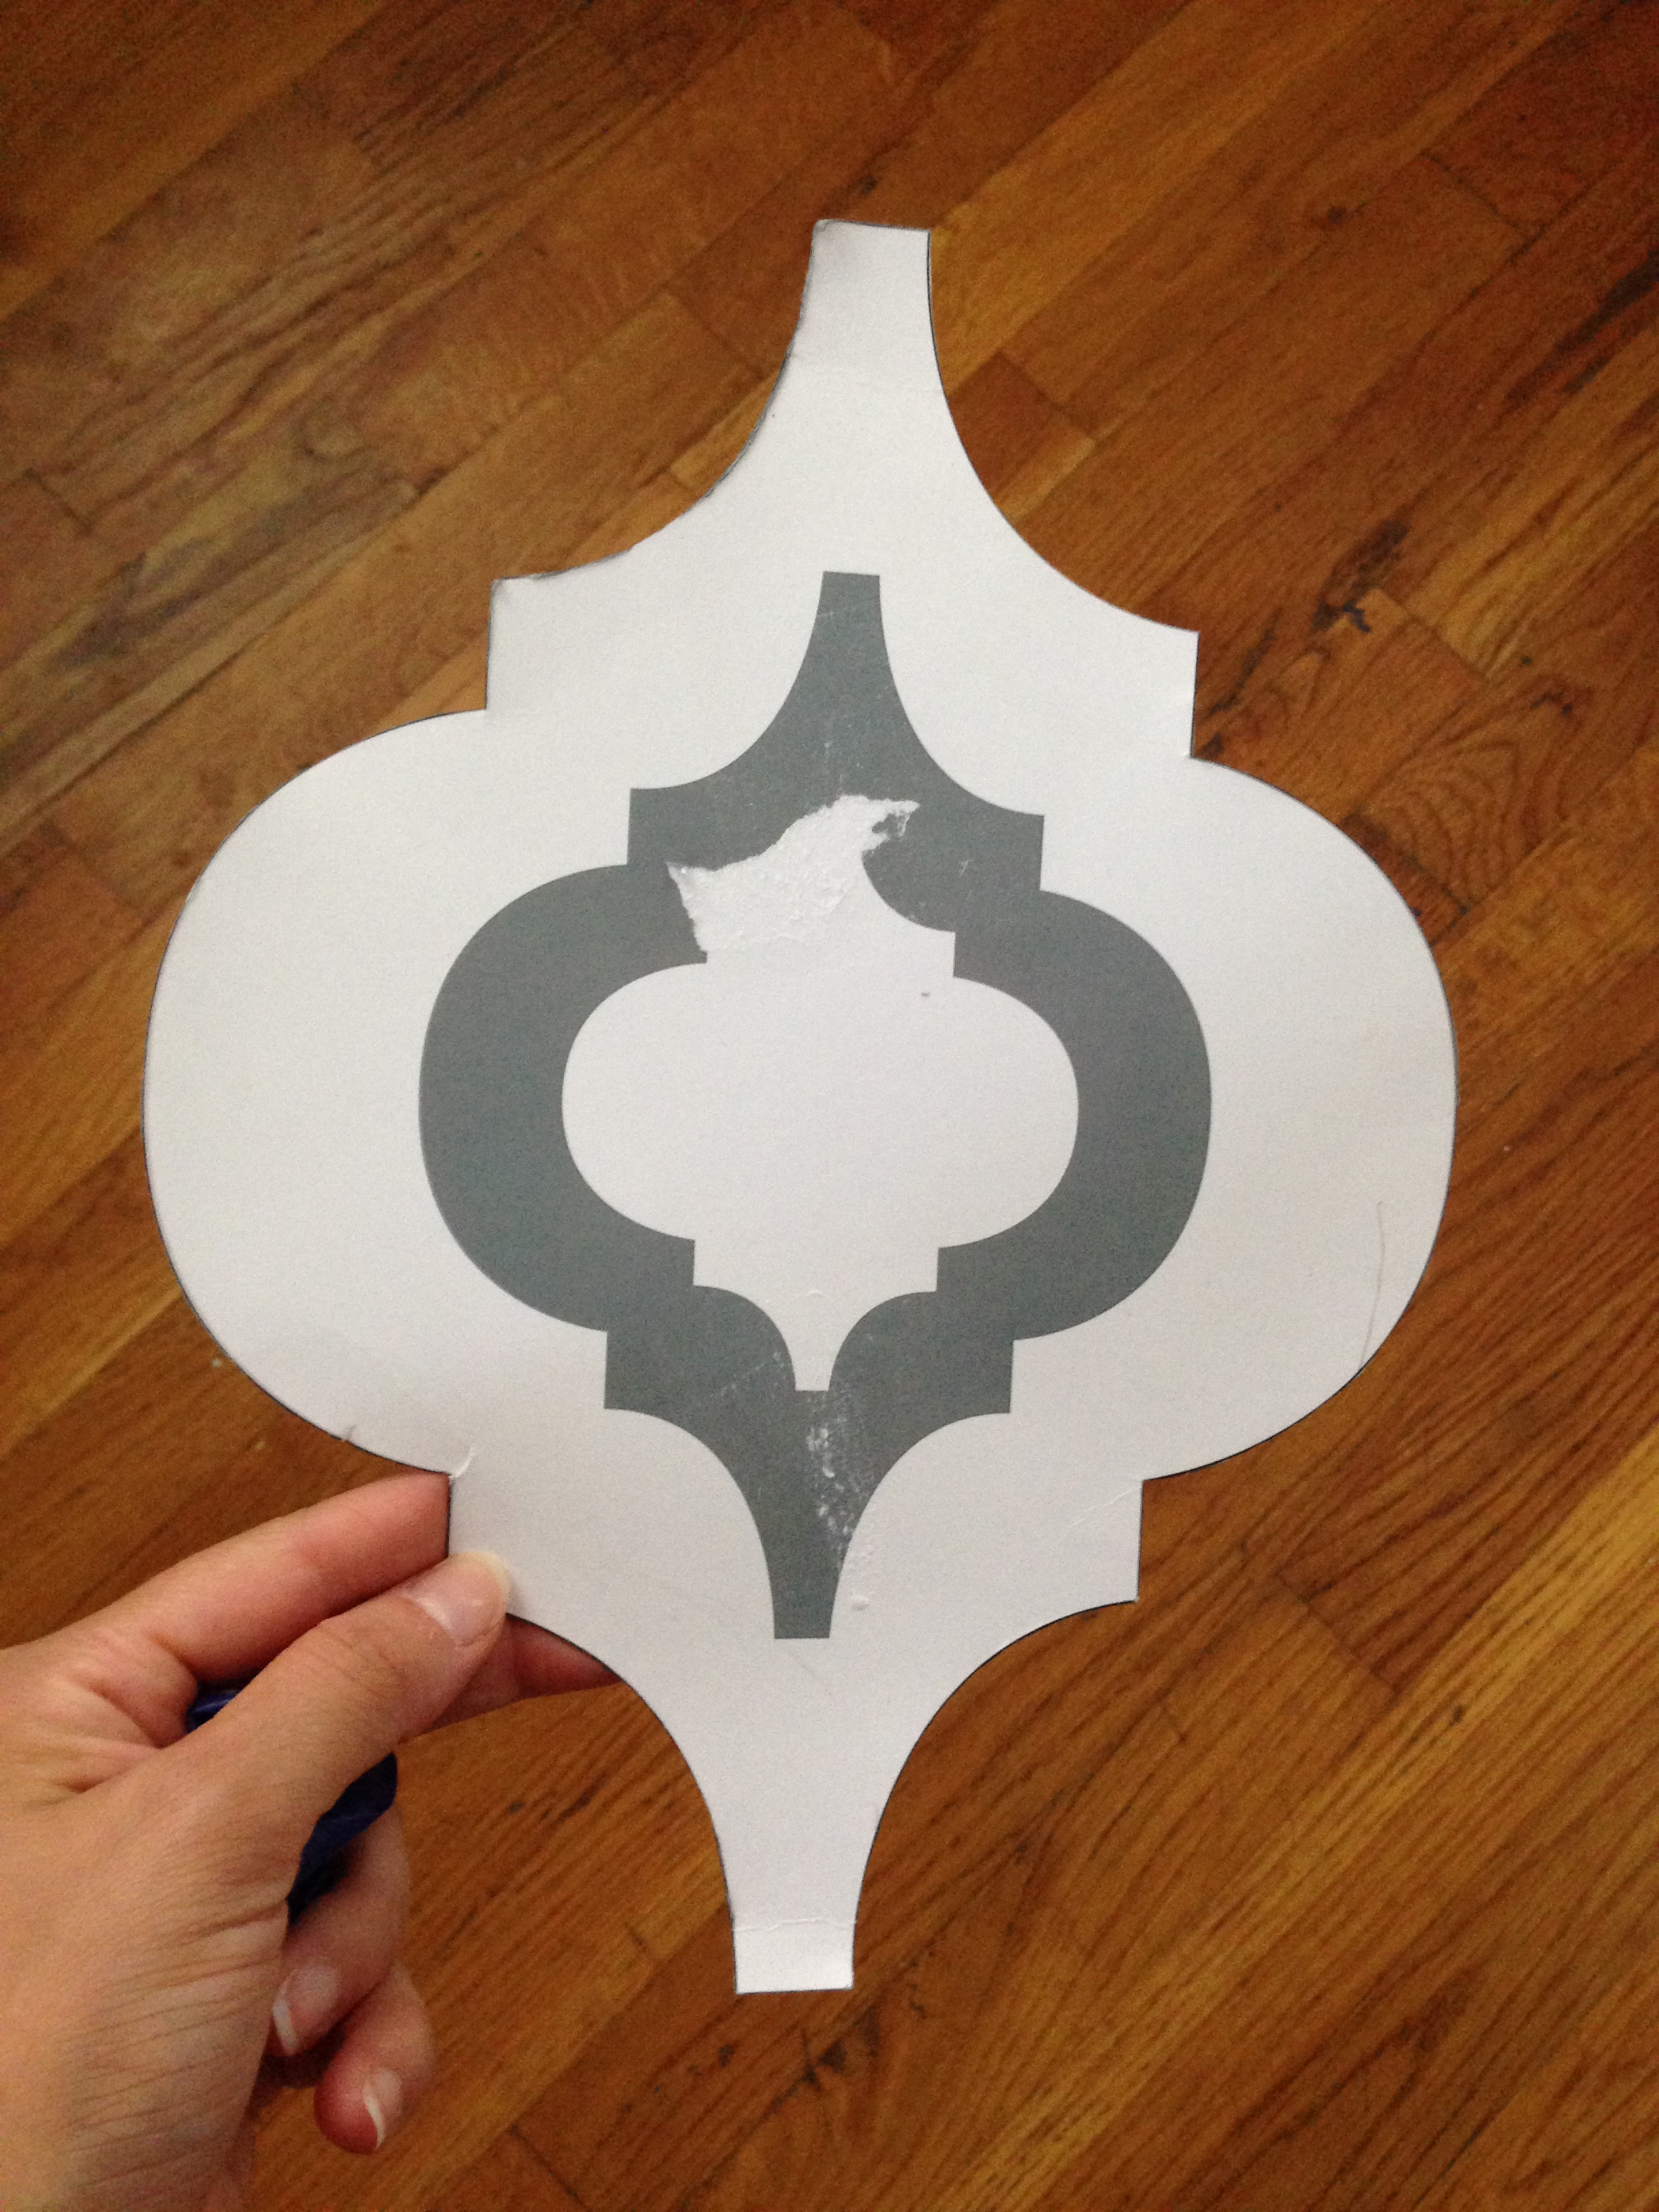
We downloaded a free pattern from Jones Design Company, the same woman who posted the tutorial I mentioned above (scroll to the bottom of the post for the link to the free pattern). I had it printed at a local print shop on their thickest card stock, and requested that they enlarge the image so the pattern would be a bit bigger. After some back and forth, the final size ended up being 10.5” tall x 8″ wide.
I used a regular pair of scissors to cut out the pattern. It wasn’t perfect, but it was good enough.
 After painting the wall in our flat background shade, Allen + Roth Marble Tile, the tracing began. I started in the middle of the wall and worked my way up and out. Honestly, I didn’t have any particular method other than trying to keep the pattern straight! I kept going until the whole wall was covered.
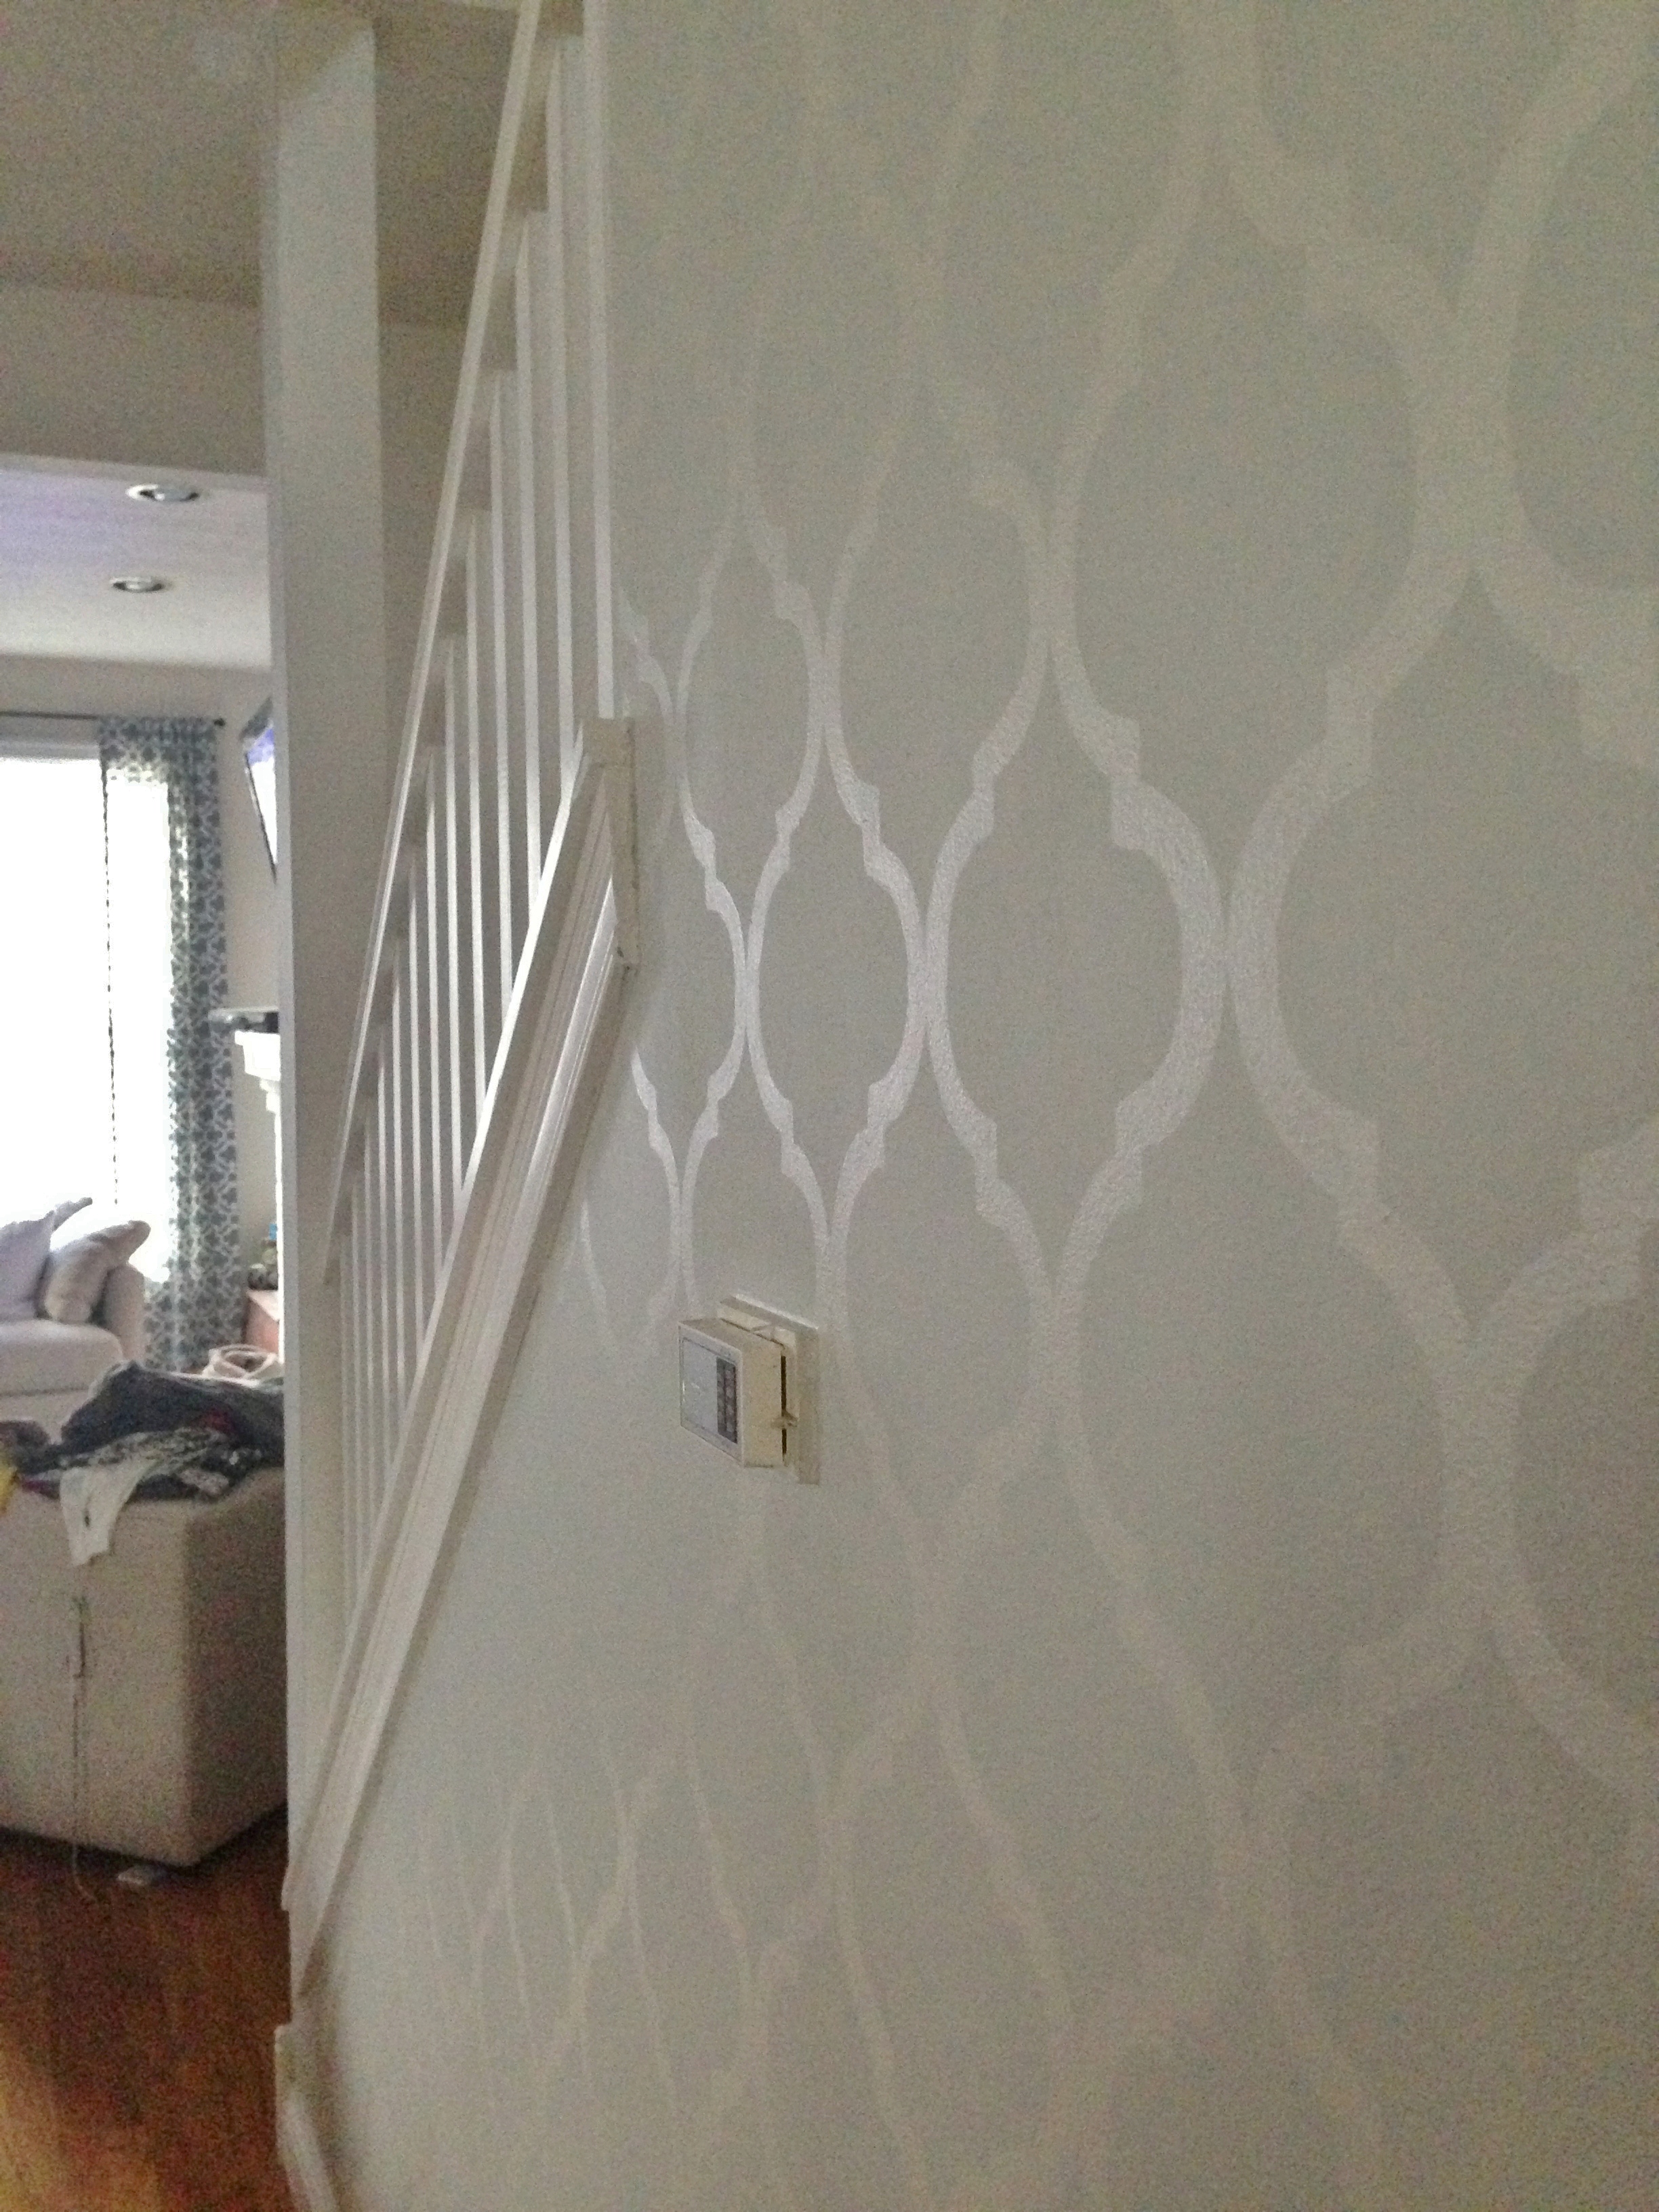
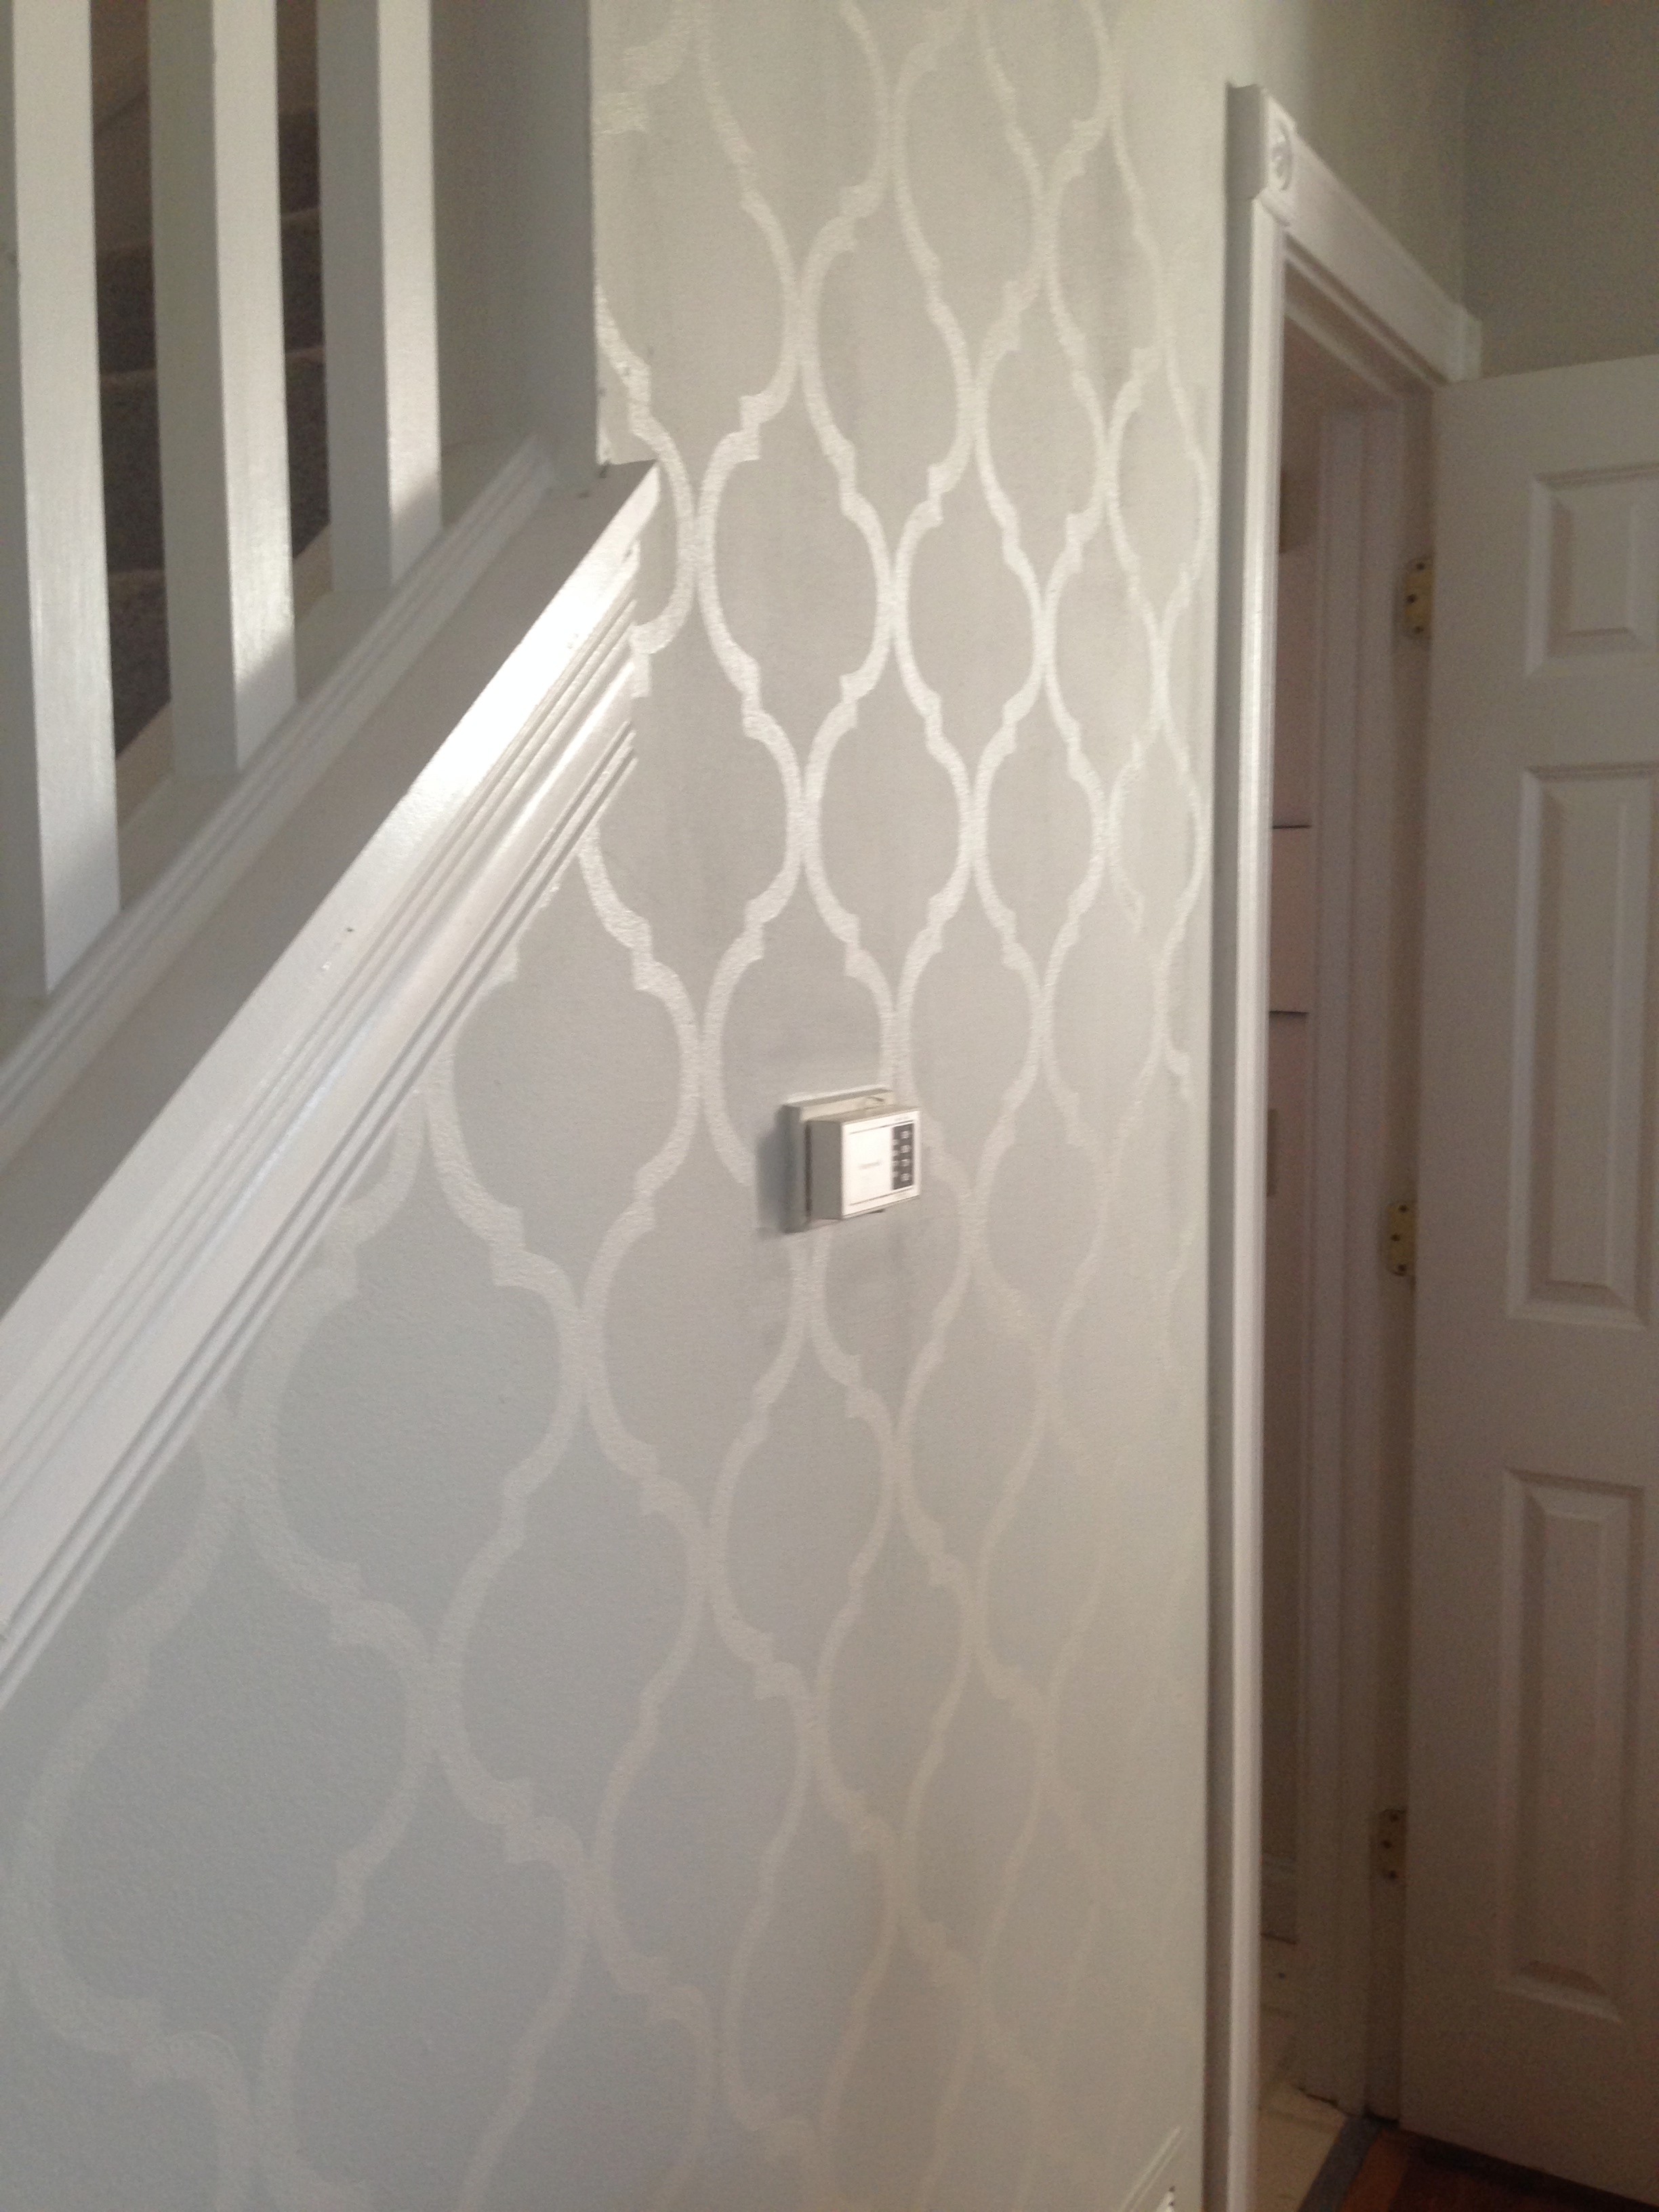
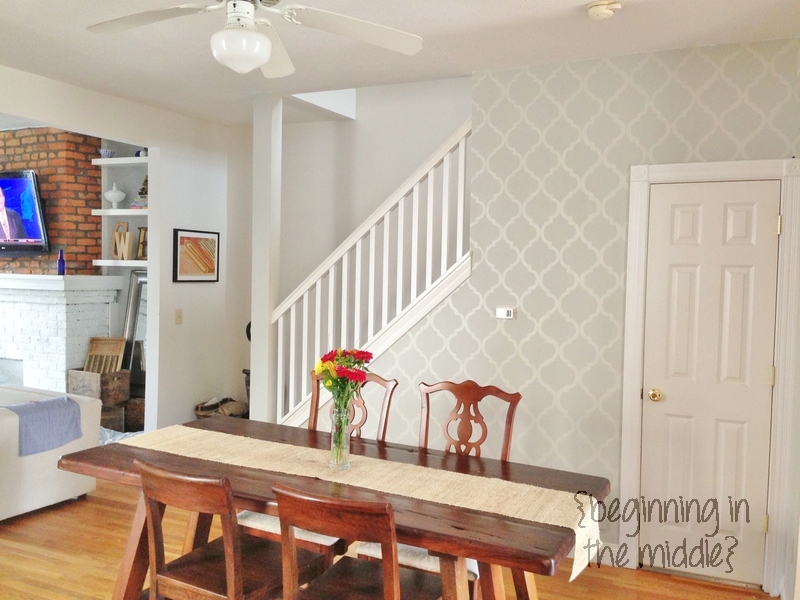
Next up was painting over the traced lines with our high-gloss shade, Allen + Roth Vail. It took a steady hand and lots of patience because it did take a long time. Like, 10+ hours long. BUT… it was totally worth it because it came out great!
Here’s what it looks like now:

 If you end up trying this project, here are some pointers:
1. Get two real paint brushes (skip the dollar store!) – one that will give you the thickness you want, and a small one for touch ups. Just to give you a point of reference, our large brush is about 1/2″ wide, which translated to 1″ lines on the wall.
 2. If you mess up, don’t freak out! When I was up close painting each line, I messed up a bunch of times and was sure I would need to start over. But when I stepped back and looked at the entire thing, it was hard to find my mistakes. It’s amazing what some distance can do for the naked eye.
3. I know I said this earlier, but this project requires a ton of patience and will take a long time. It may help to do an hour or two at a time so your focus levels stay up. We spread our project over several days.
That’s it! What do you think?


Amazing! You have the patience of Job!!
Amazeballs! totally love it! I’m thinking the same for a big wall in my loungeroom. I definitely think the flat/high gloss combo is the way to go. you’ve completely changed the whole feel of that space. Kudos!
Thanks guys! I appreciate it 🙂
Nice! love the colour
Thanks Ed!
Beautiful…My home is slowly being transformed in shades of grey. I have a stencil I am in love with and am thinking this may be just what my dining room needs!
It really does add so much to the room, and even though it took awhile, I think it’s much better than working w/ wallpaper 🙂 Good luck!
I agree. I am not a wallpaper fan. They are beautiful, but I change things a lot so paint is much easier to work with.