• Home
  • About
  • Stay With Us
  • Our Design Studio
  • Gift Guides
  • Nav Social Menu

    • Facebook
    • Instagram
    • Pinterest
  • Bathroom
  • Kitchen
  • Decor
  • Our Homes
    • The Blonde Vic
    • Pearl St.
    • Historic Townhome
    • First Home Tour
  • Press
  • Contact

Beginning in the Middle

$210 Guest Bathroom Refresh

Decor· DIY

20 Oct

Over the past few weeks, we’ve been browsing design ideas for our powder room downstairs, which made me realize I never shared the details behind our guest bathroom refresh!  This was one of the first DIY projects we did after moving in, and we learned so much along the way.  It feels fresh and clean, and we’re LOVING the real tile vs the laminate floor that was previously in there.  The whole thing cost us under $225!

Here’s what we did:

Vanity:
iPhone Photos - 3.23.13 062   IMG_2309

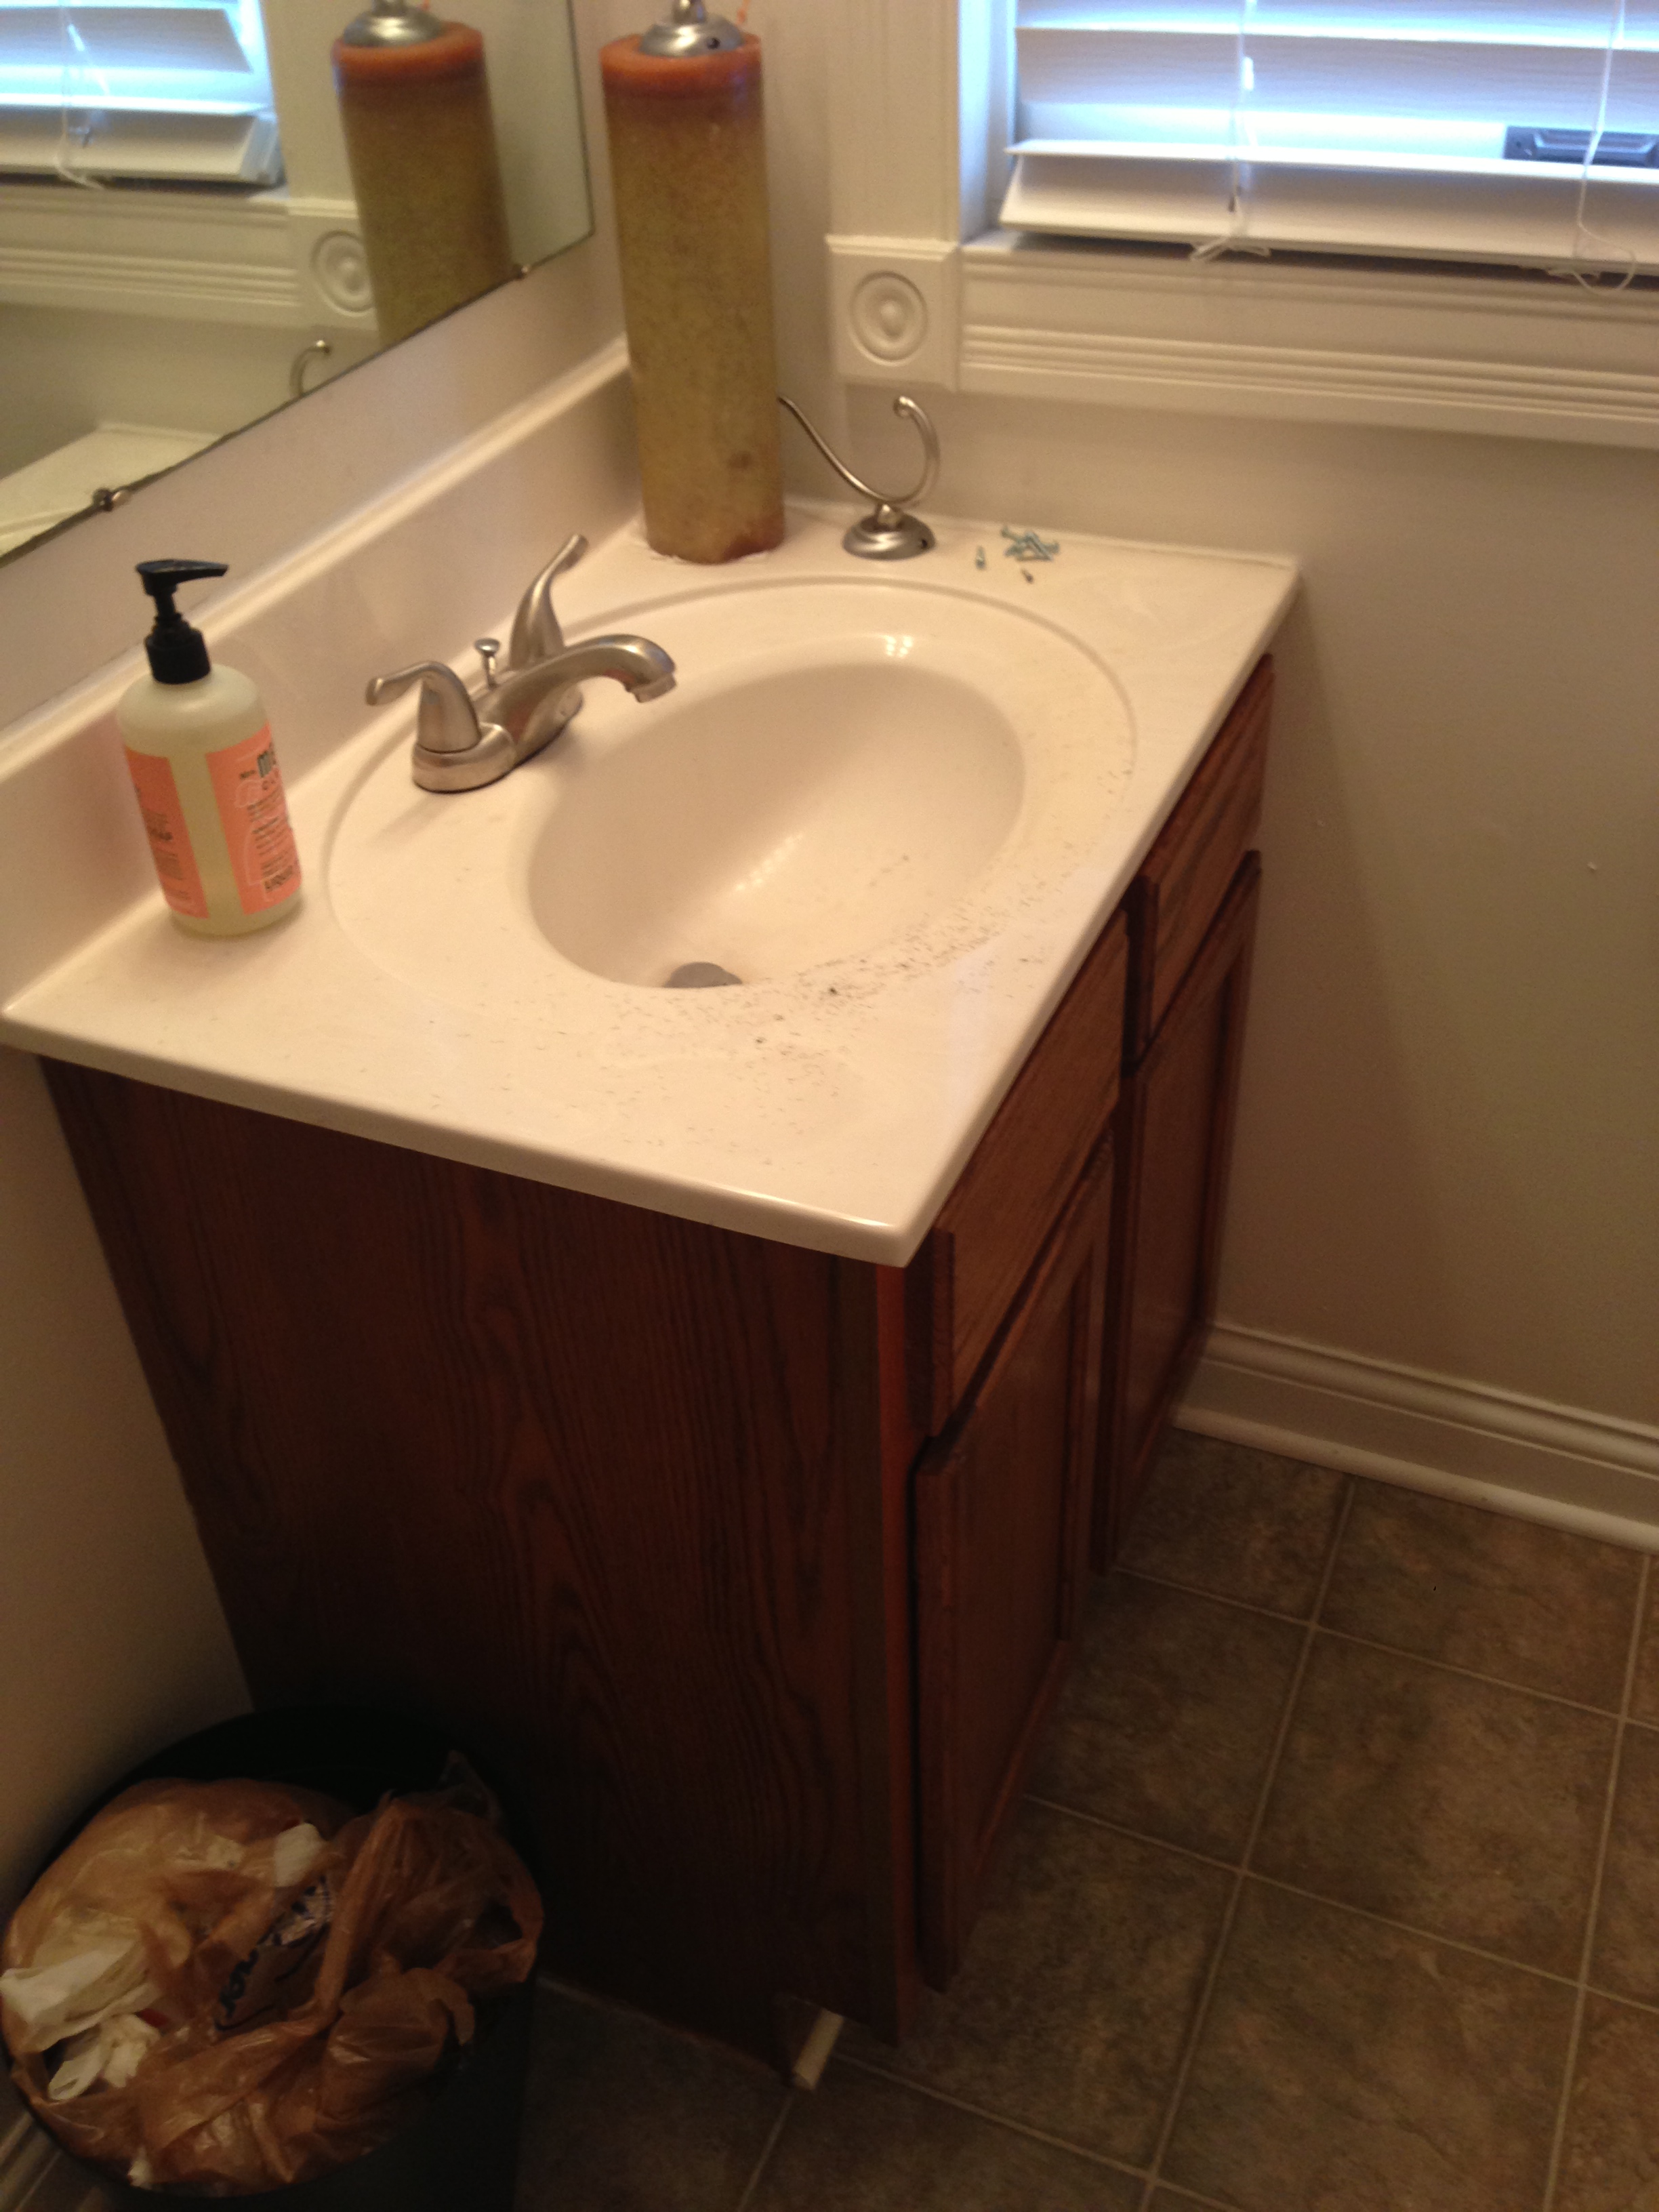
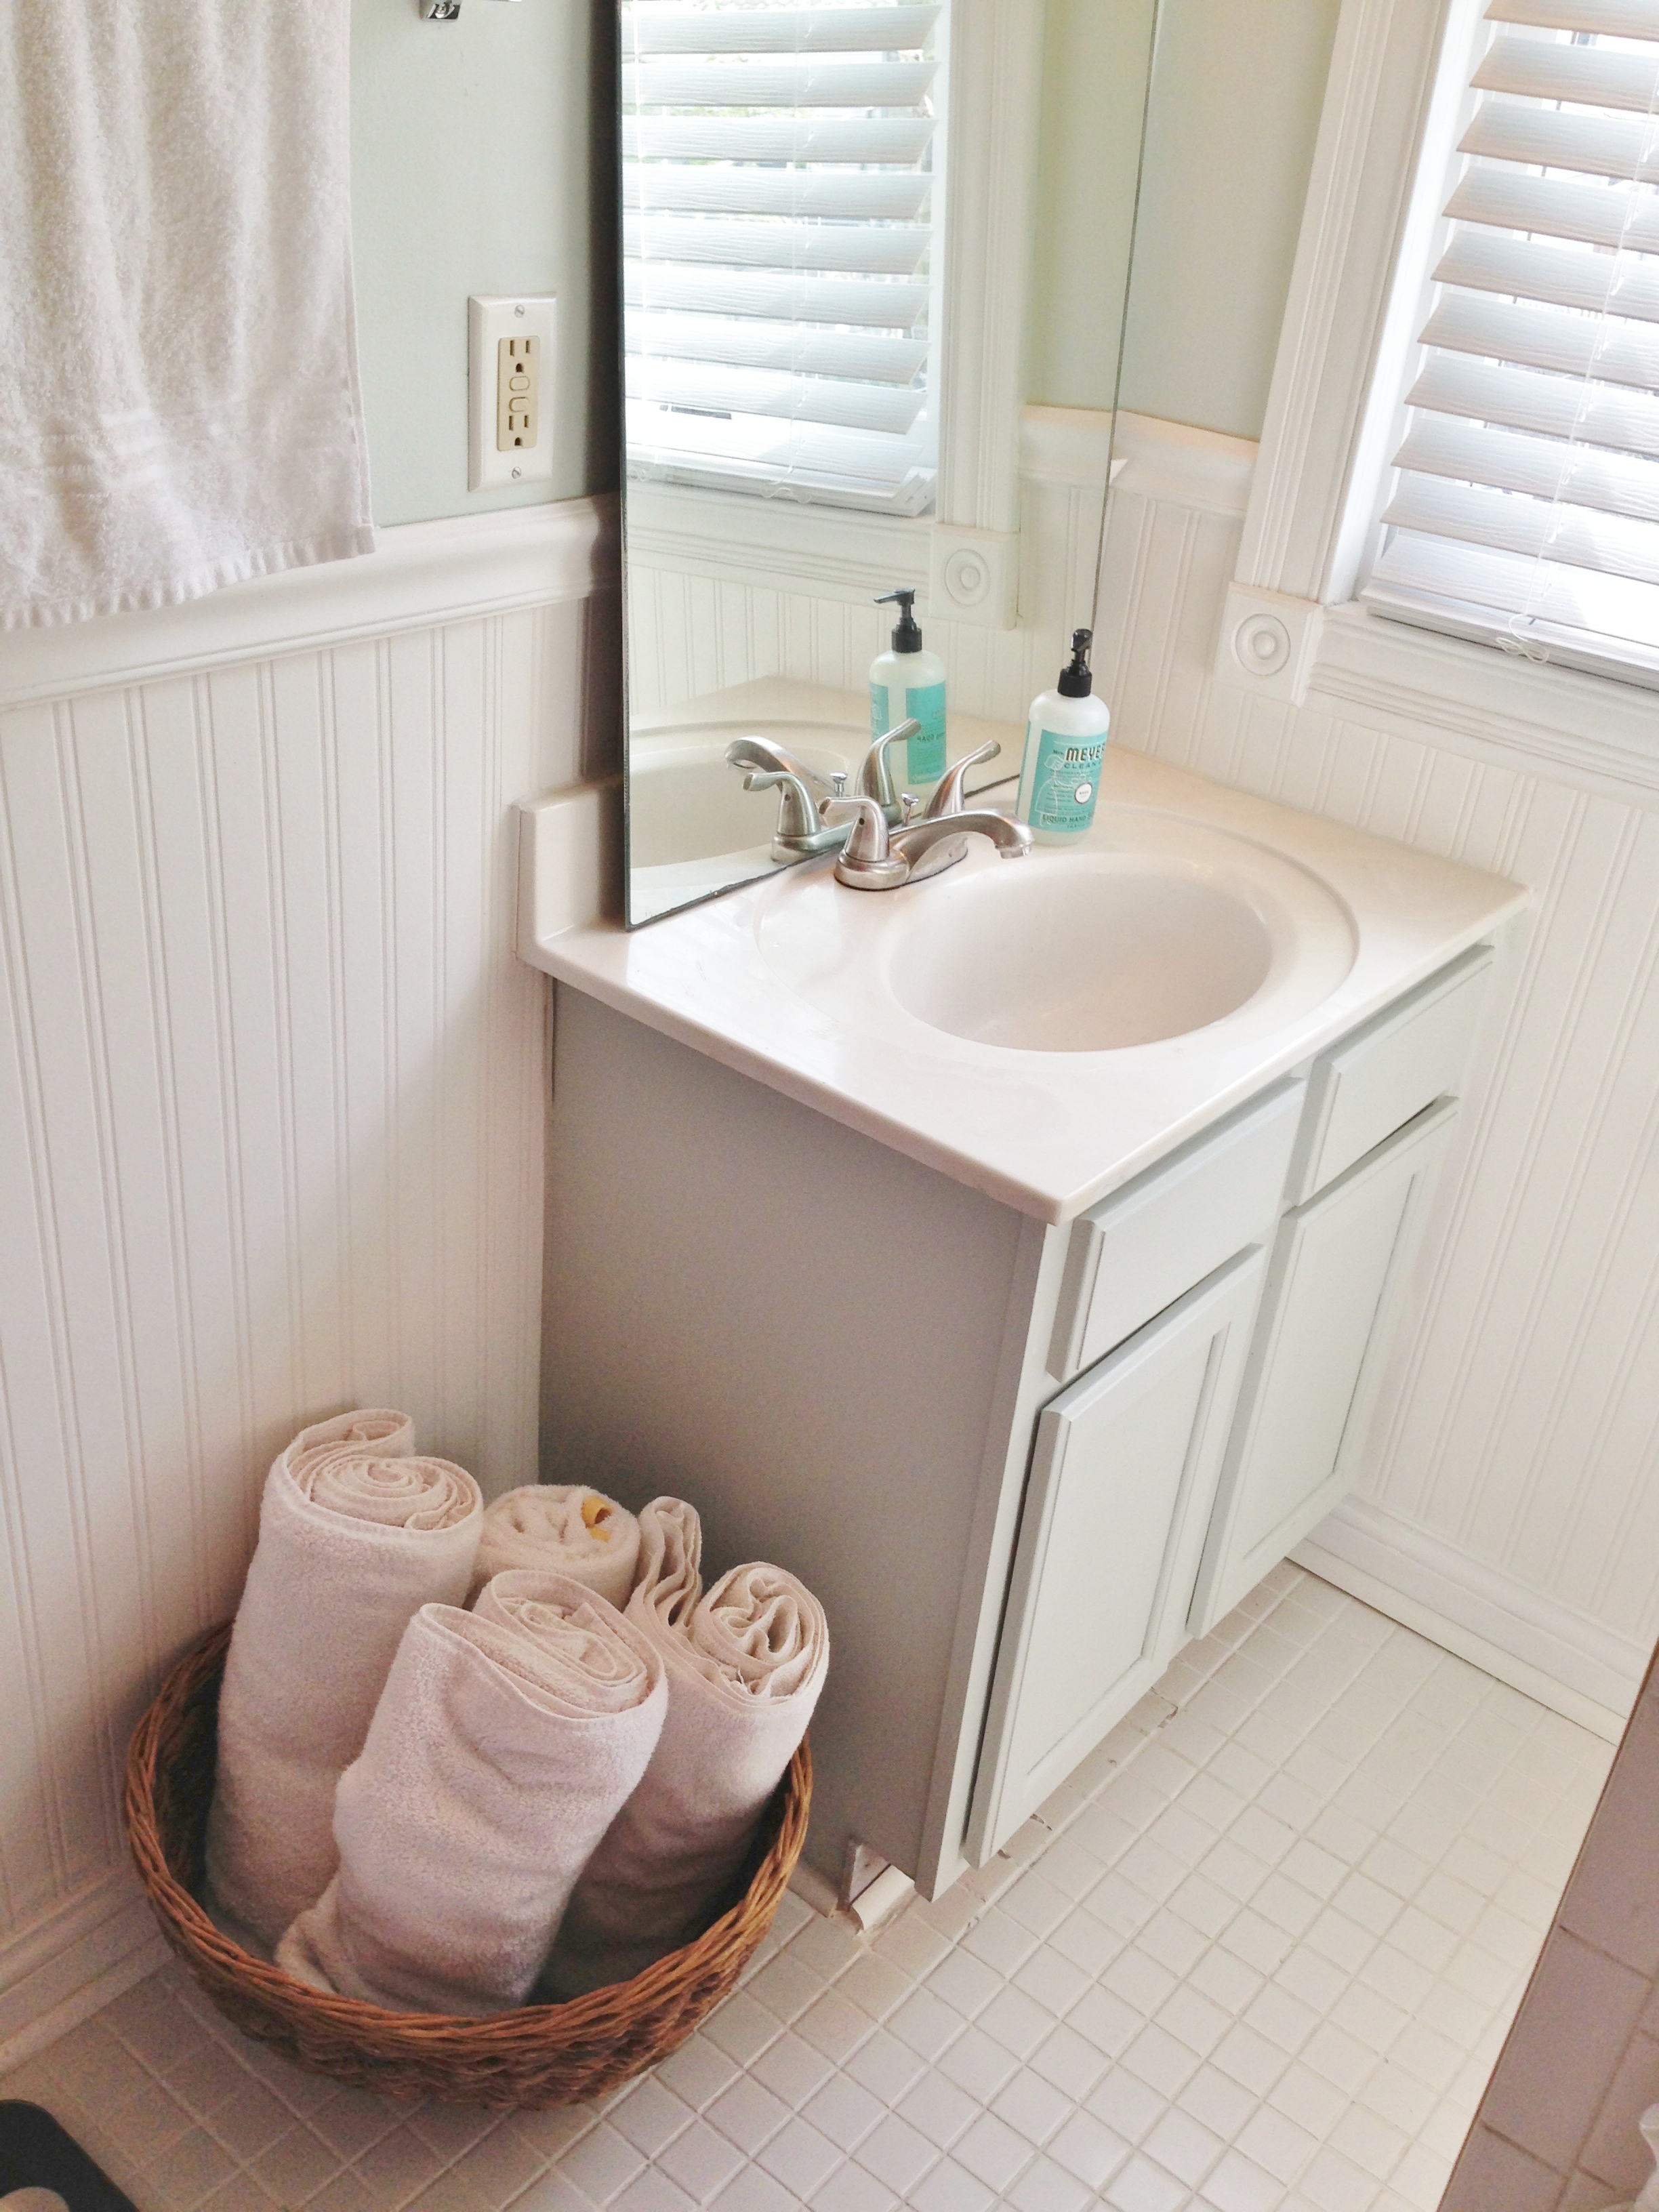
What we did:  We painted!  We got away with using a grey paint sample that cost $3.  We also took the mirror off the wall to install the beadboard wallpaper and chair rail, and never put it back up.  We’re kind of digging the leaning mirror look until we find the perfect one for the space.

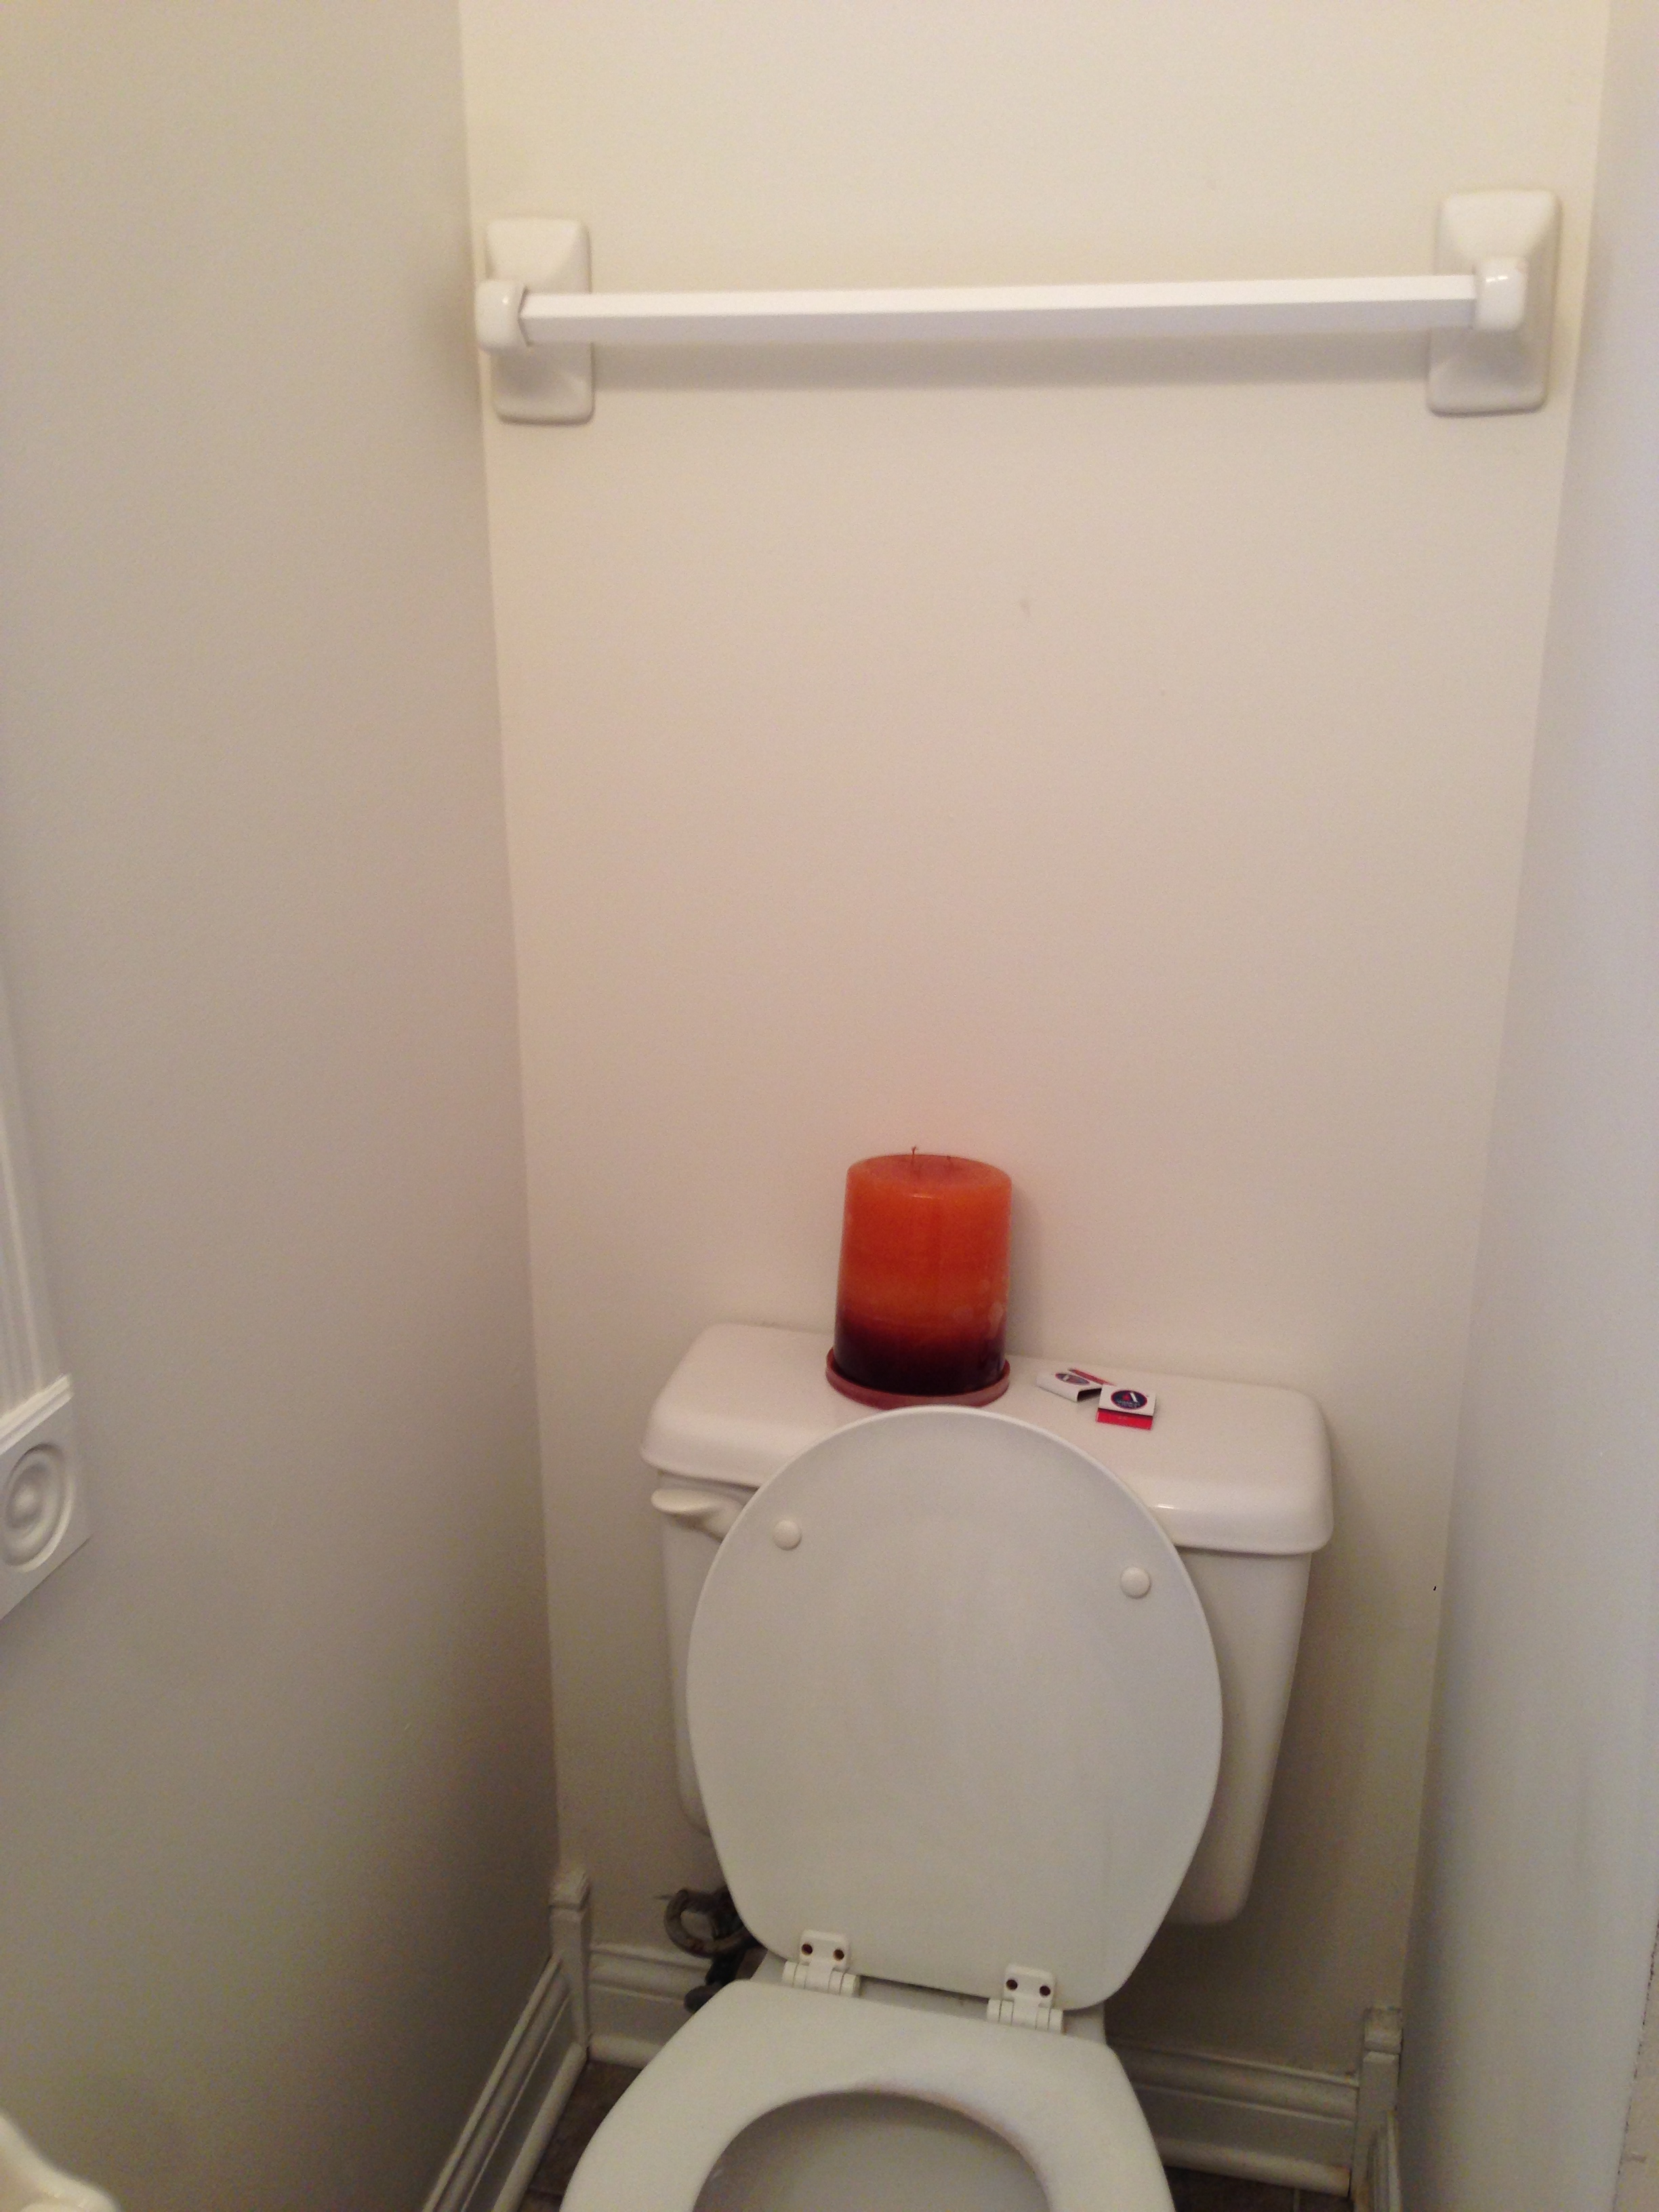
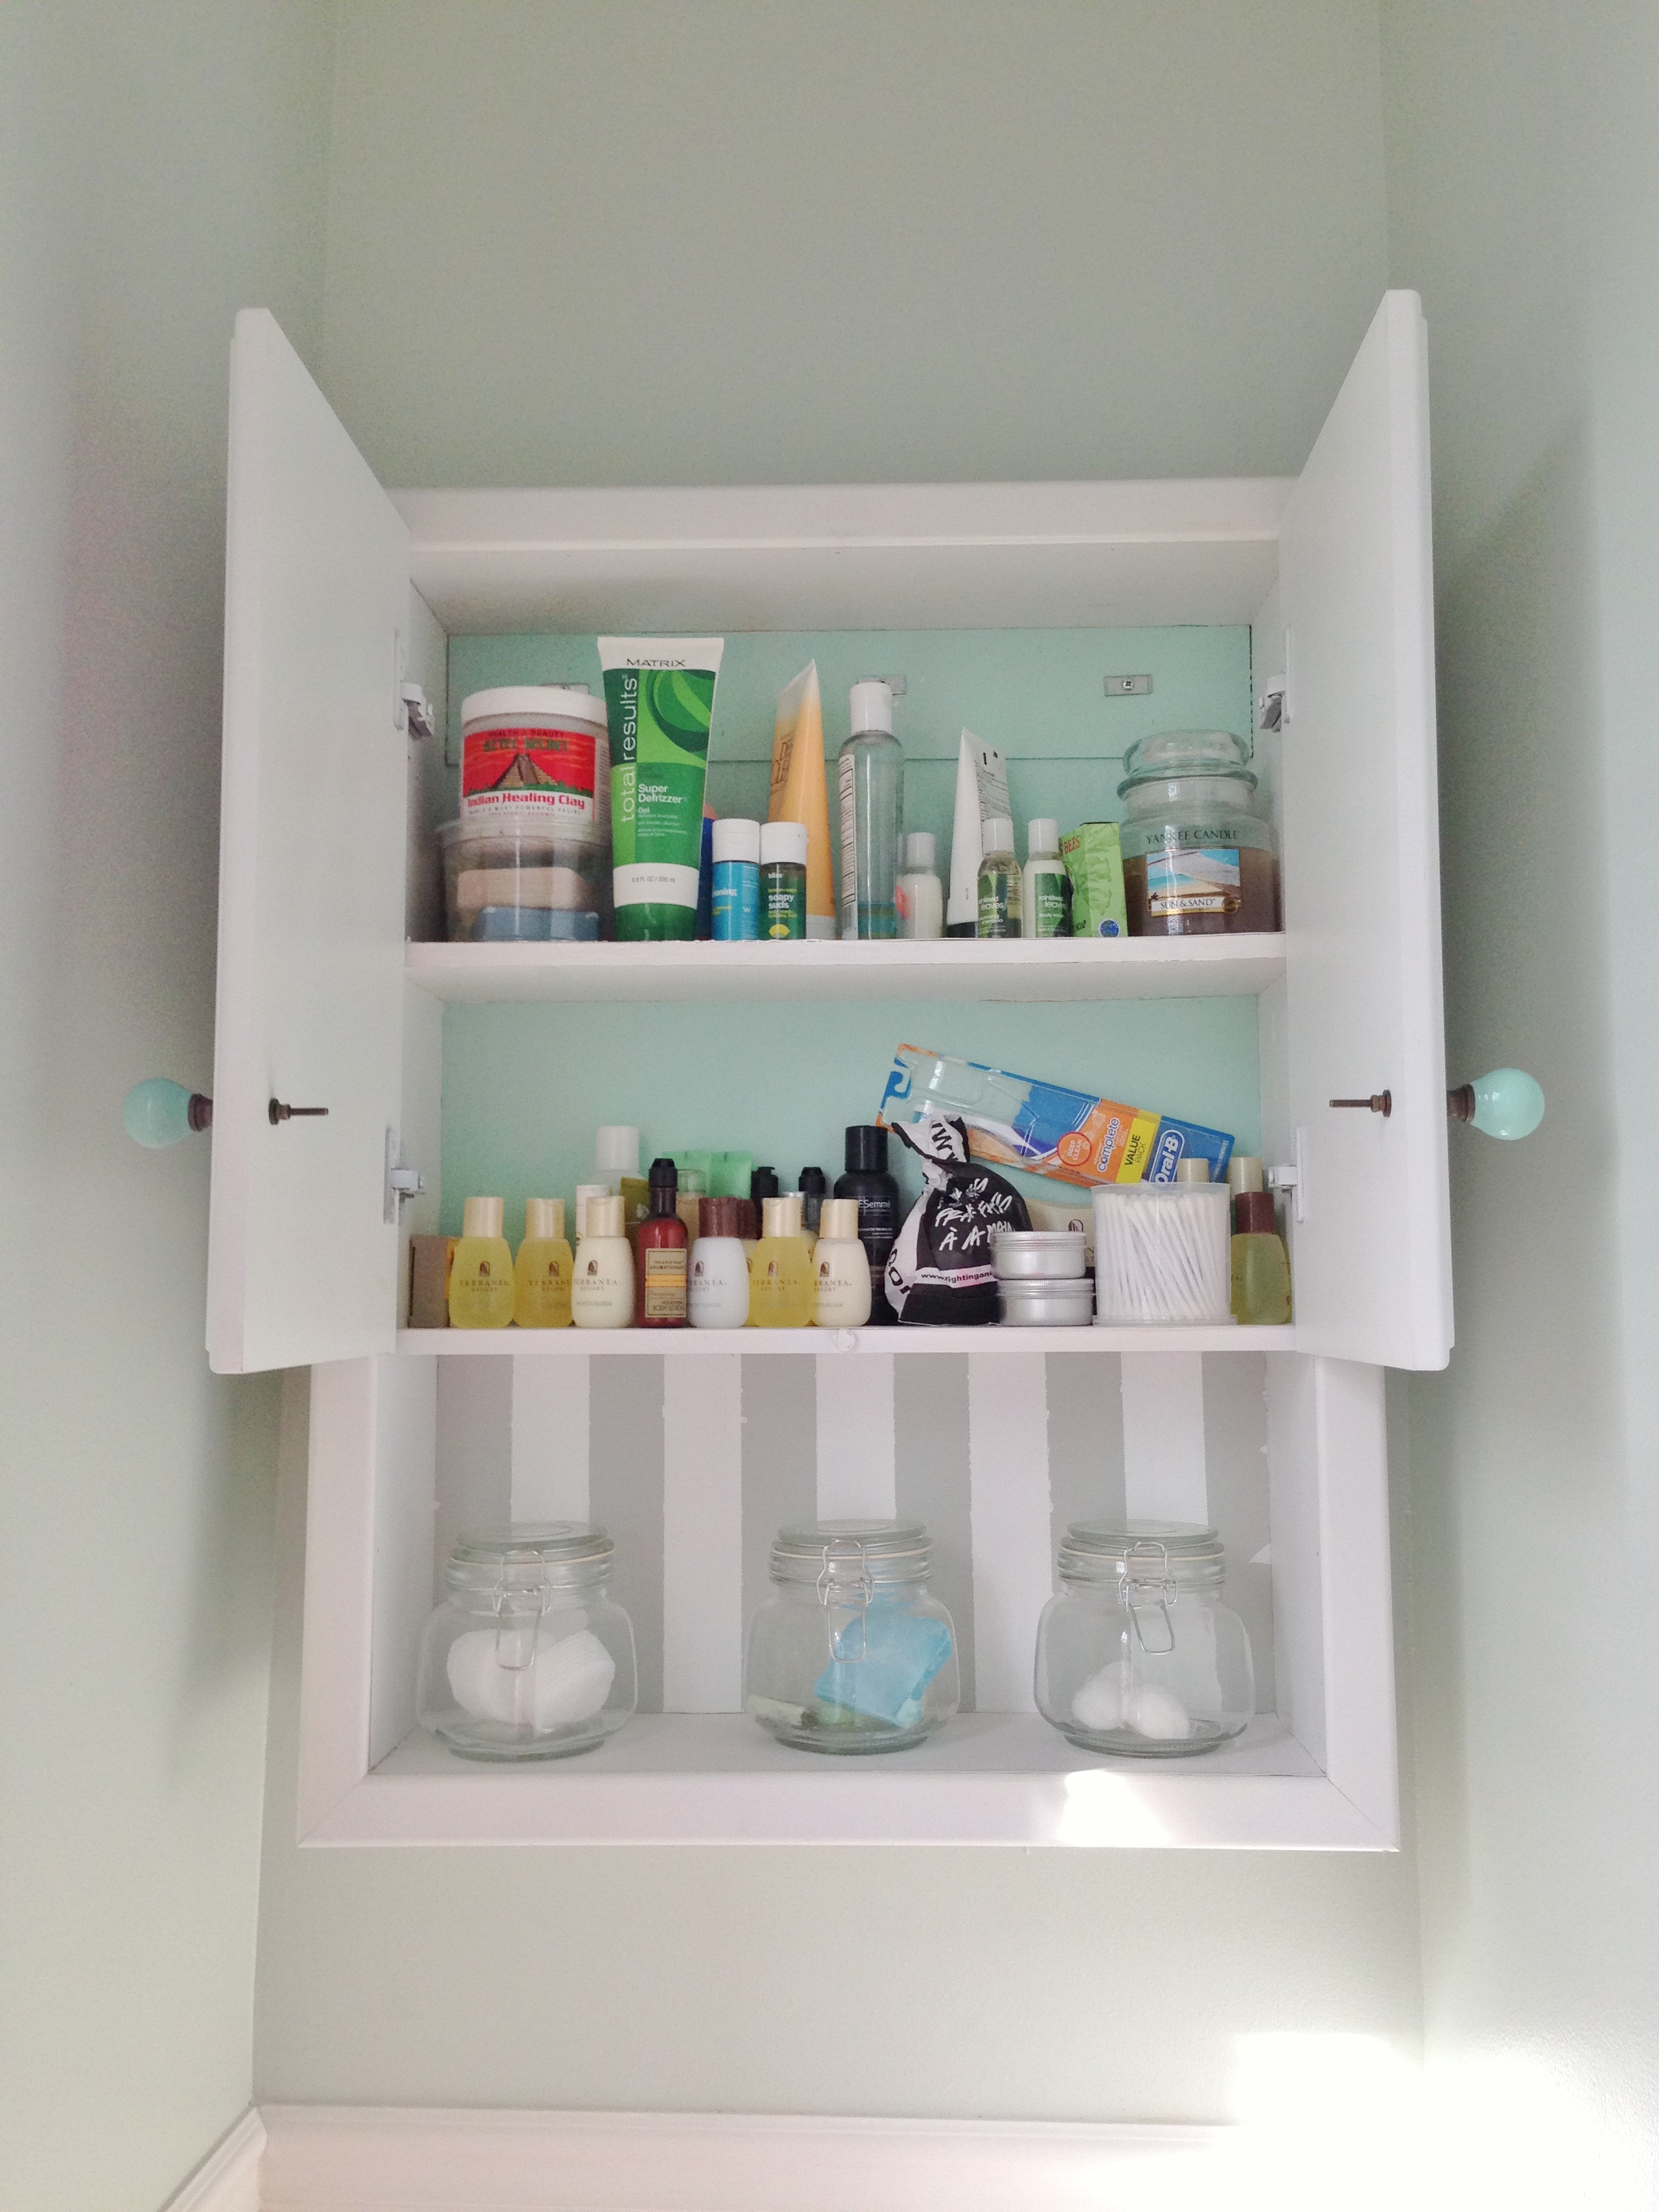
Above the Toilet Storage:
iPhone Photos - 3.23.13 063   IMG_2918

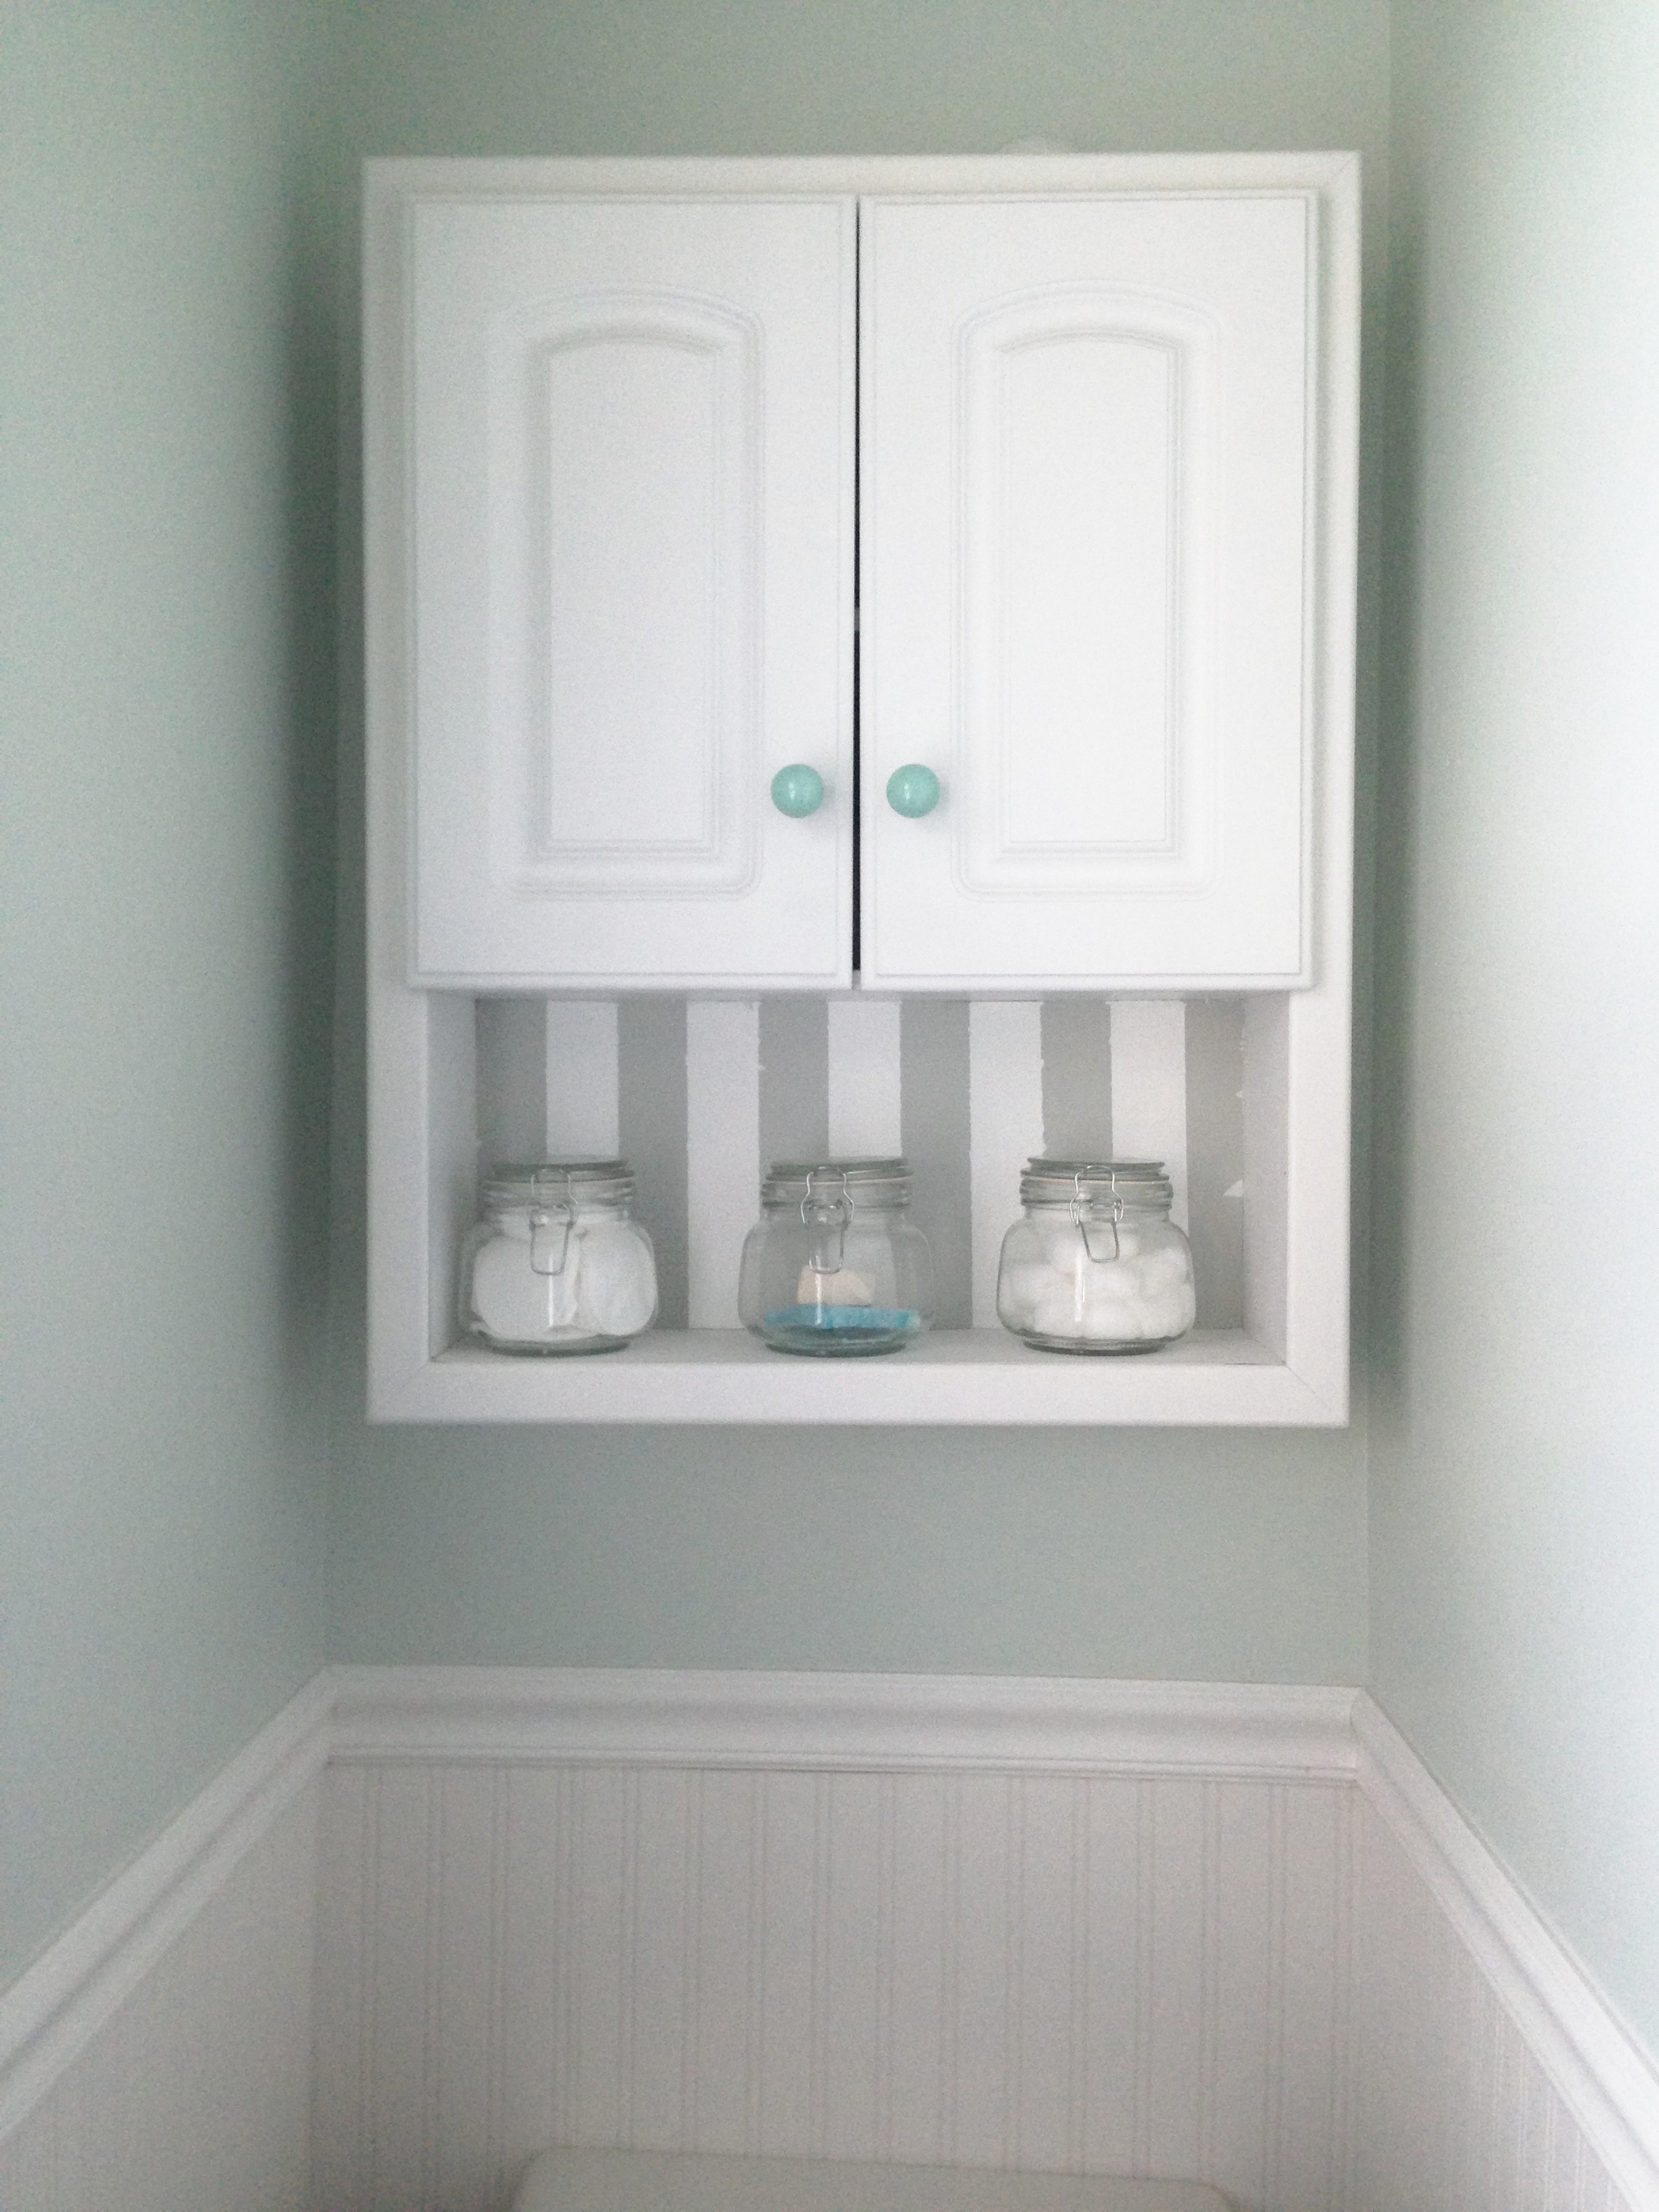
What we did: We got lucky with this one.  Someone was giving this cabinet away, and we snatched it up for free!  We bought a paint sample for $3 and painted grey/white stripes in the background to add some interest.  We splurged on knobs from Anthropologie, which cost $7 each.  The storage jars were from Dollar Tree and cost $1 each.

Floor:
iPhone Photos - 3.23.13 064   IMG_2917

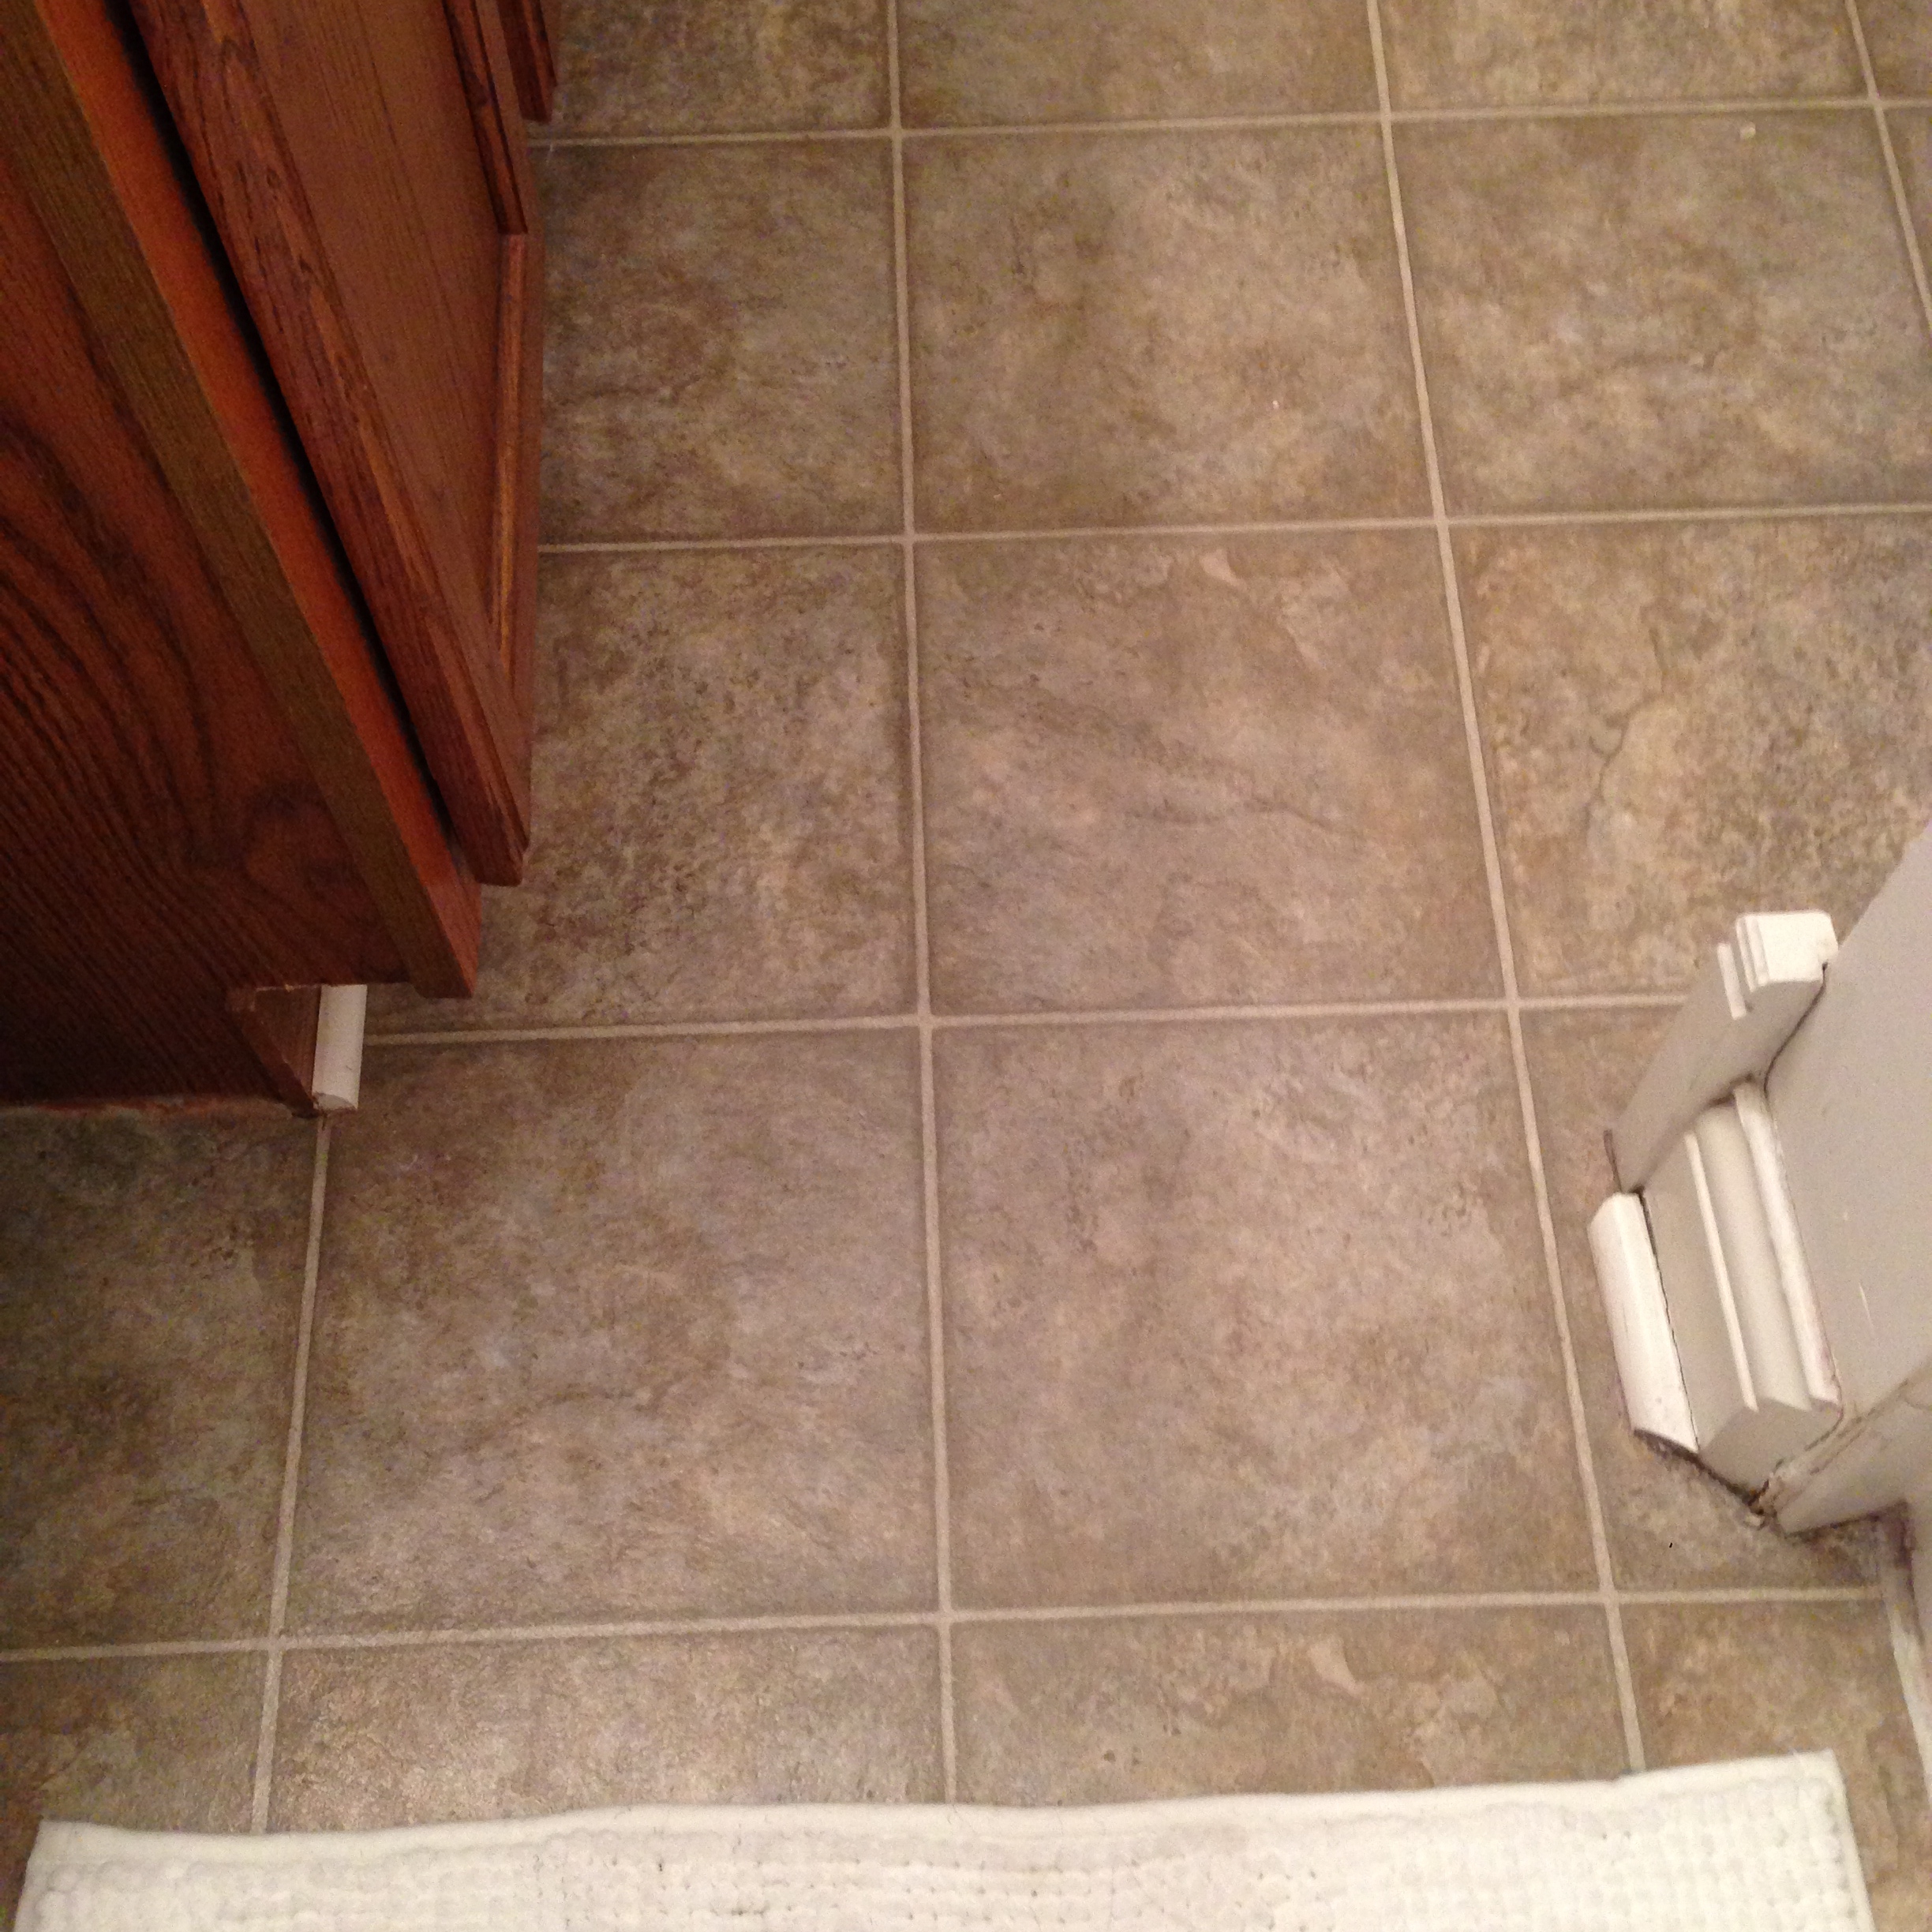
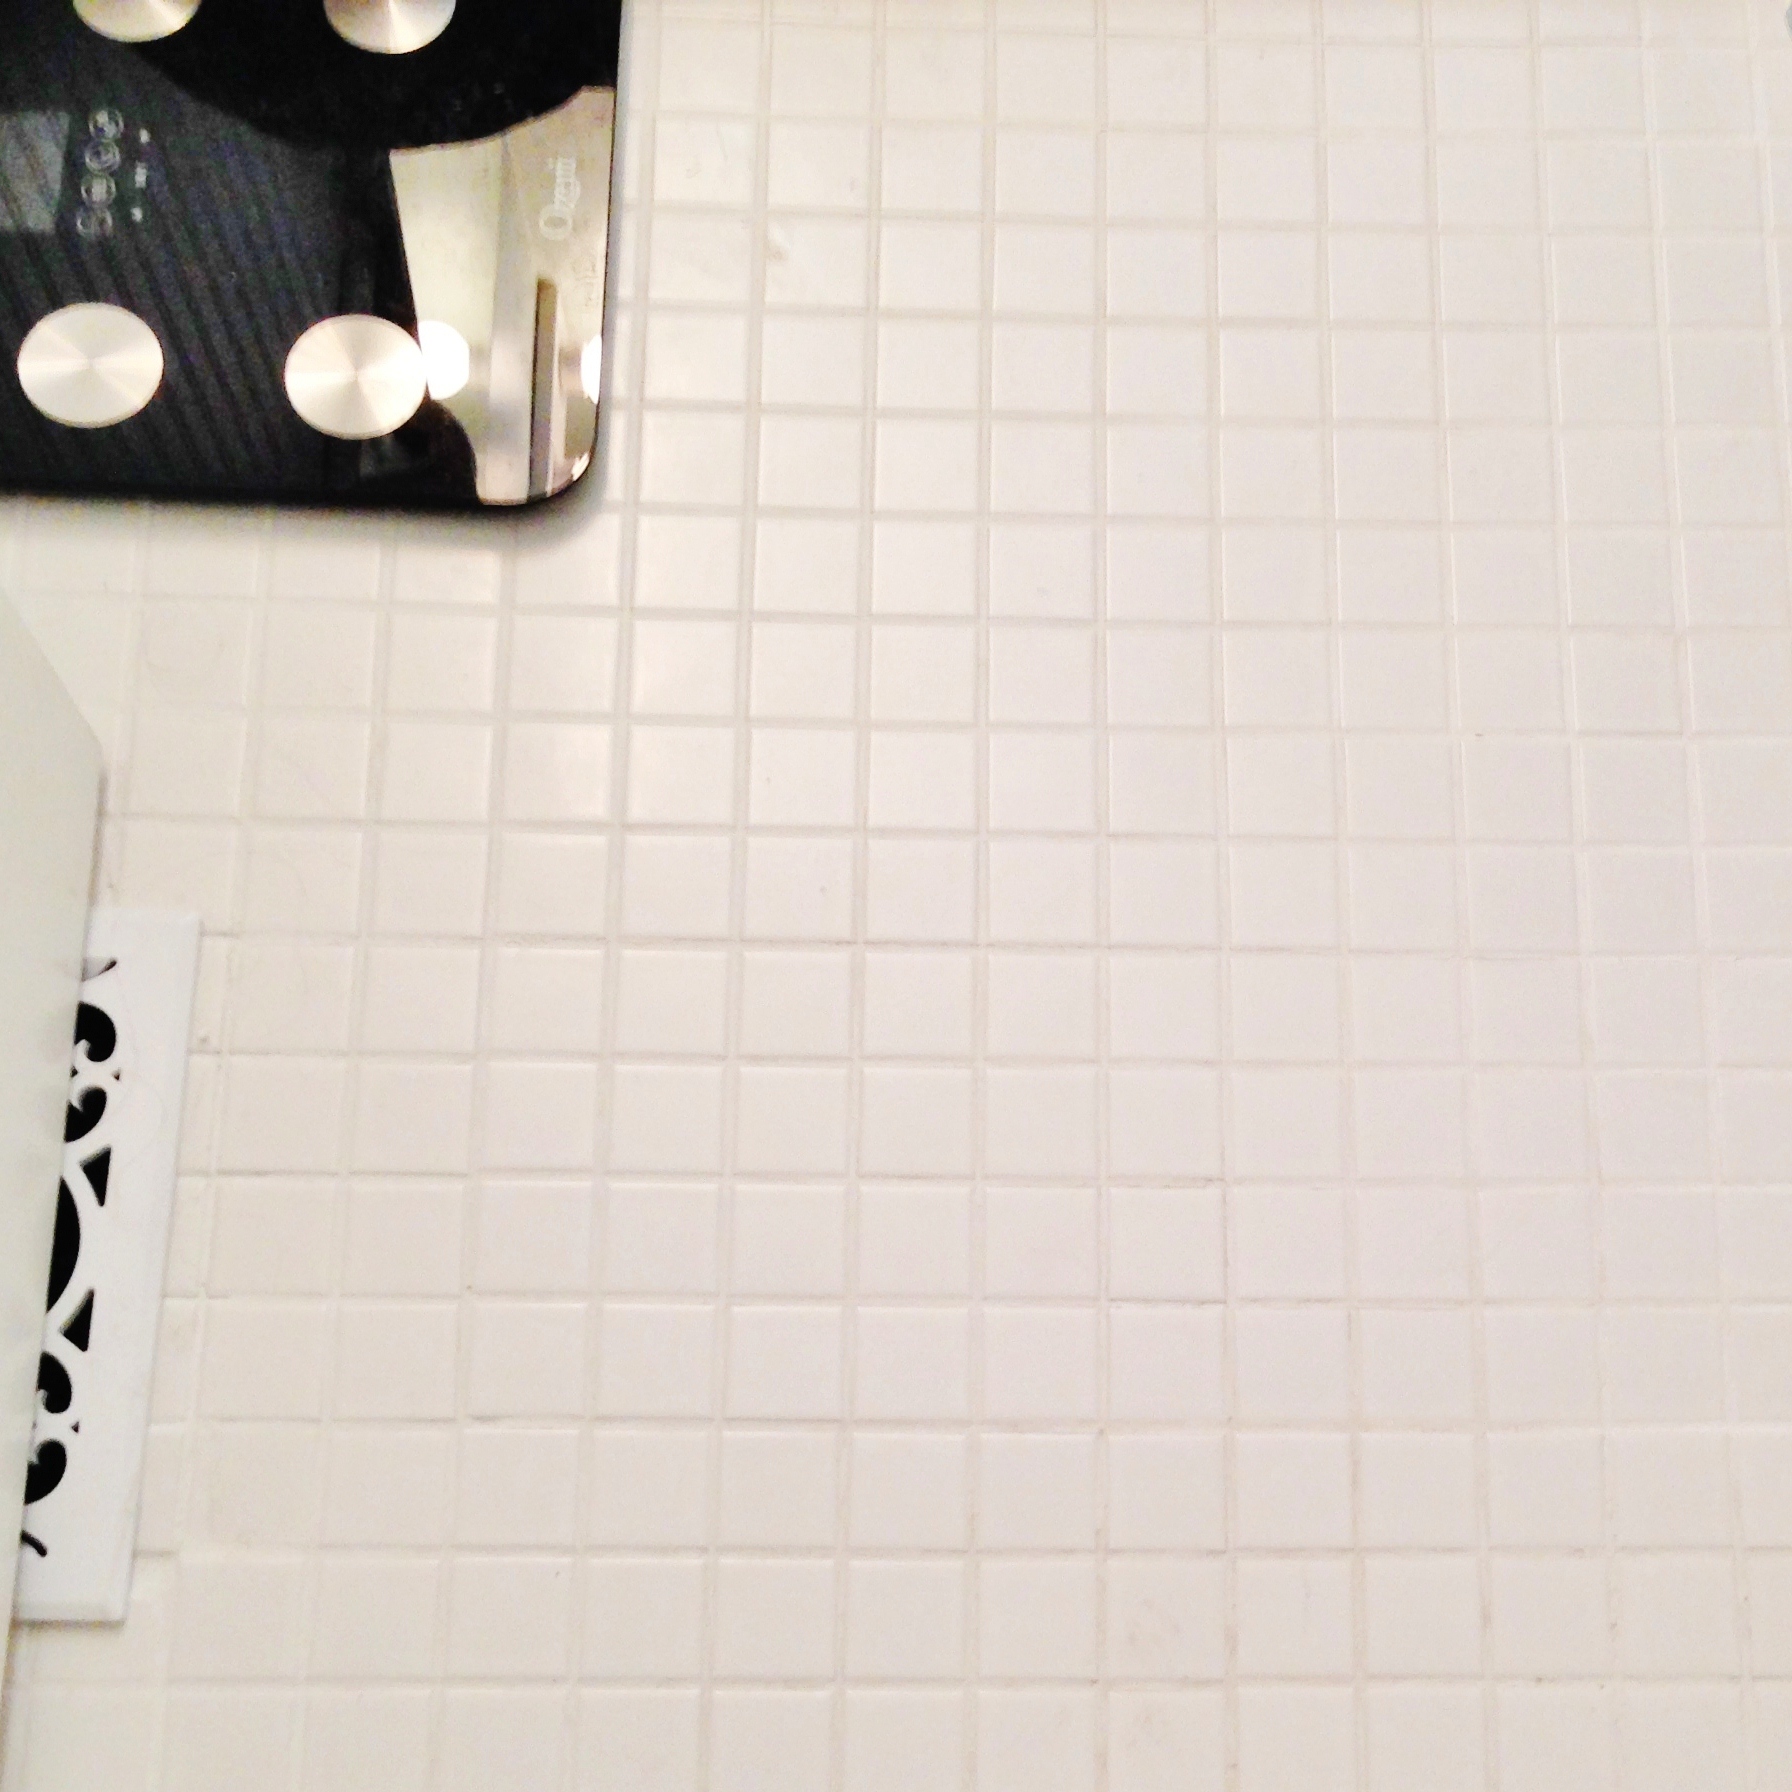
What we did: We tore up the old linoleum tile, which was actually much easier than we expected because it was one big sheet.  We replaced it with crisp, white tile that cost $2.55/sq foot ($85 total for us).  As part of the project, we had to purchase grout ($30 for premixed), thinset ($10), and a tile cutter to trim the edges ($10).

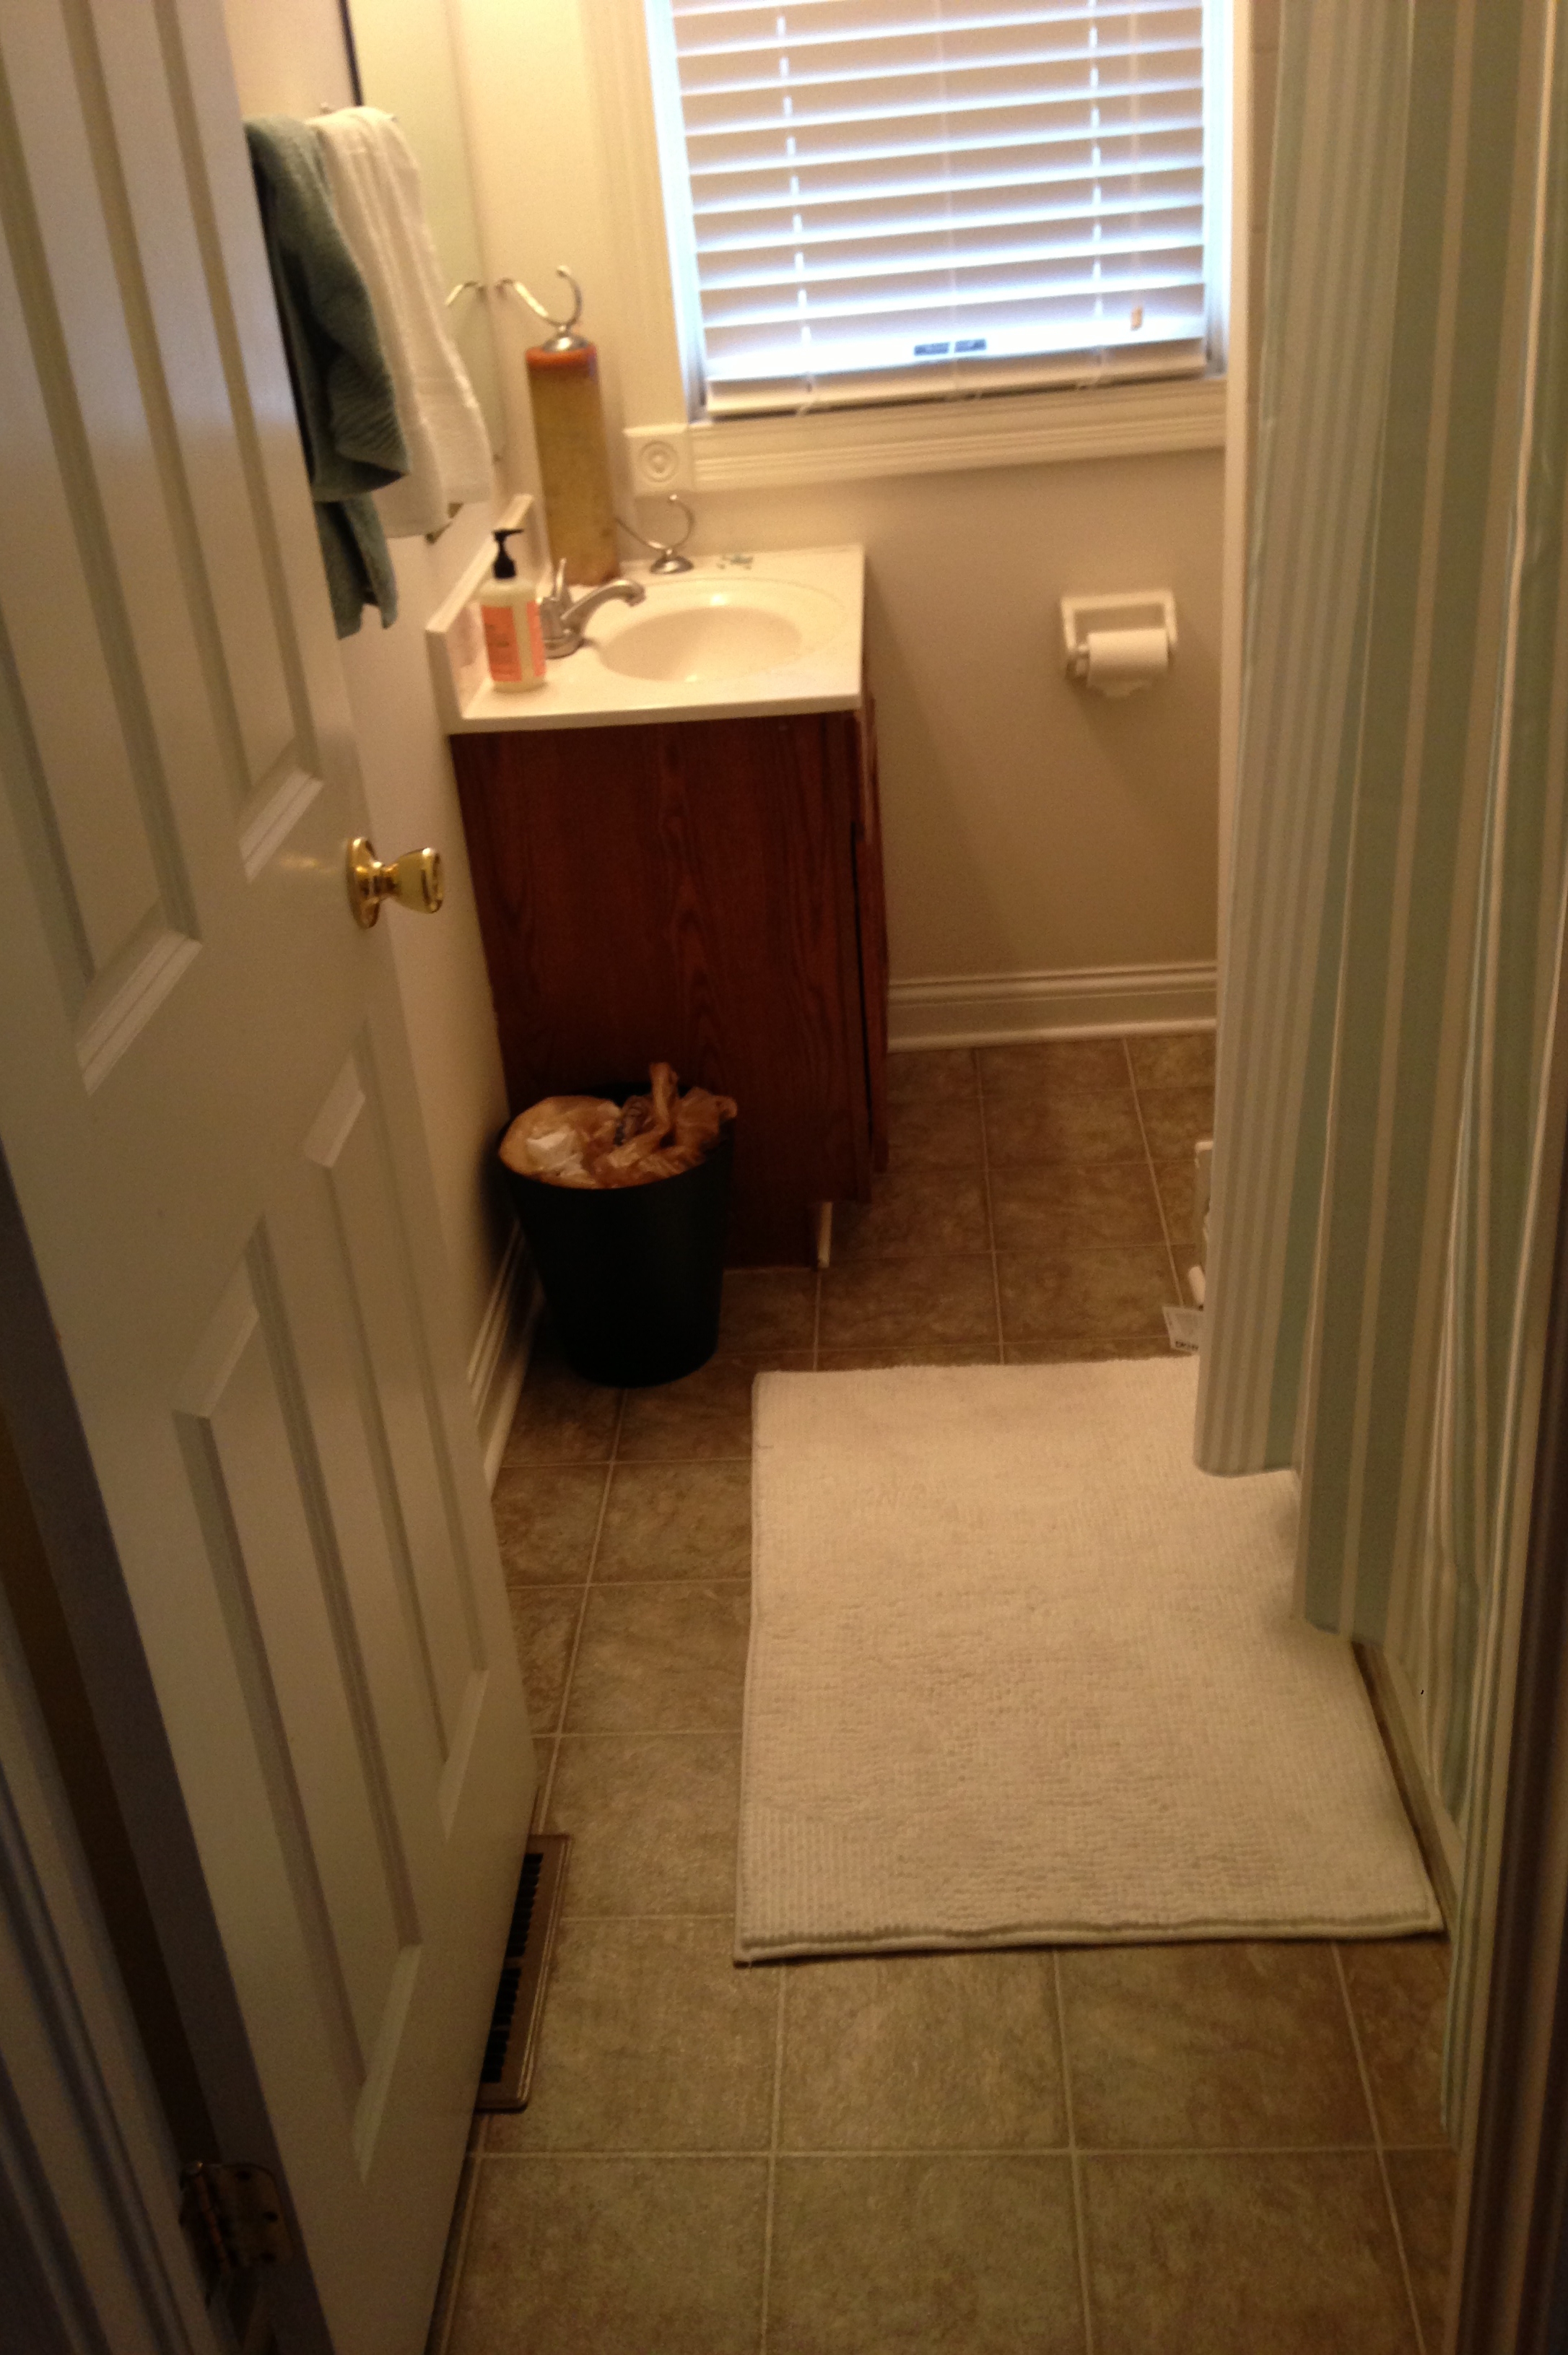
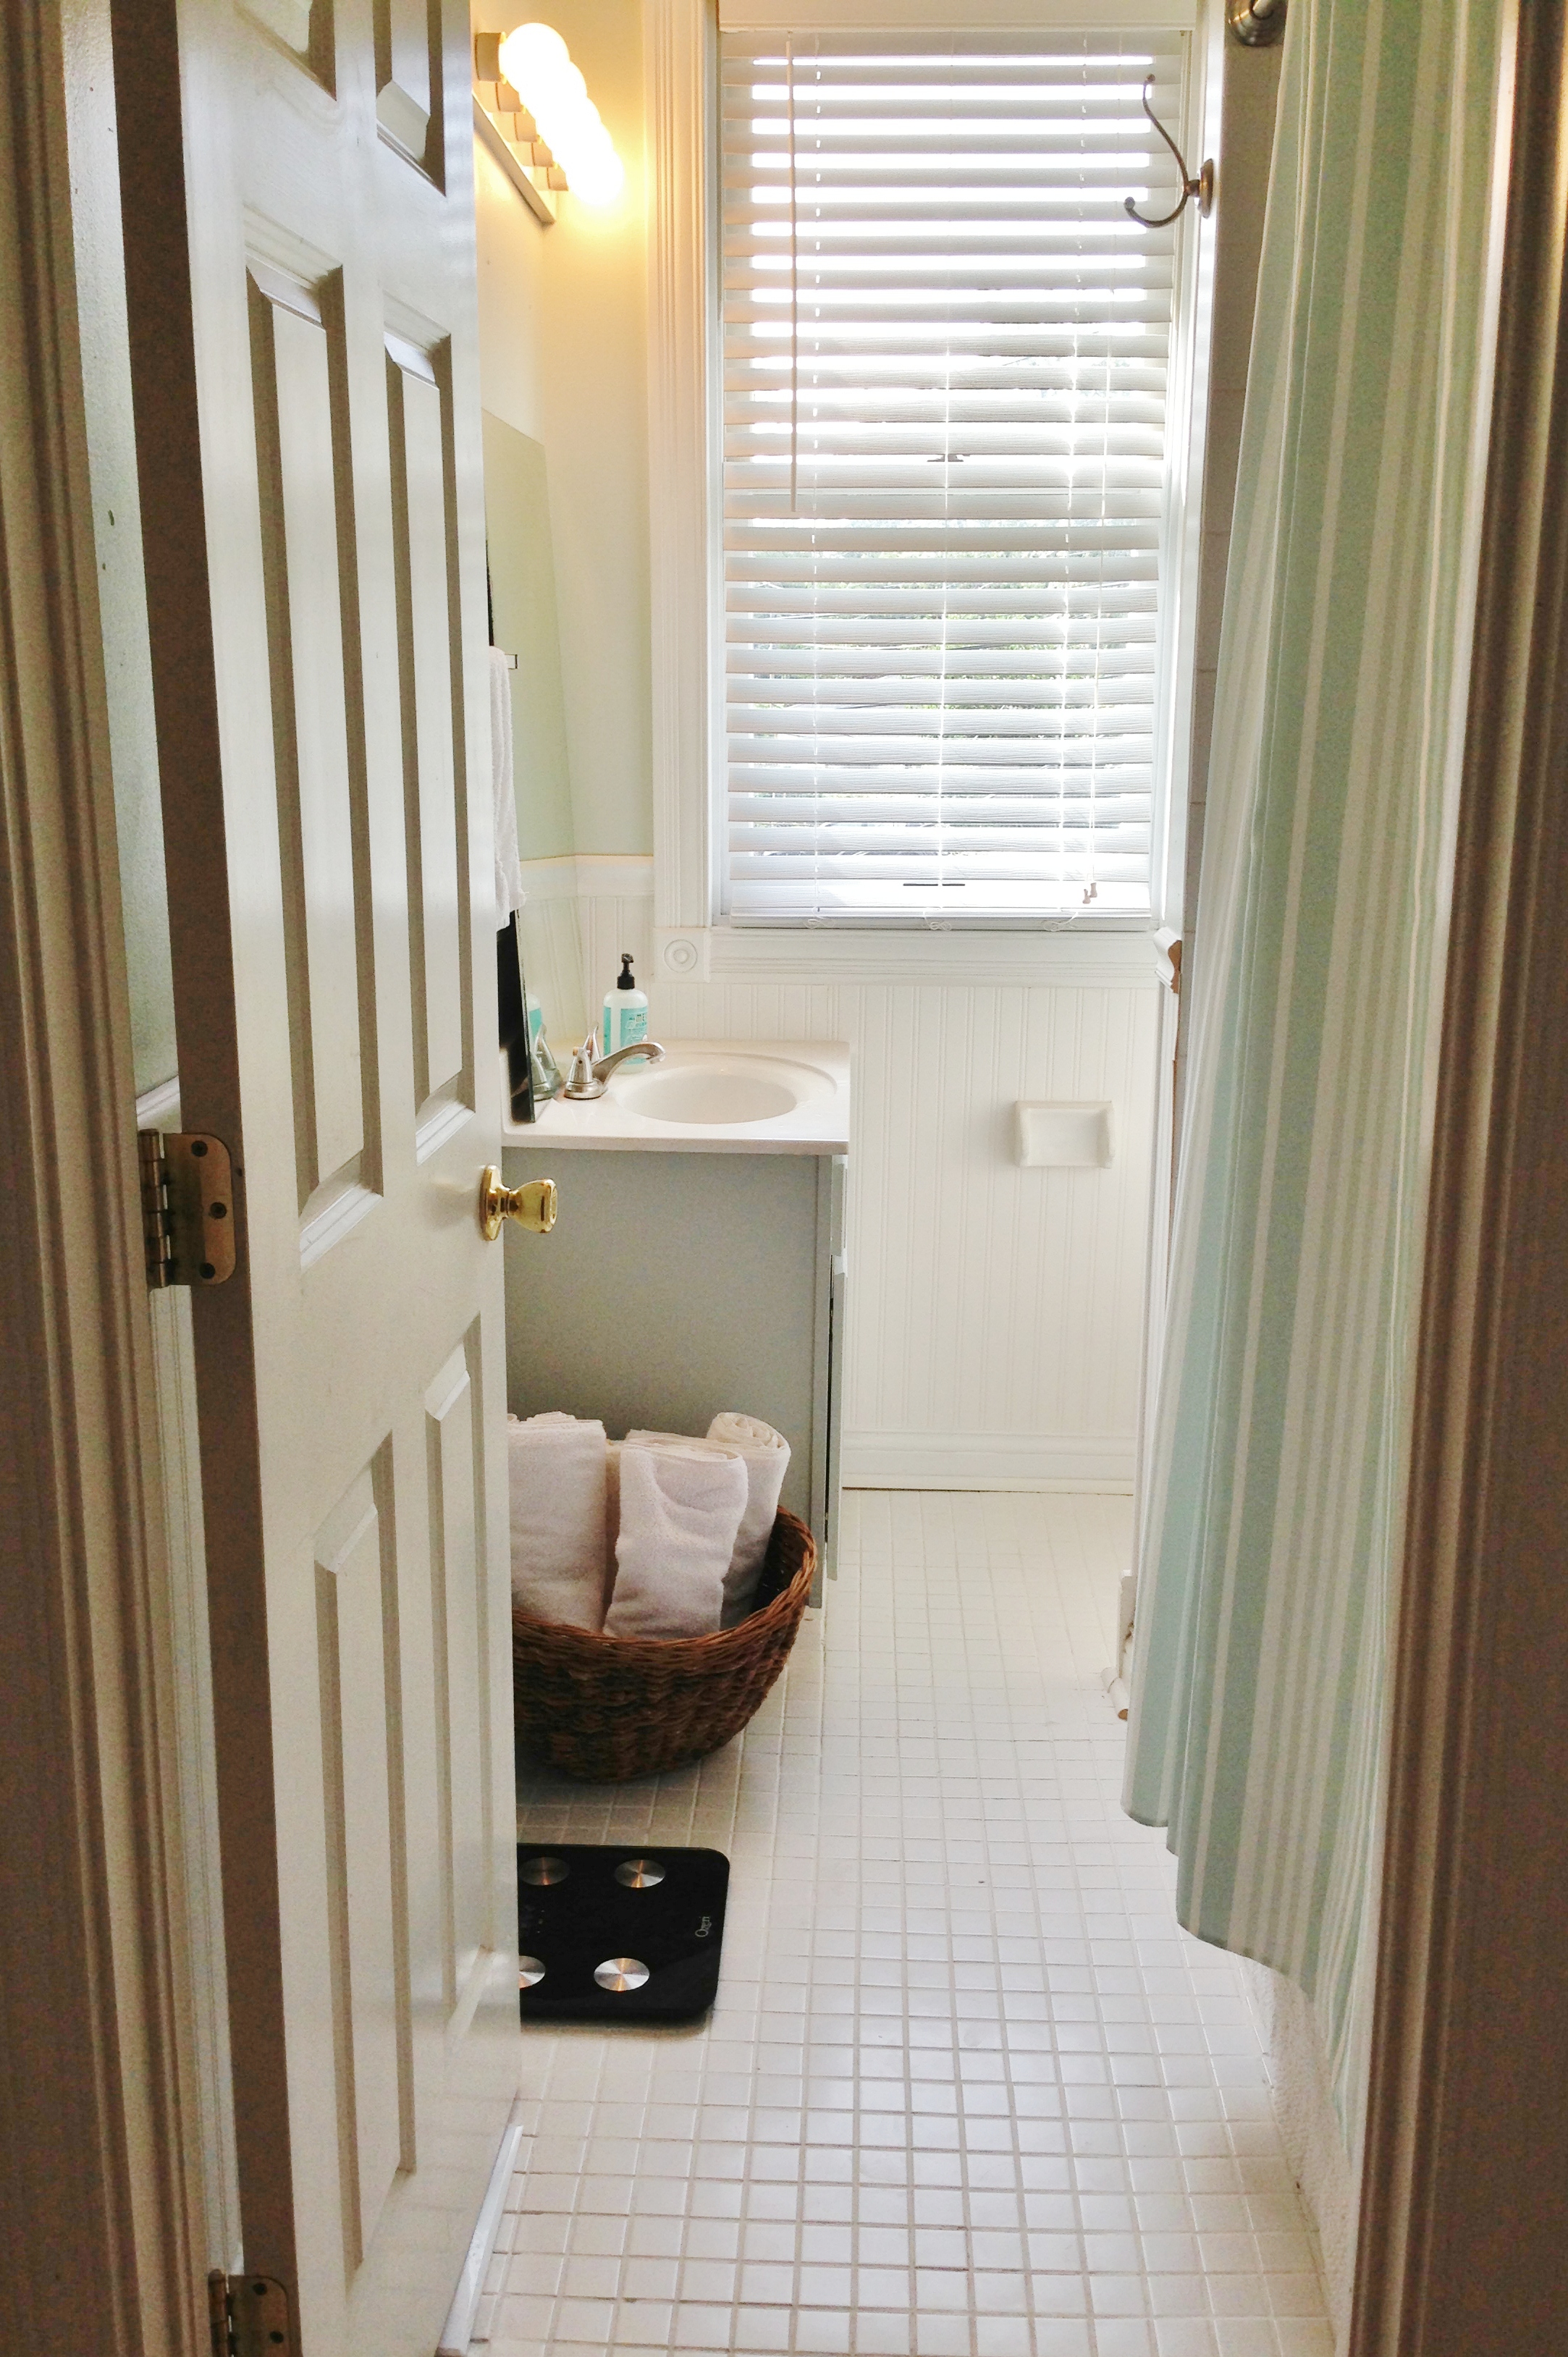
The Whole Thing: Before & After
iPhone Photos - 3.23.13 061   IMG_2307

Total Cost Breakdown:

Beadboard wallpaper (Frontgate Outlet clearance) – 2 rolls for $25
Wallpaper adhesive – $15
Chair rail – 2 for $12
Floor tile and installation materials: $135
Vanity paint: $3
Wall cabinet, paint and accessories:  $20
Basket:  Free (had it)

Total cost: $210

What do you think?  Have you done a budget bathroom refresh?

14 Comments

Previous Post: « DIY Pallet Accent Wall
Next Post: Powder Room Pampering »

Reader Interactions

Comments

  1. maggieoverby says

    October 20, 2013 at 11:39 pm

    Would not have known that was wallpaper. I was wondering if you had pulled out the whole vanity to install the beadboard and then I read down. Looks great and much easier to install.

    Reply
  2. Found This Painted That says

    October 21, 2013 at 2:16 am

    What a difference! Absolutely beautiful!

    Reply
  3. gusto&grace says

    October 21, 2013 at 10:27 am

    It is so much fresher. Looks great!

    Reply
  4. Christina says

    November 3, 2013 at 7:26 am

    Great job! That’s a huge difference for the small price you paid.

    Reply
  5. liane burger says

    July 21, 2014 at 8:47 pm

    ugh i need you at my house! for budgeting and DIY! bathroom looks amazing, so inspired to do mine now… where do u get your cheap materials…tile etc?

    Reply
    • Catherine says

      July 21, 2014 at 9:17 pm

      You totally should! Most of the stuff we just get at Lowes (it’s 5 min from our house… Good thing and bad thing!). There’s also this discount tile/floor place in Columbus that we love called Floor & Decor.

      Reply
  6. Debra says

    September 19, 2014 at 8:26 am

    Very nice!!!! Have you thought about painting around (or stenciling) around the mirror??? Like with a frosted soft leaf or floral design???? You could also make your own frame or find a pretty one, from an old picture….ect.

    Reply
    • Catherine says

      September 19, 2014 at 8:29 am

      Thanks Debra. Yes! That actually is the plan, to make our own frame from trim and then put it back up op the wall!

      Reply
  7. doovermom says

    September 21, 2014 at 11:47 am

    Beautiful! Did you tile the floor yourself?

    Reply
    • Catherine says

      September 21, 2014 at 12:07 pm

      We did! And by we I mean my handy husband 🙂

      Reply
  8. Sandy says

    September 21, 2014 at 12:23 pm

    I have a similar oak cabinet and have been told to use a “grain filler” or several coats of primer before attempting to paint it. Did you prep the cabinet in any special way? What finish was your paint sample?

    Reply
    • Catherine says

      September 21, 2014 at 1:21 pm

      Thanks for stopping by Sandy! We didn’t do significant prep work on this vanity, mainly because the vanity doesn’t get touched all that often. We cleaned it and sanded lightly. We did give it several coats of paint (3+). No chips yet and it’s been a year and a half, but that could be due to its location and light use. If your cabinet is in a higher traffic room, the extra sanding and priming would probably be a good idea, but that’s just my unprofessional opinion 🙂

      The paint sample was matte I believe. They said we’d have to get a quart if we wanted any special finishes, so we sacrificed that for the $ savings.

      Reply
  9. Regina says

    September 21, 2014 at 1:44 pm

    Looks beautiful. Is very inspiring. Thank you for sharing.

    Reply
    • Catherine says

      September 21, 2014 at 1:58 pm

      Thanks Regina!

      Reply

Leave a Reply Cancel reply

Your email address will not be published. Required fields are marked *

This site uses Akismet to reduce spam. Learn how your comment data is processed.

Primary Sidebar

Currently Loving

Faux Plants

Lighting Picks

Rug Picks

Let’s Connect

  • Facebook
  • Instagram
  • Pinterest

Browse by Category

Deep in design mode these next few weeks as we not Deep in design mode these next few weeks as we not-so-patiently wait to close on our next project (!!!) It’ll be a mix of all of the things we’ve been doing for the last 7 yrs, but also something we’ve never done before. ☺️ Any guesses??

#theblondevic
Design + reno: @beginninginthemiddle 
📸 @alliepal
Those in between spaces need love too 🖤 #theblo Those in between spaces need love too 🖤 #theblondevic #beforeandafter 

Thanks for perfectly capturing this for us @alliepal 🤗
Same view, 4 years later ♥️ #theblondevic #bef Same view, 4 years later ♥️ #theblondevic #beforeandafter 

📸 @linea.photo 
Styling: @ma2thewjg 
For @hgtvmagazine
Just a family, posing for a photo, trying to stay Just a family, posing for a photo, trying to stay still and smile all at once ☺️ Thank you for your shares and likes and kind words on our magazine feature this week. Feelin the love and so grateful for your support! 📸 @linea.photo for @hgtvmagazine
Late afternoon light brings out all the pretty gre Late afternoon light brings out all the pretty green in our kitchen 🖤 We DIYd the reeded detail on the island with thin wood dowels and a pin nailer! #theblondevic 

📸 @linea.photo, styling by @ma2thewjg for @hgtvmagazine 

Cabinet color: Behr Black Sable
Surprise! We have a spread in the March issue of H Surprise! We have a spread in the March issue of HGTV magazine and our living room MADE THE COVER 🎉 @ma2thewjg and the styling team worked their magic to bring springy vibes & lots of fun color into #theblondevic, and @linea.photo captured everything beautifully. So thankful we could bring this home back to life, and excited we can share it with all of you! #hgtvmagazine #victorian
We swapped another switch in our house to a @lutro We swapped another switch in our house to a @lutronelectronics Caséta Smart Dimmer Switch, which allows us to control our lights remotely from the Lutron app, set lighting schedules, and create “scenes” that automatically adjust multiple lights in a room — no matter if we’re home or not. Our parlor chandelier dims down to 15% around sunset every evening (we also have our kitchen pendants set to turn on at 6am so we never have to walk into a dark kitchen in the morning!). The added control and convenience over our lighting is so nice, and being able to schedule them to come on/off throughout the day gives us extra security when we’re not home! #turnonpeaceofmind #sponsored
All new, but make it look old ☺️ #whitecapecot All new, but make it look old ☺️ #whitecapecottage #beforeandafter

Copyright © 2021 · Refined theme by Restored 316