

The last room at White Cape Cottage is finished, and we have photos to share!
This post is sponsored by Valspar.
BEFORE
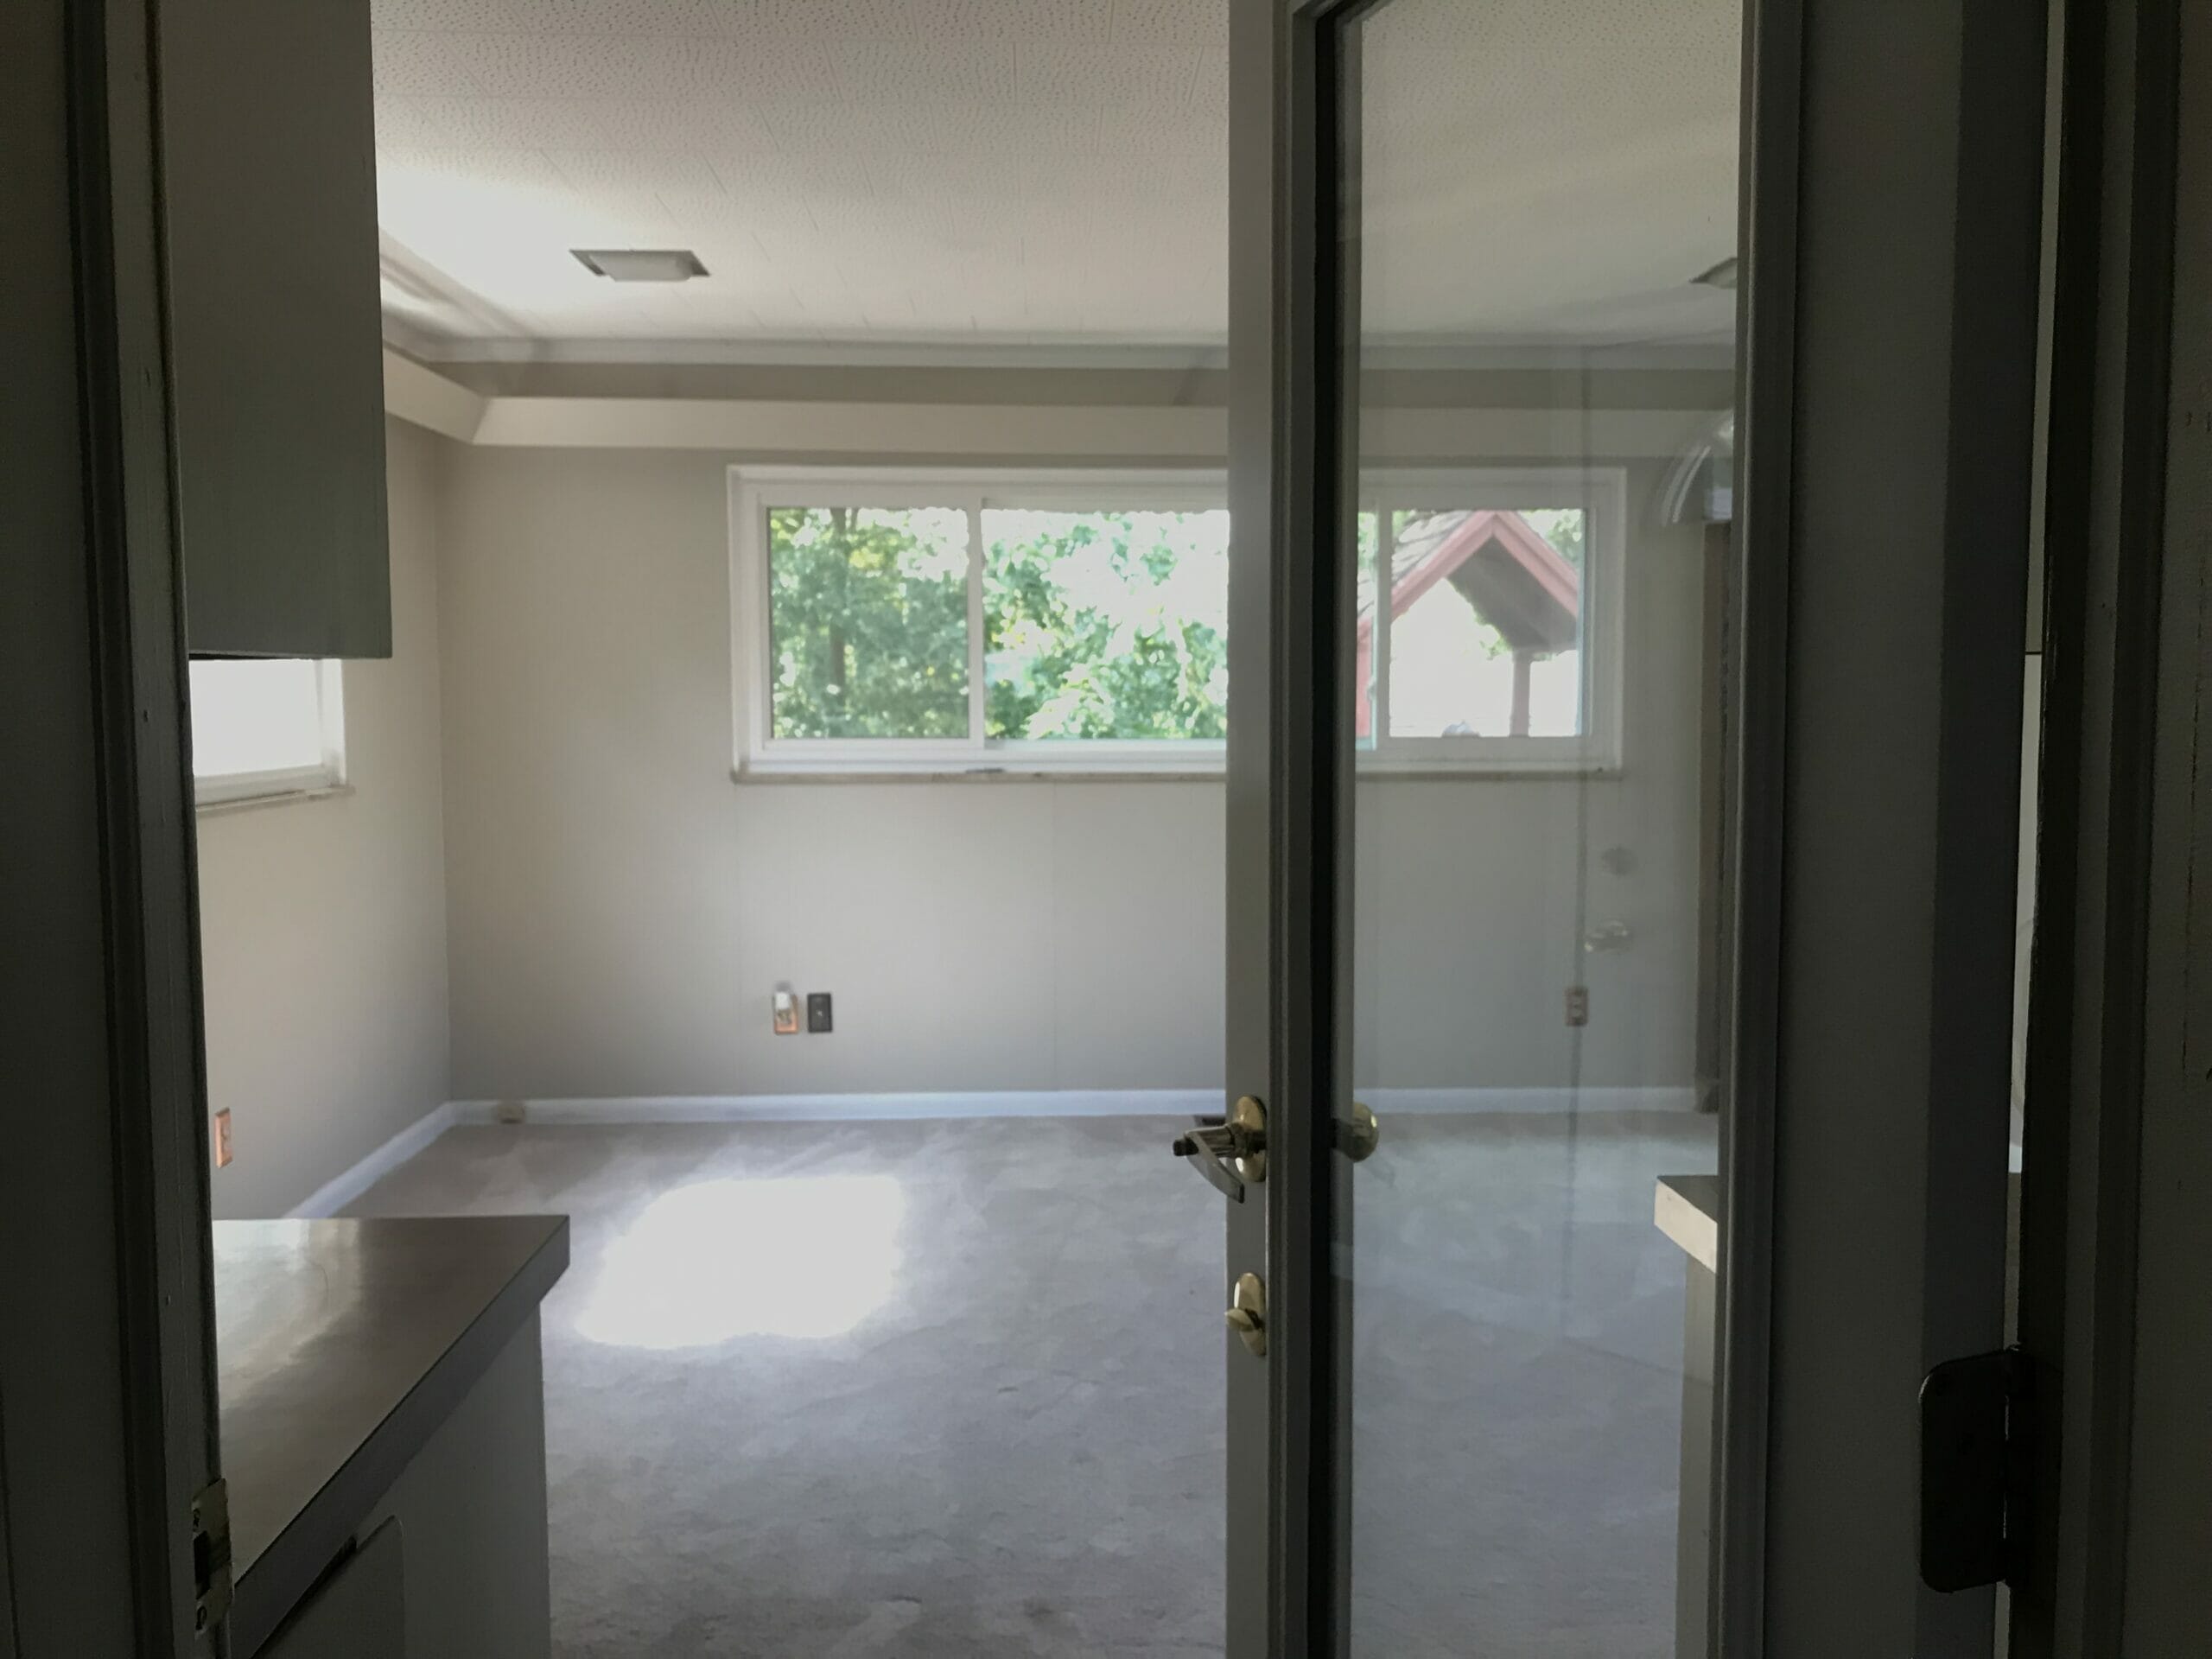
We renovated the majority of White Cape Cottage before my parents moved in August, but saved the sunroom for last. This space has HVAC and insulation, so it’s more of a four seasons room but for the sake of simplicity, we’re calling it a sunroom. It was added on at some point after the home was built in the ’50s and is a great size (16×16). Let’s start with a before tour.
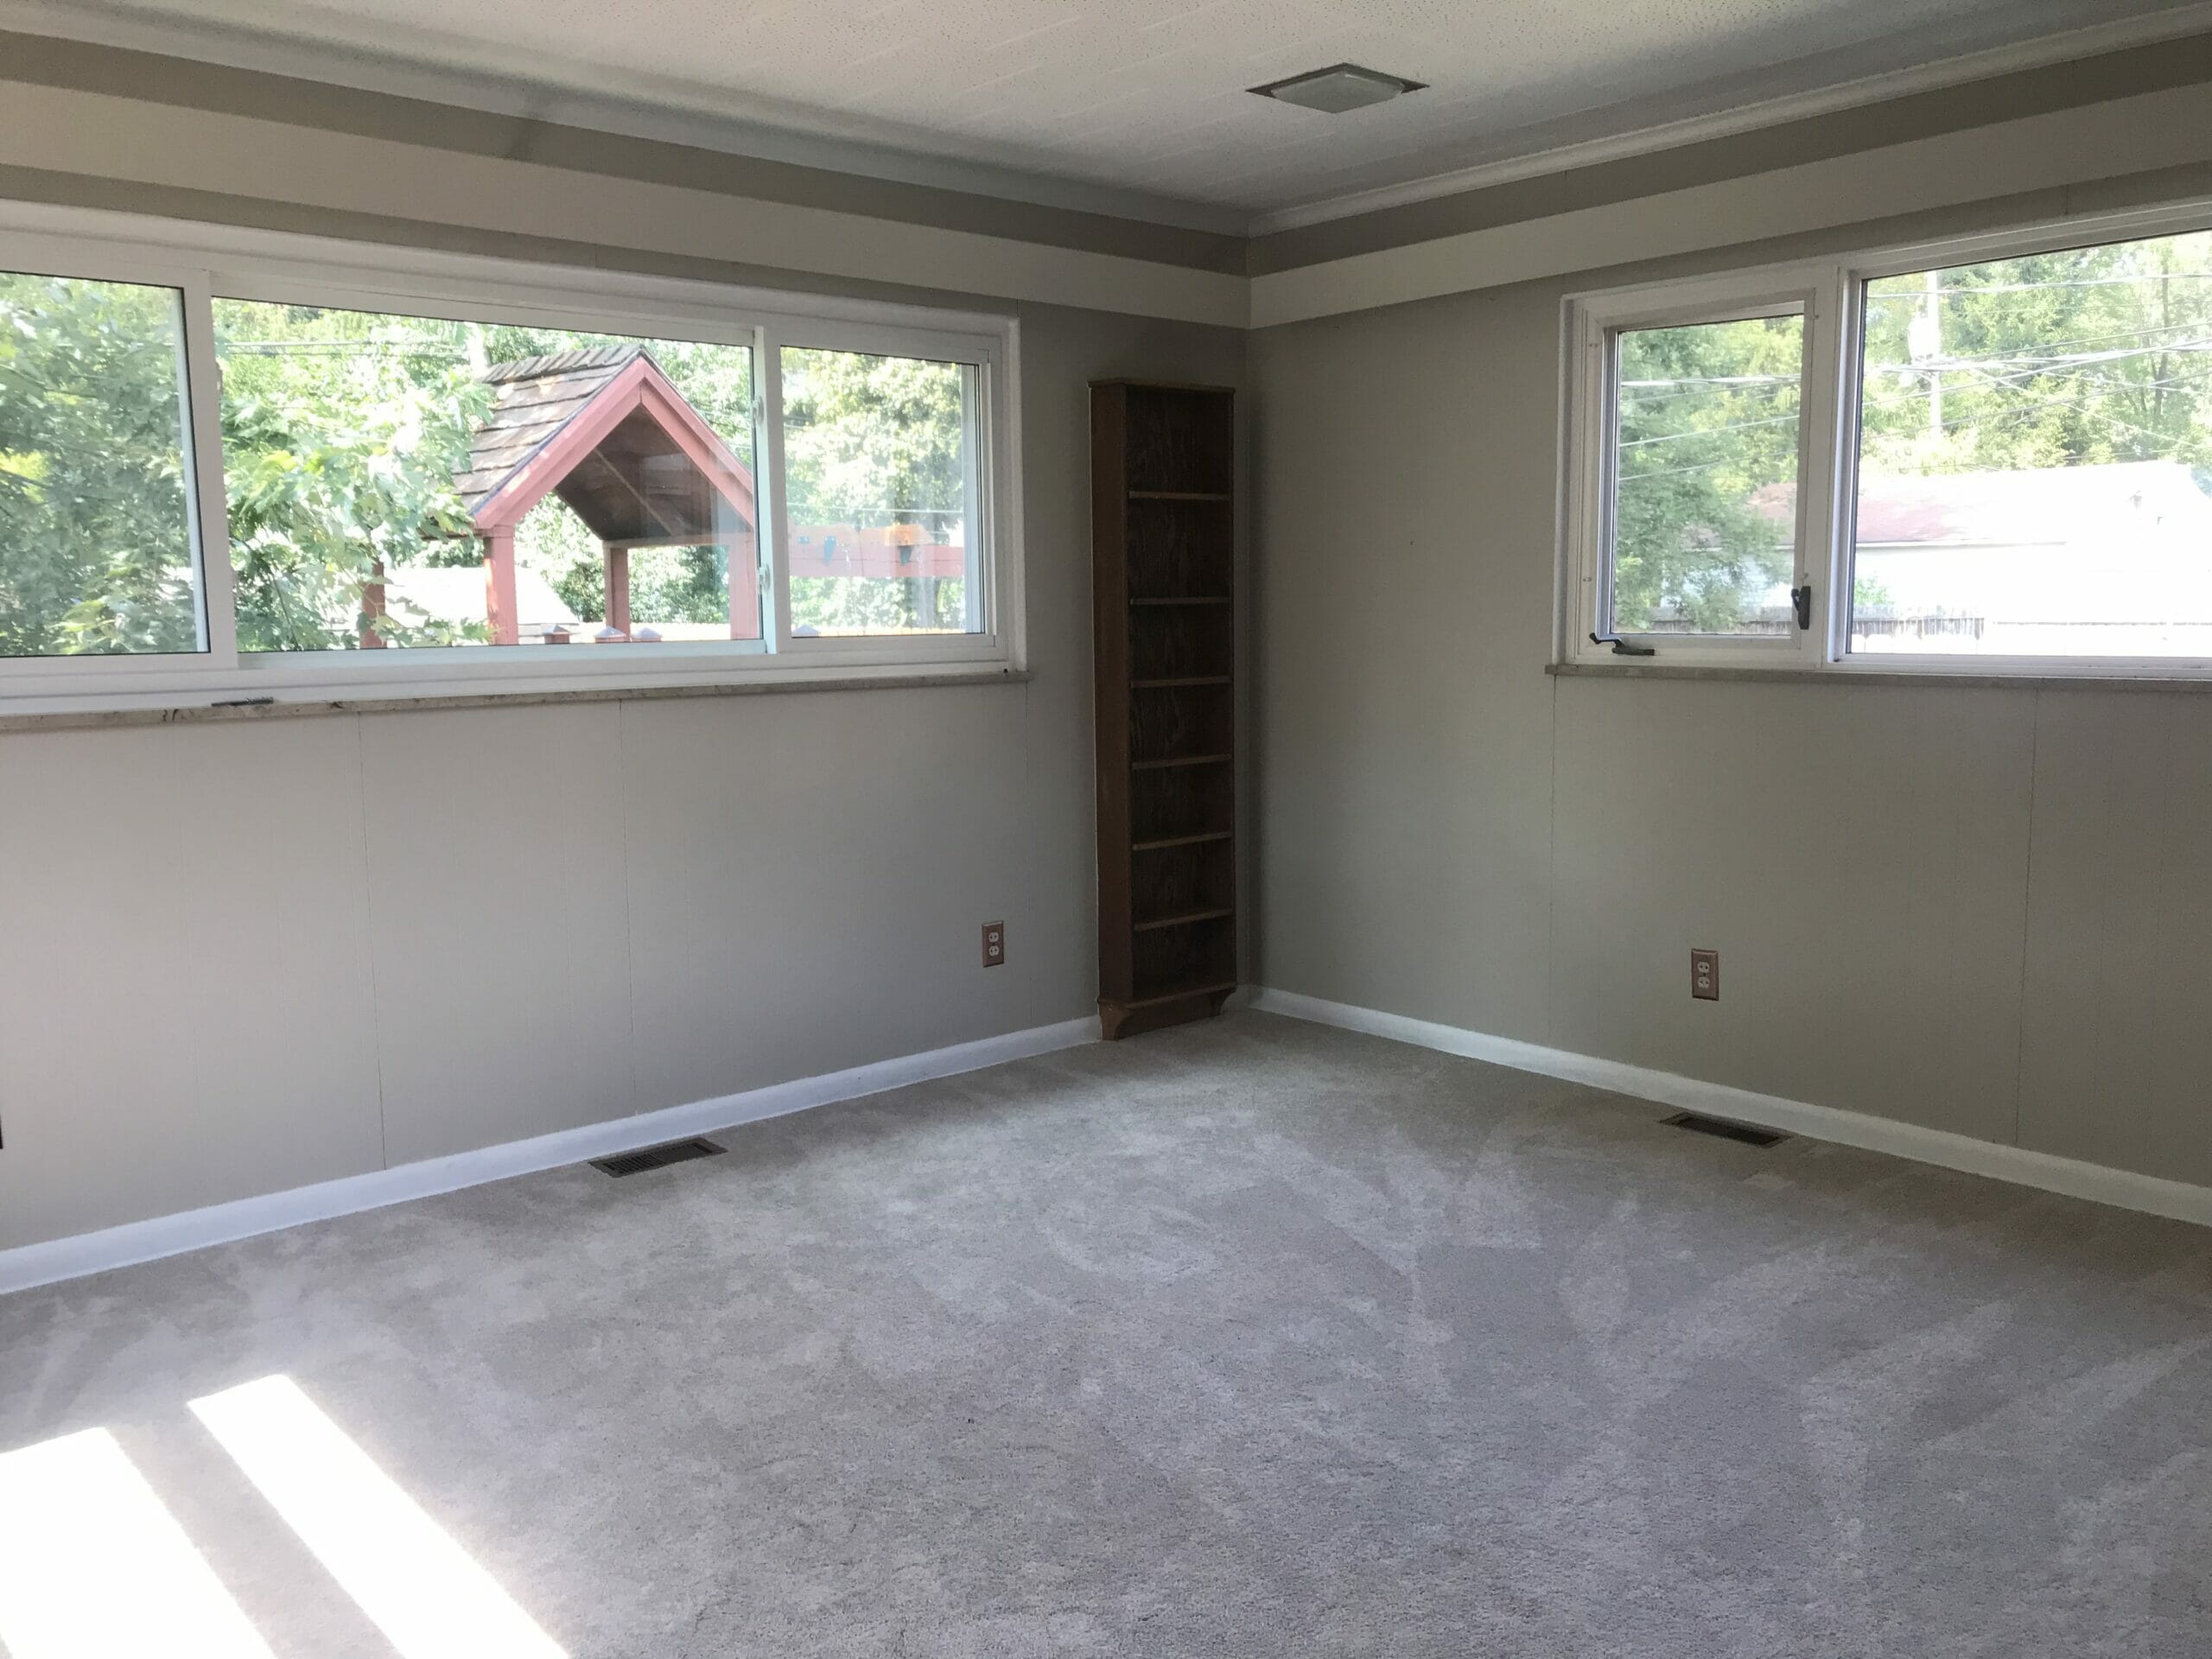
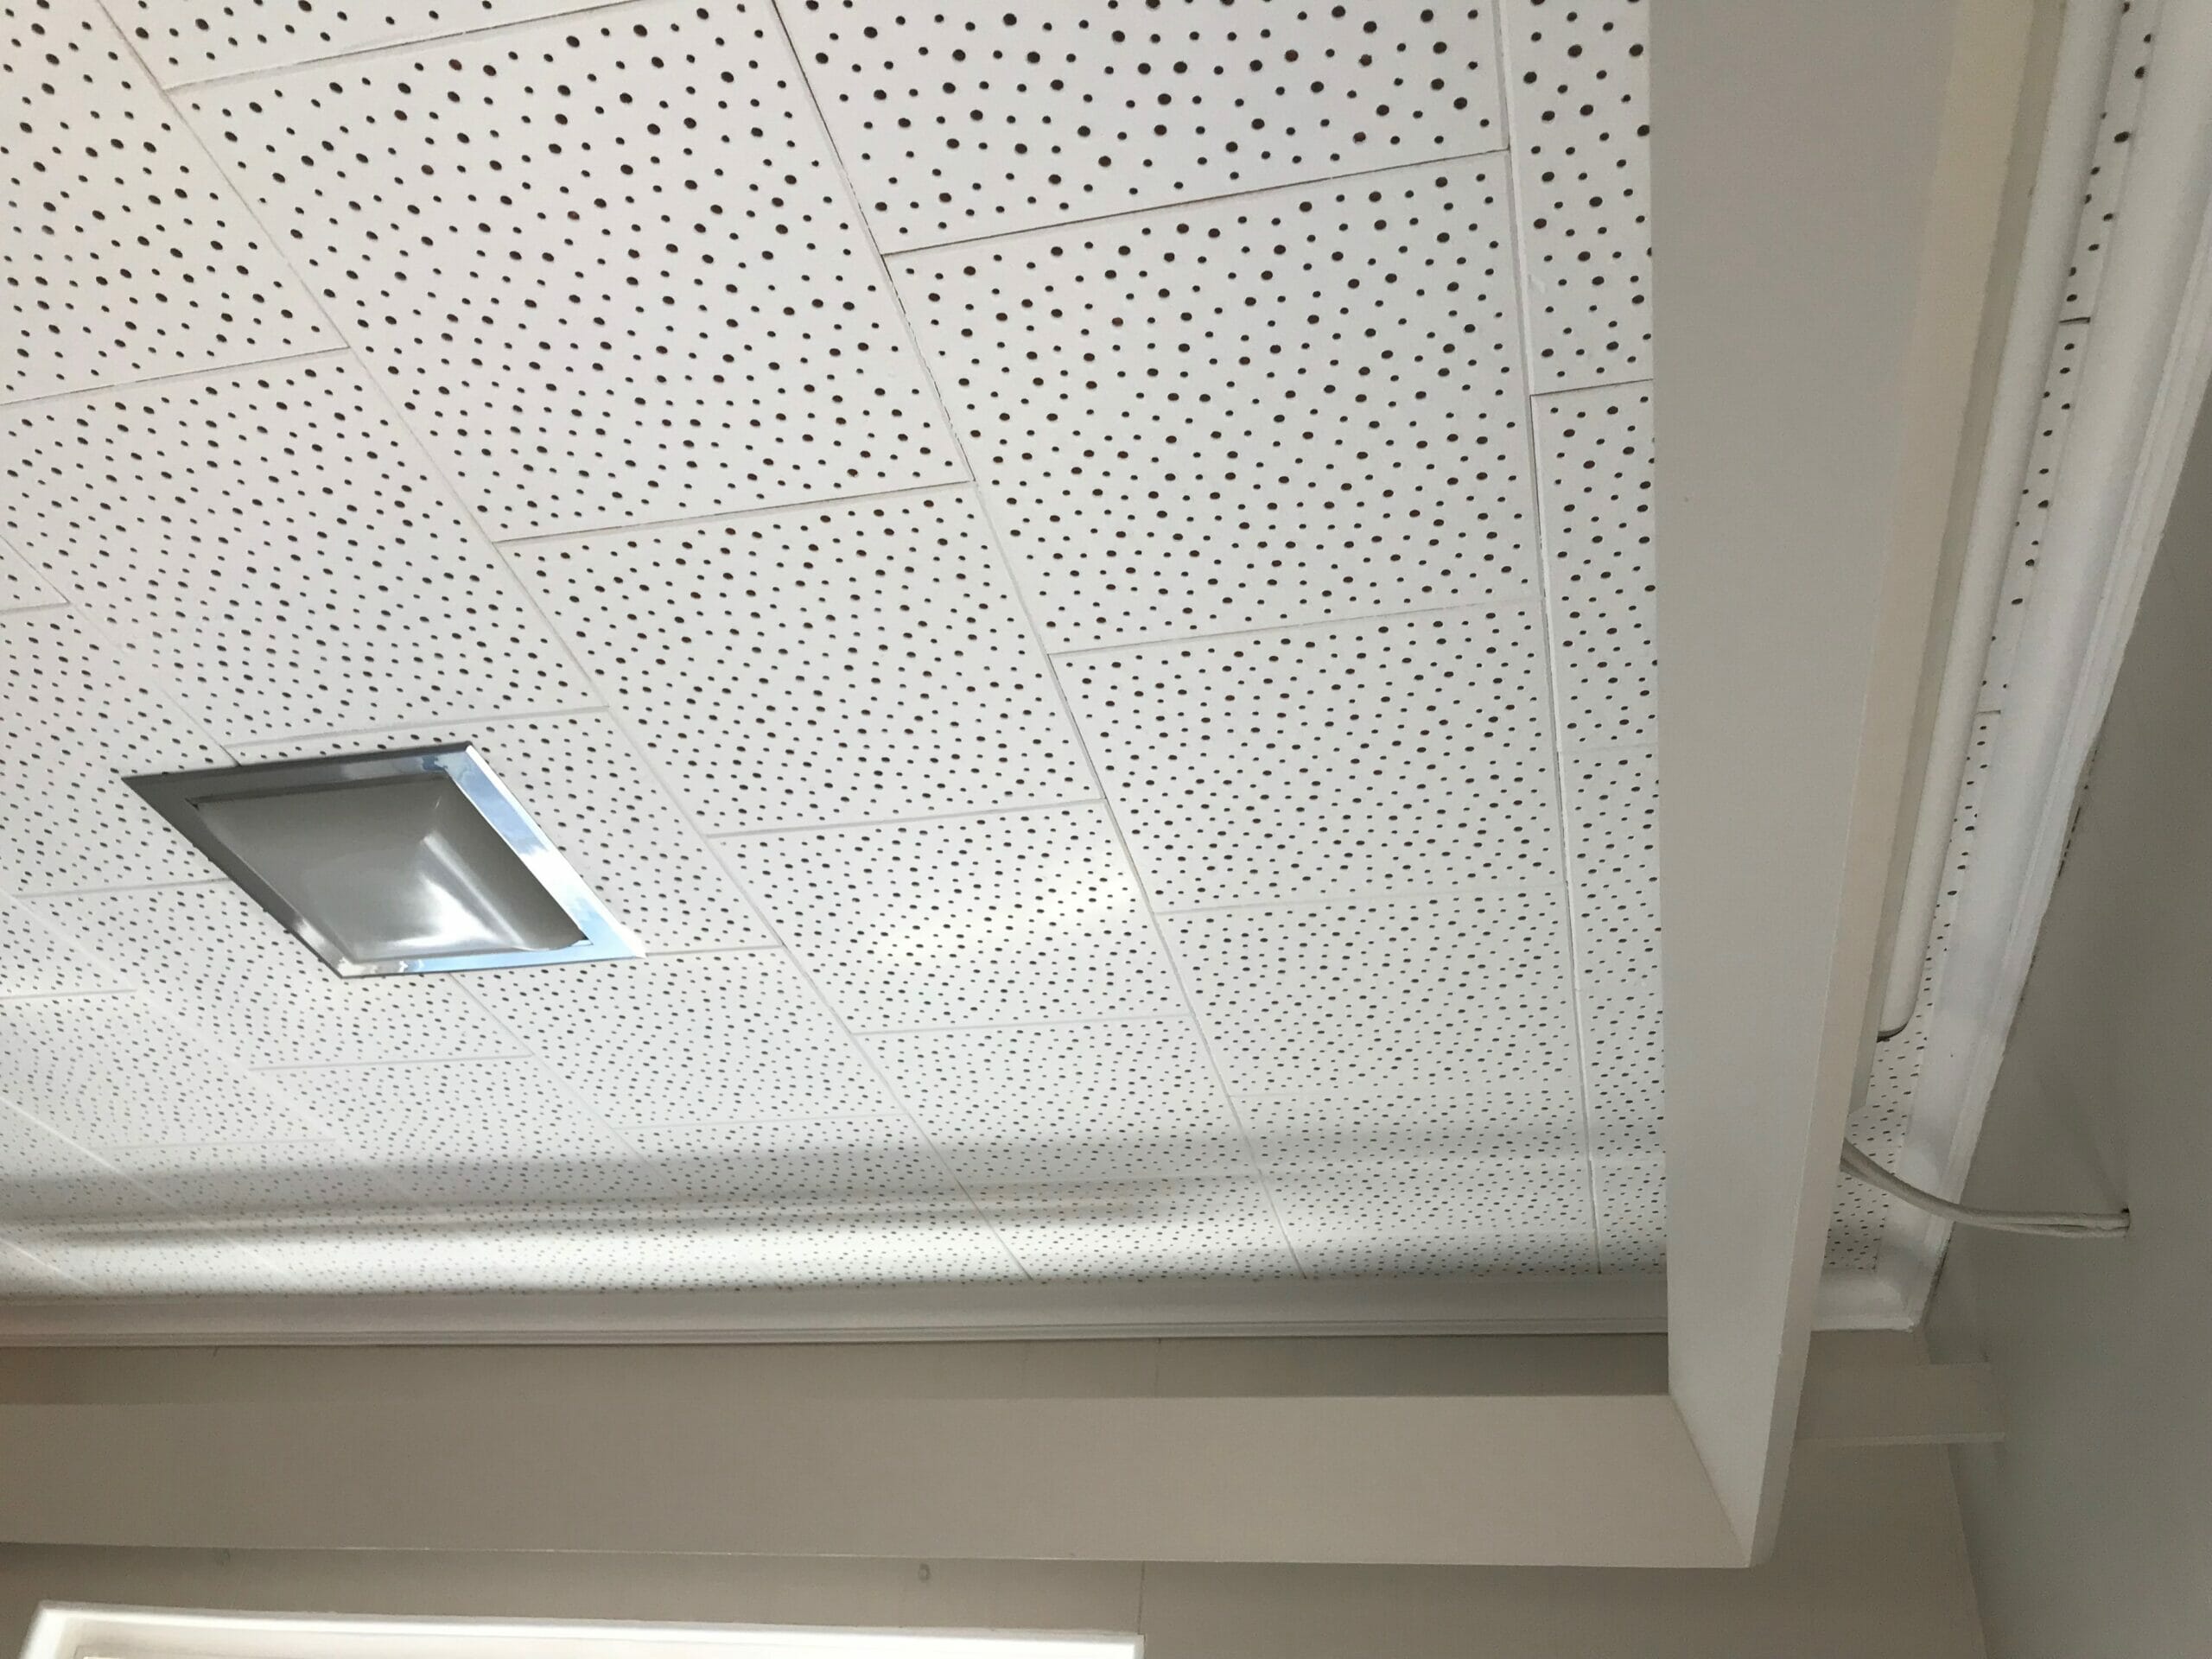
Here are a few shots of the space. It had fluorescent lighting installed around the perimeter, carpet that smelled like pee, and ceiling tiles that made the room feel more like a dated office than a cozy room at home.
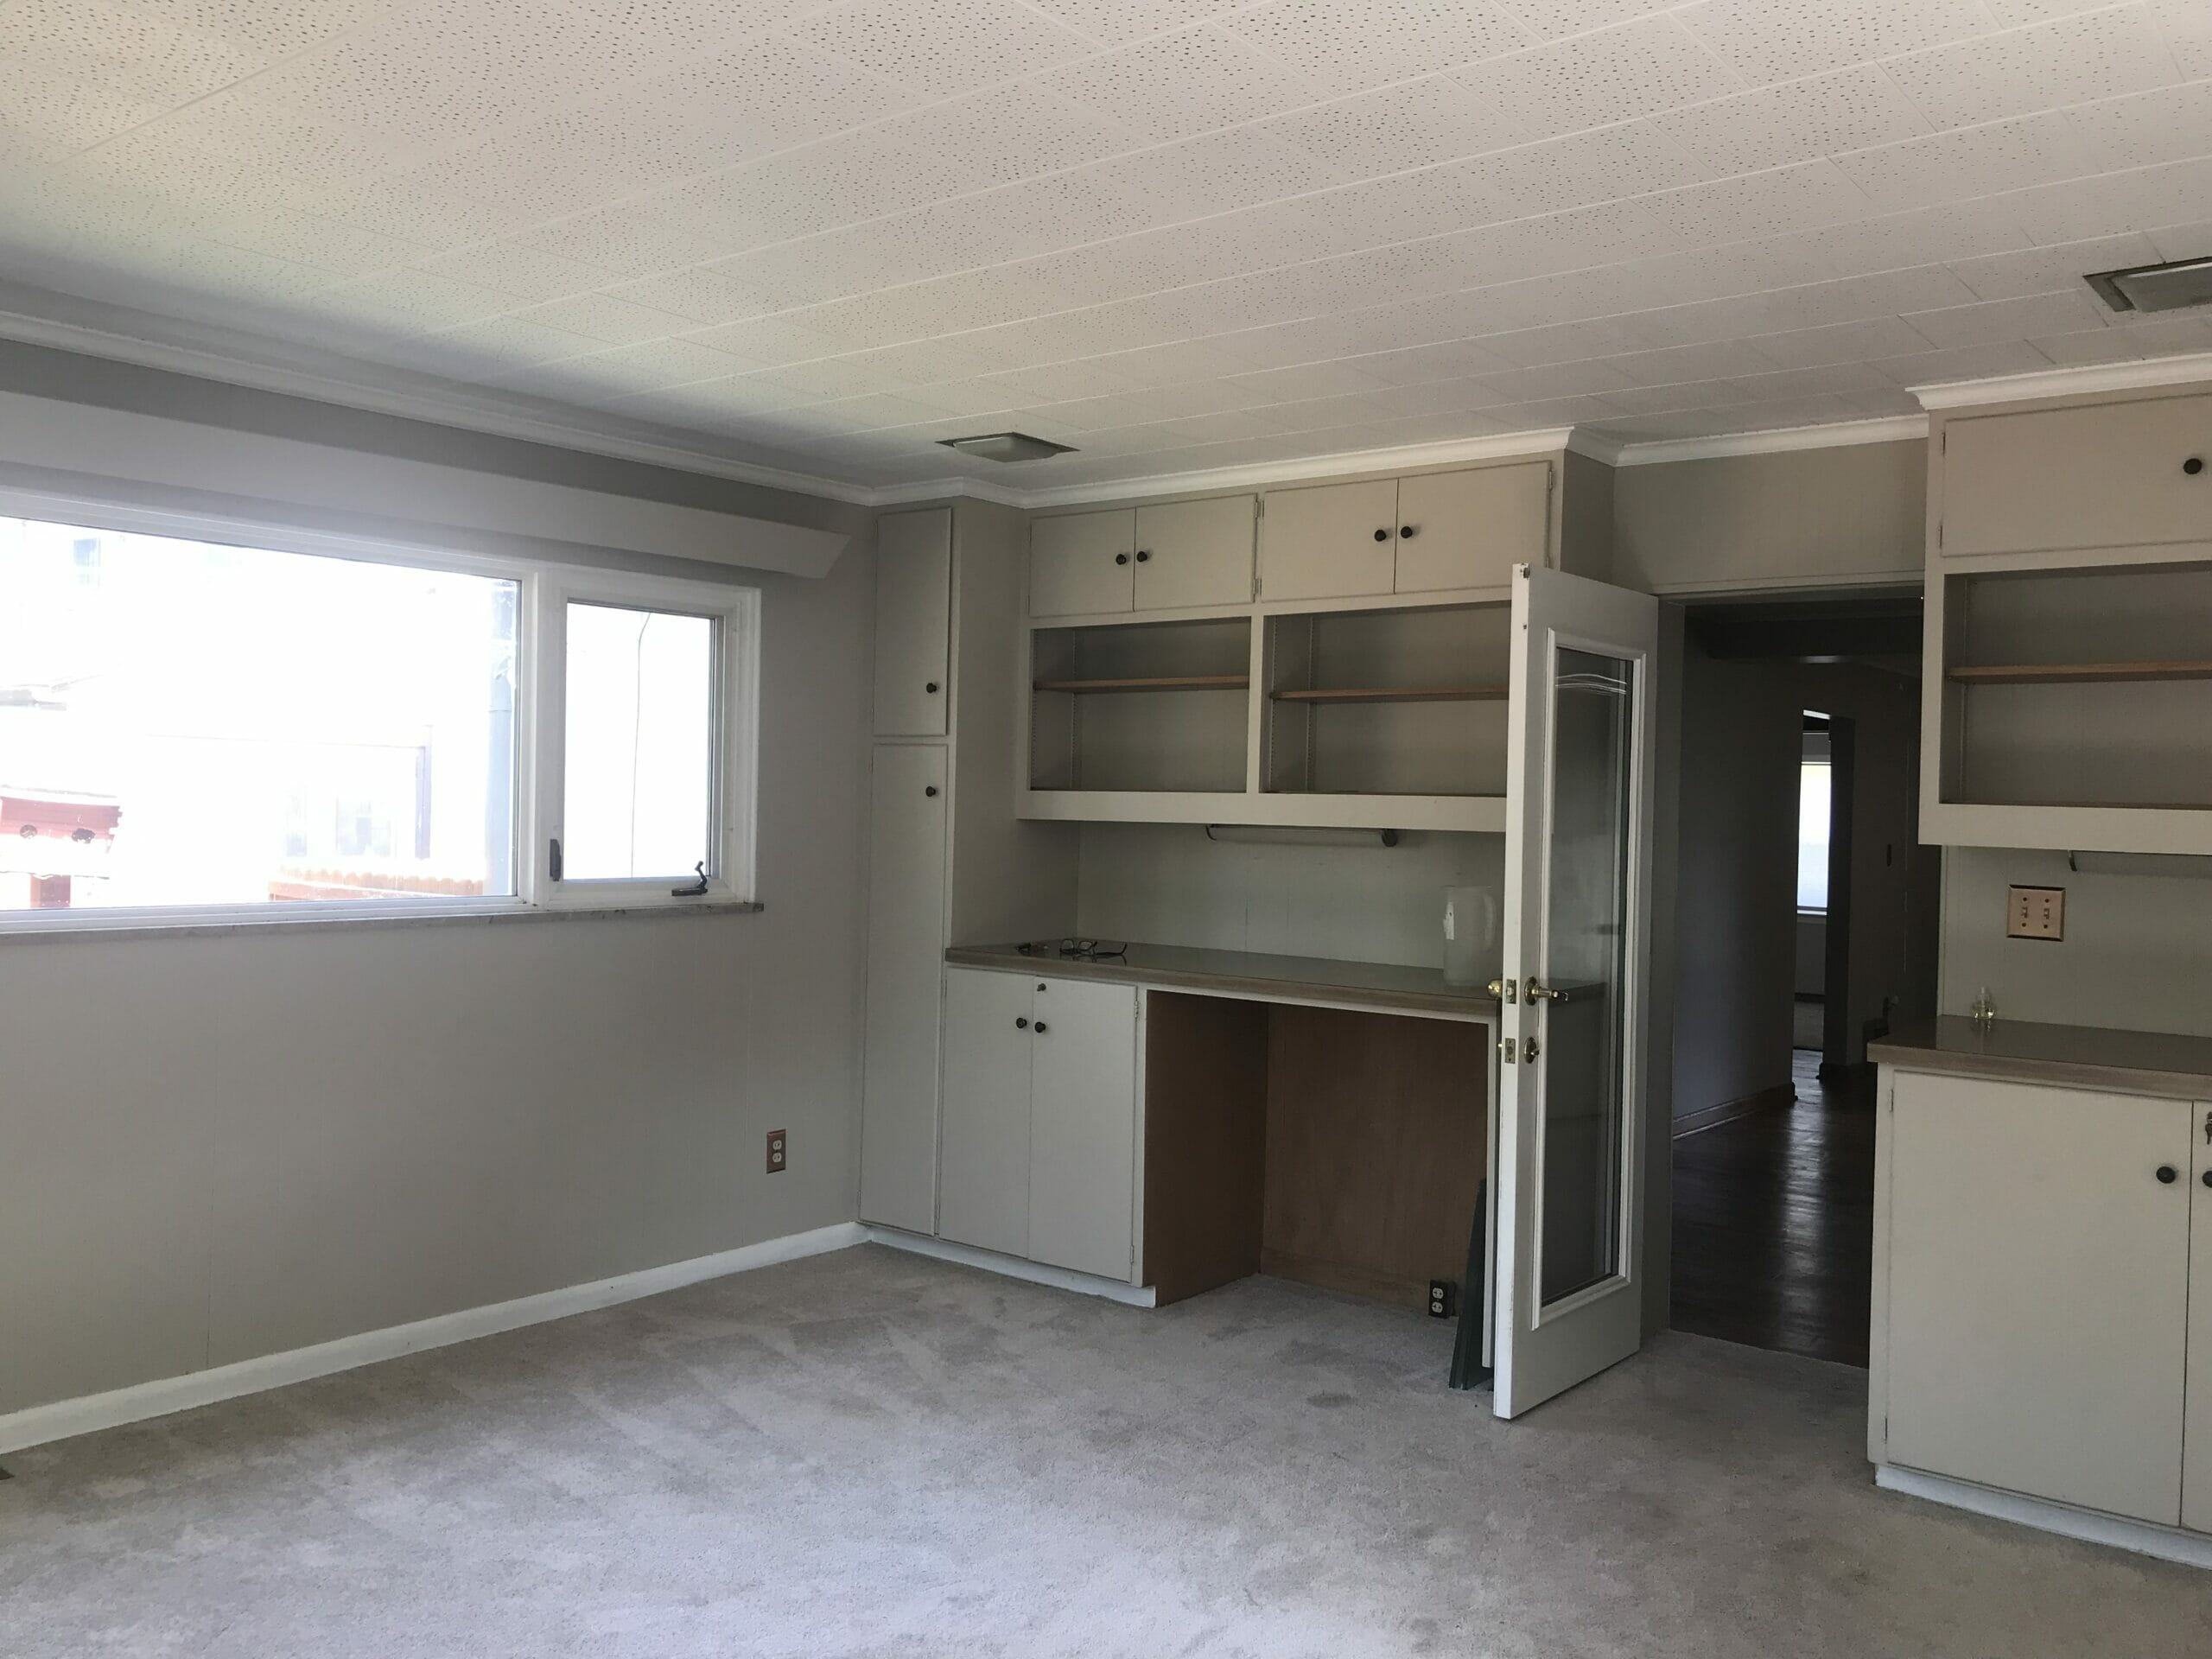
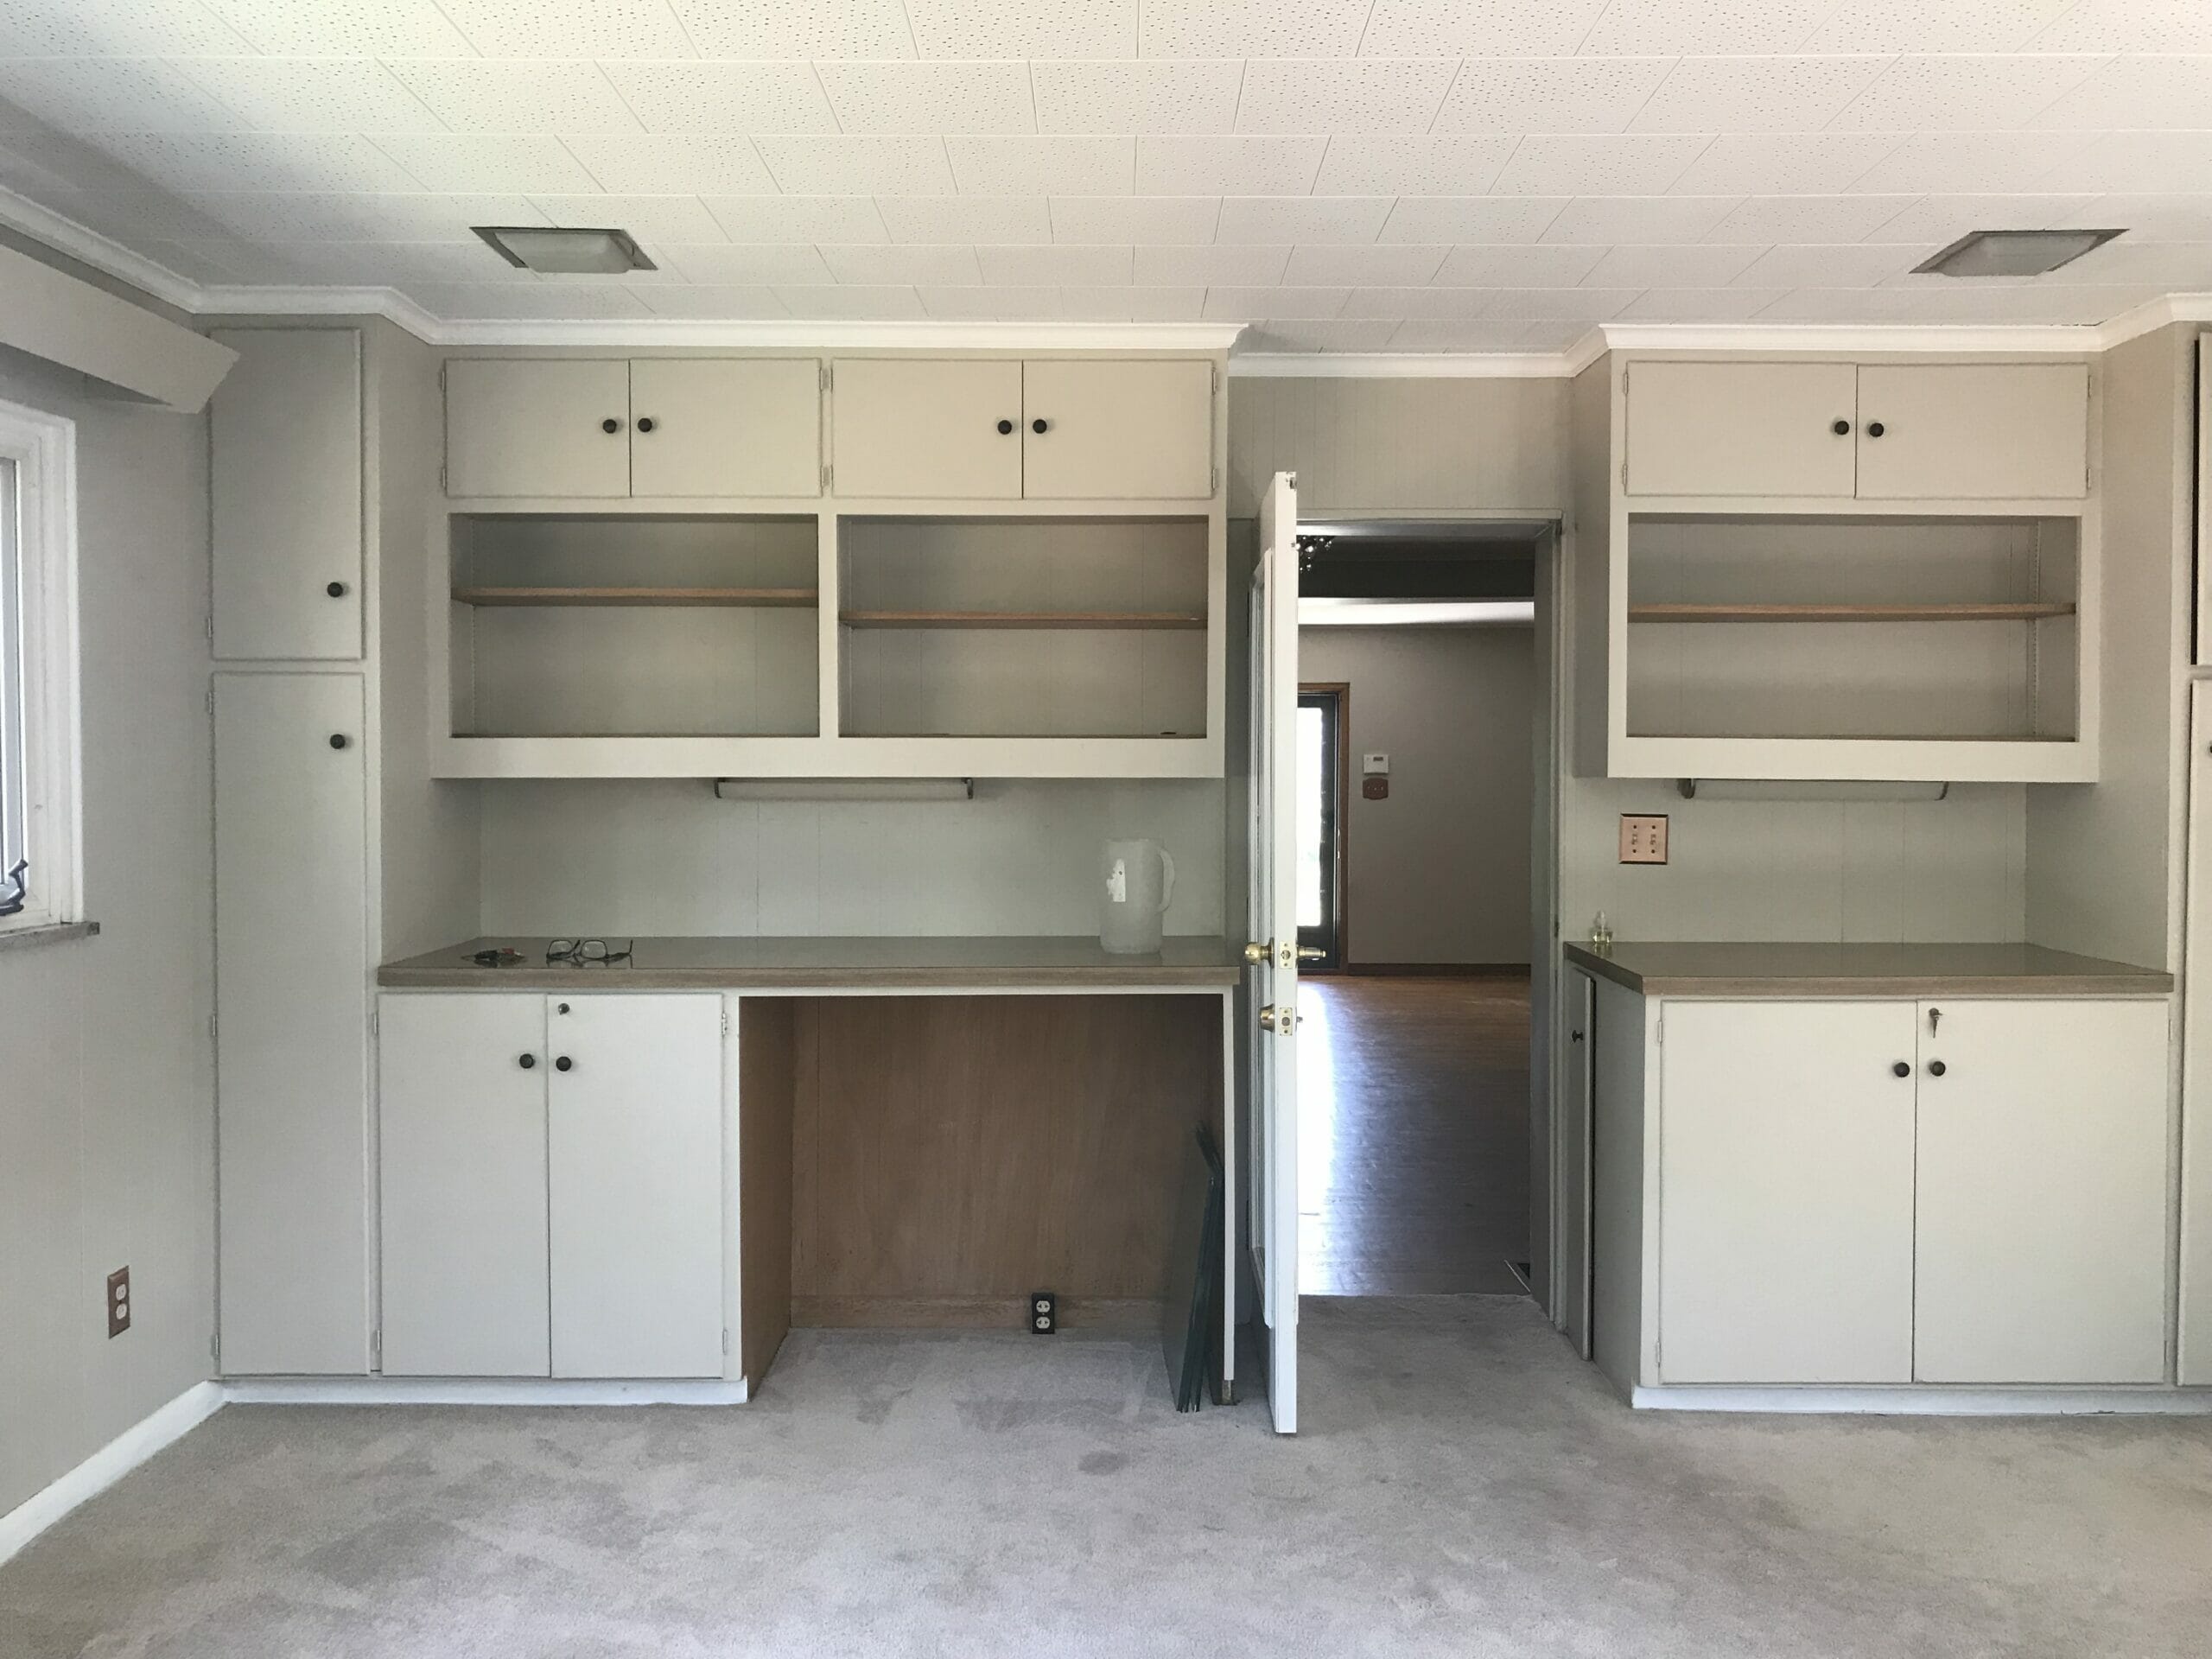
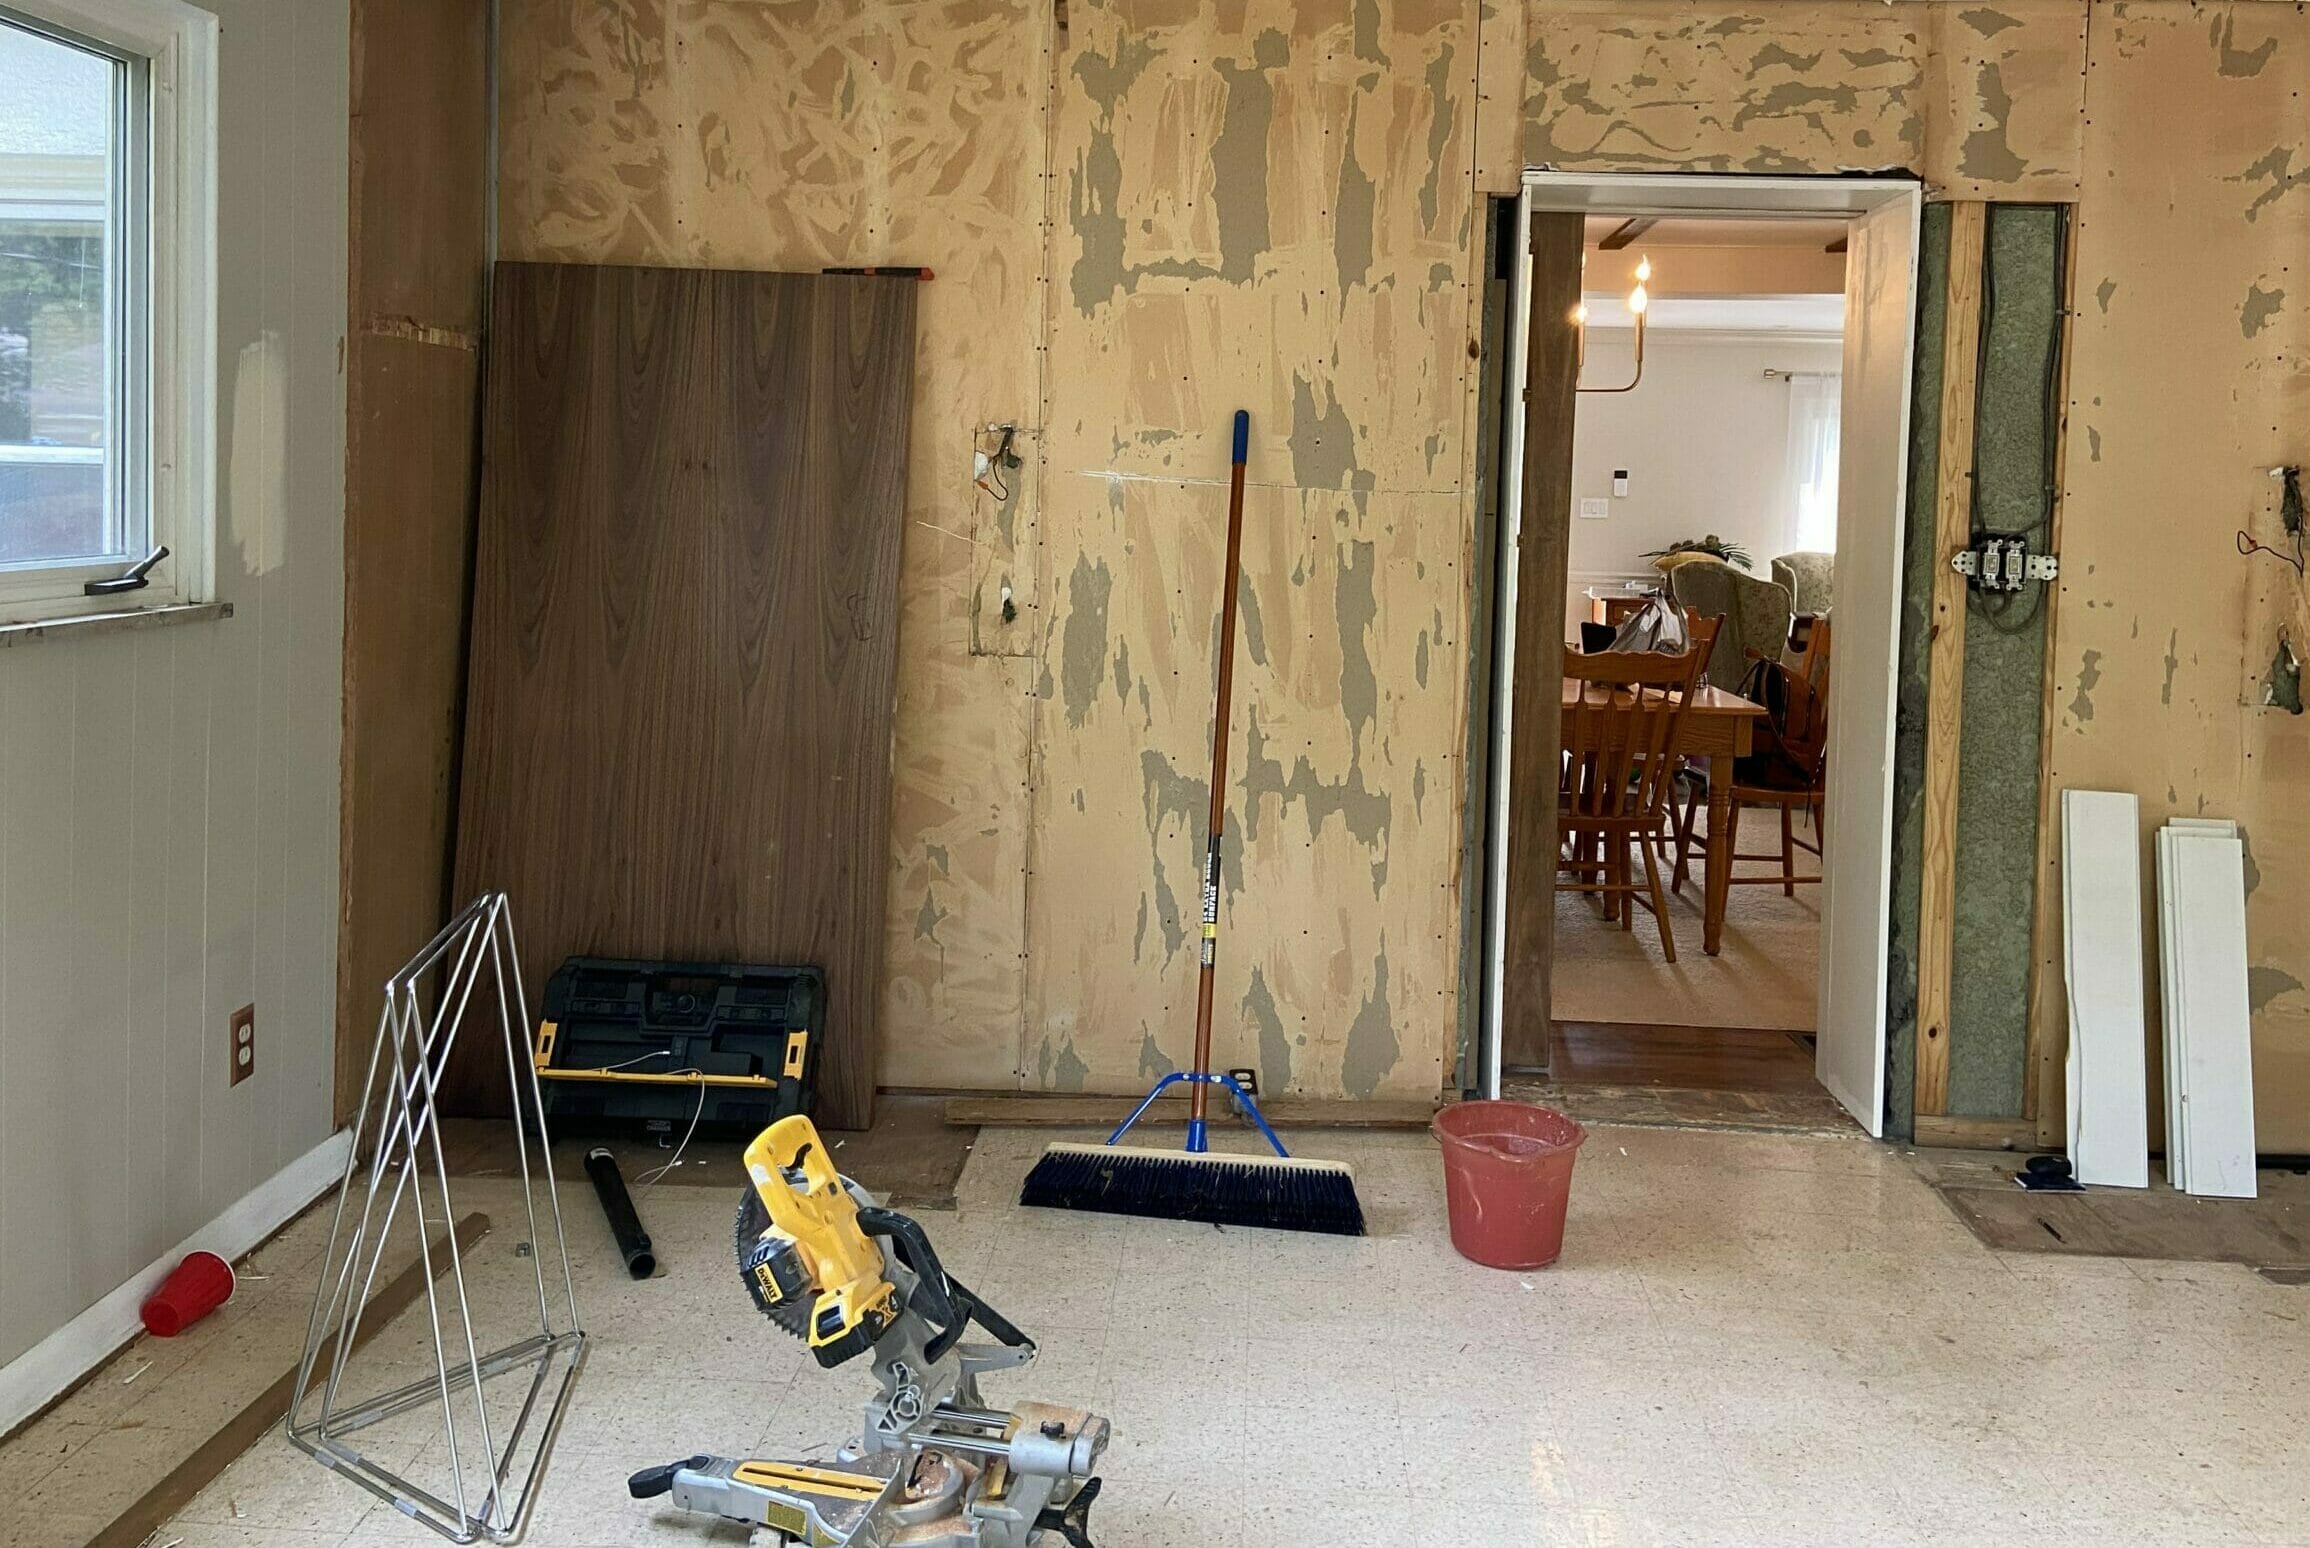
This was the old built-in wall. We considered keeping them as-is and painting them, but couldn’t get over how awkward they felt. The base cabinets were extra deep and tall and didn’t feel like they were the best quality. My parents also wanted to consider using the wall for some of their furniture, like the piano, so we decided to take them out.
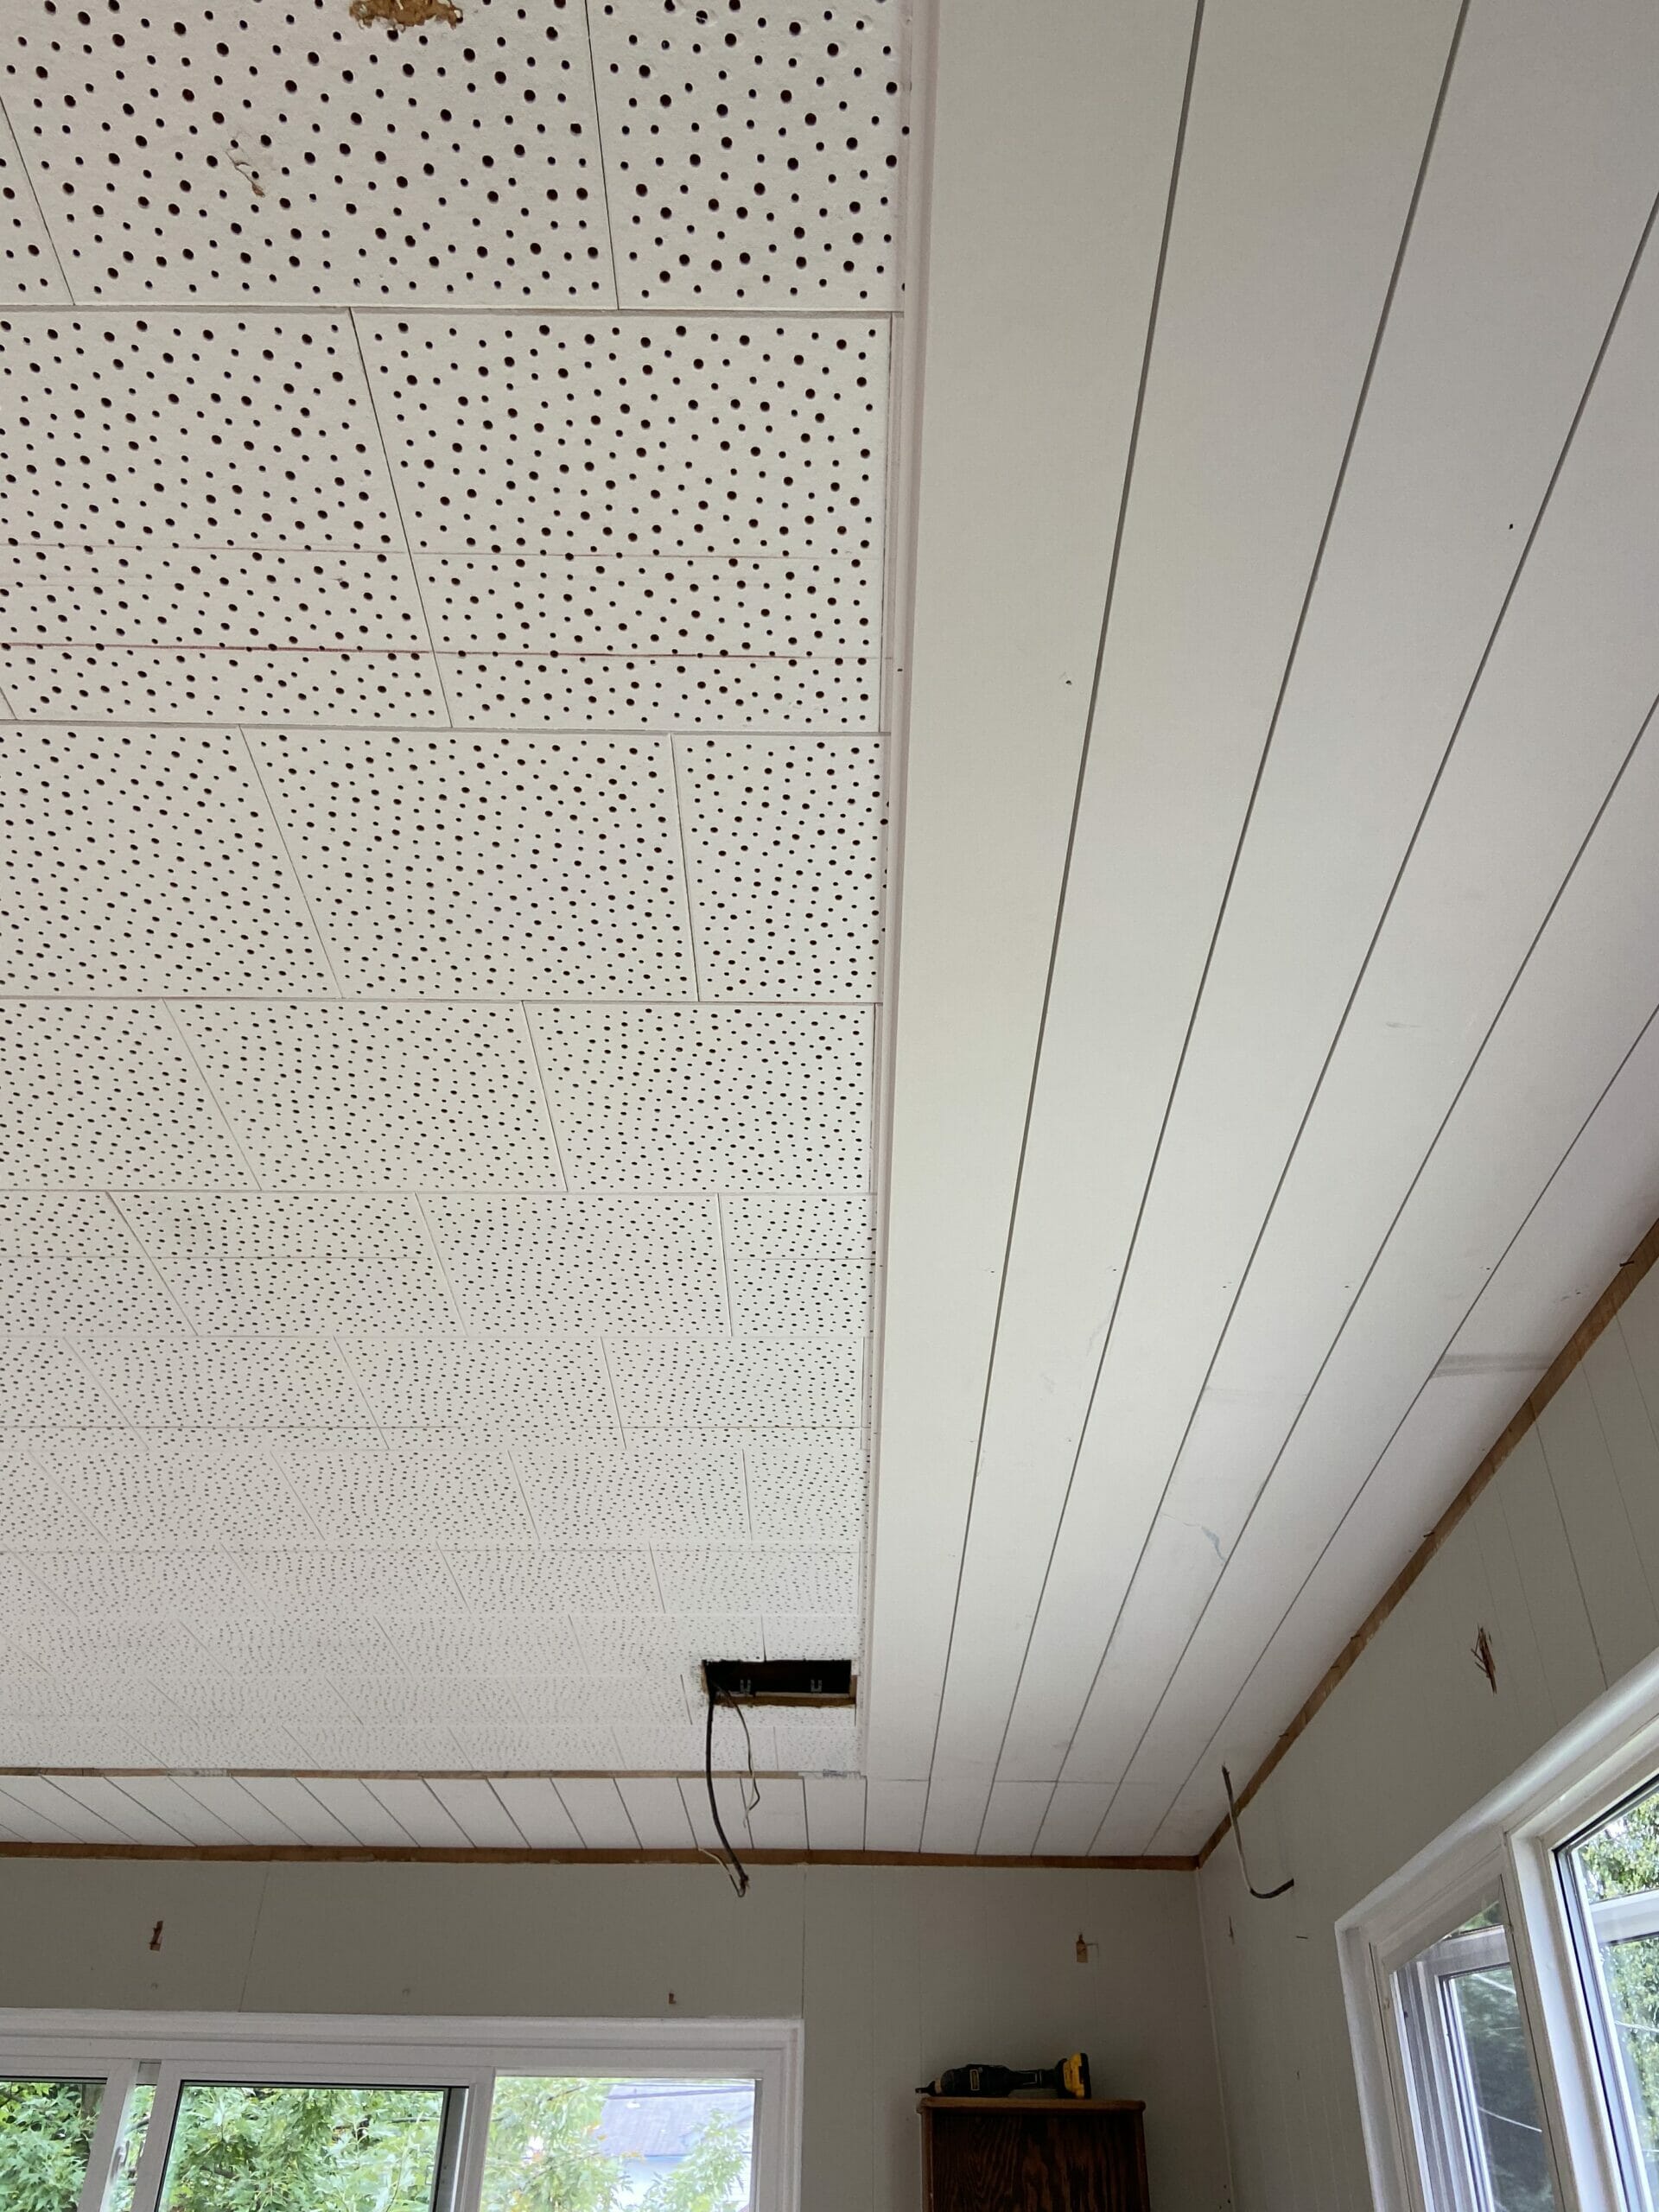
 Last but not least: a close-up of the ceiling. Oof. It’s not a drop ceiling – these acoustic tiles were glued up to drywall.
THE RENOVATION
The plan for this room was to make it comfortable, inviting and functional, and do it on a small budget of $1,500 without sacrificing quality. We began with removing the old carpet and built-ins.
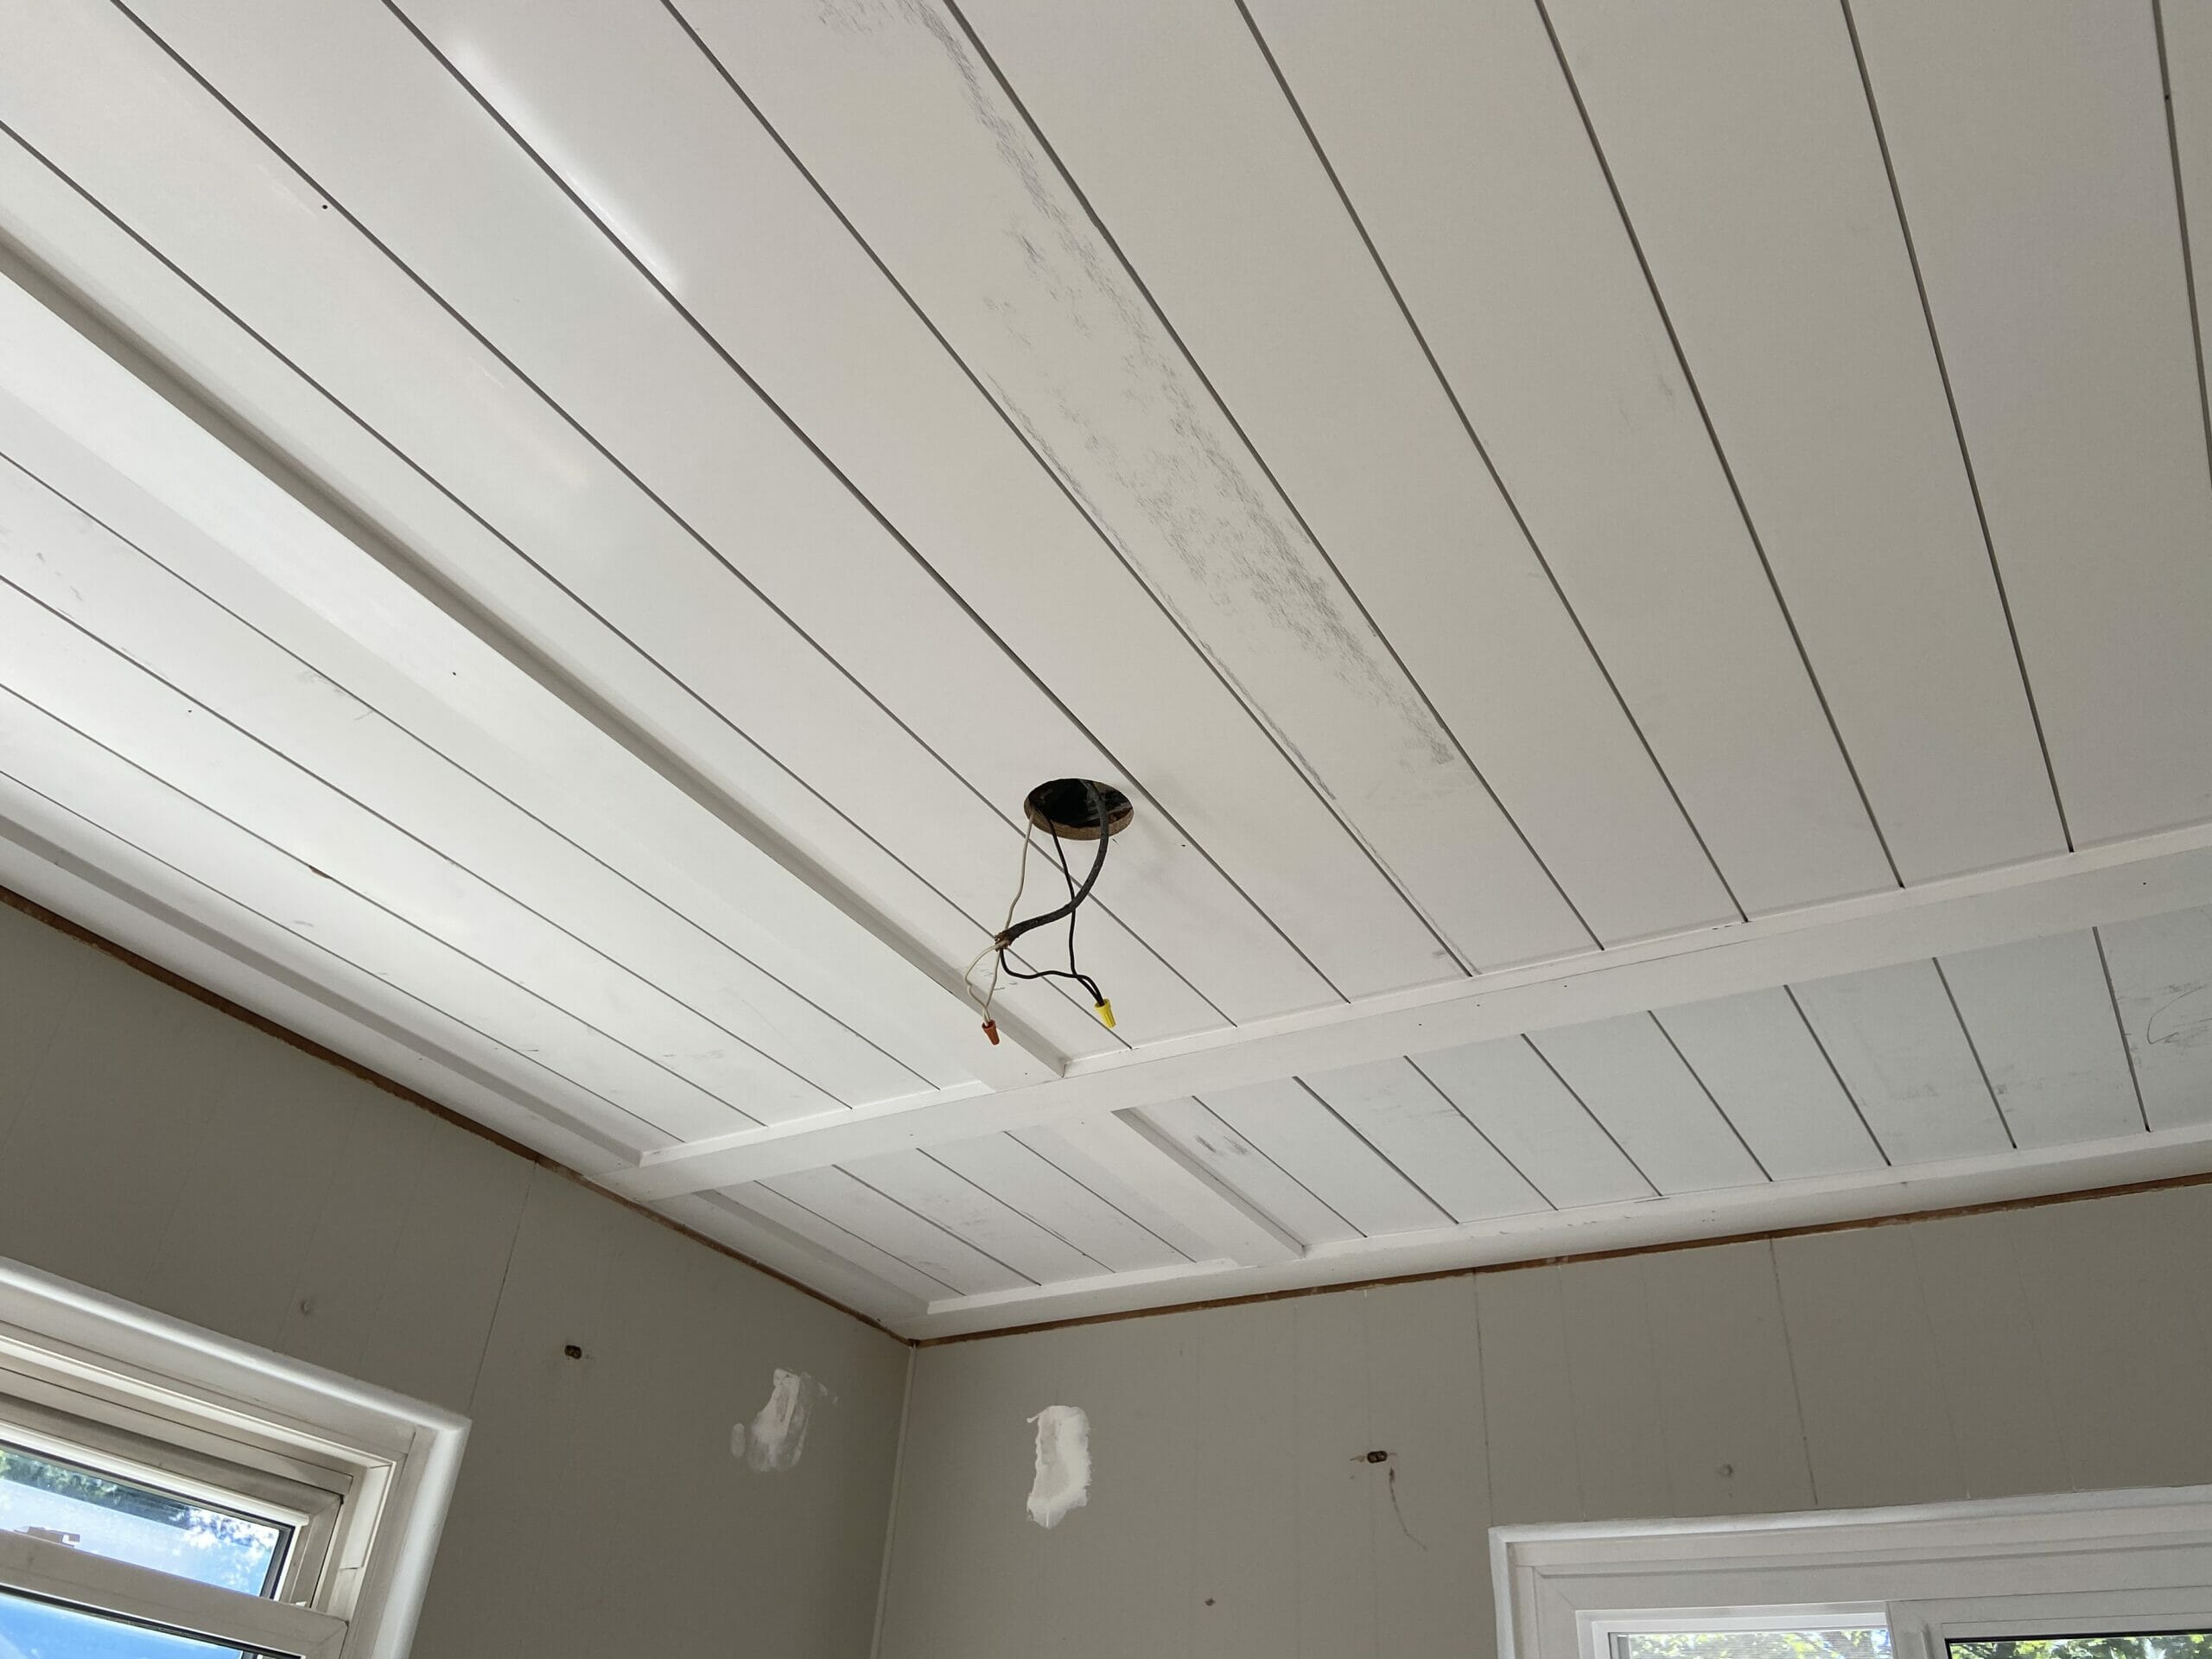
We left the ceiling as-is and covered the acoustic tiles with primed shiplap planks. The ceiling isn’t a drop ceiling — the tiles are glued up to the drywall, so we had something to nail into when attaching the shiplap.
We swapped the old large square ceiling lights for lower profile can lights that blend right in. We used the existing electrical for this so the cost was minimal (just the cost of the new cans).
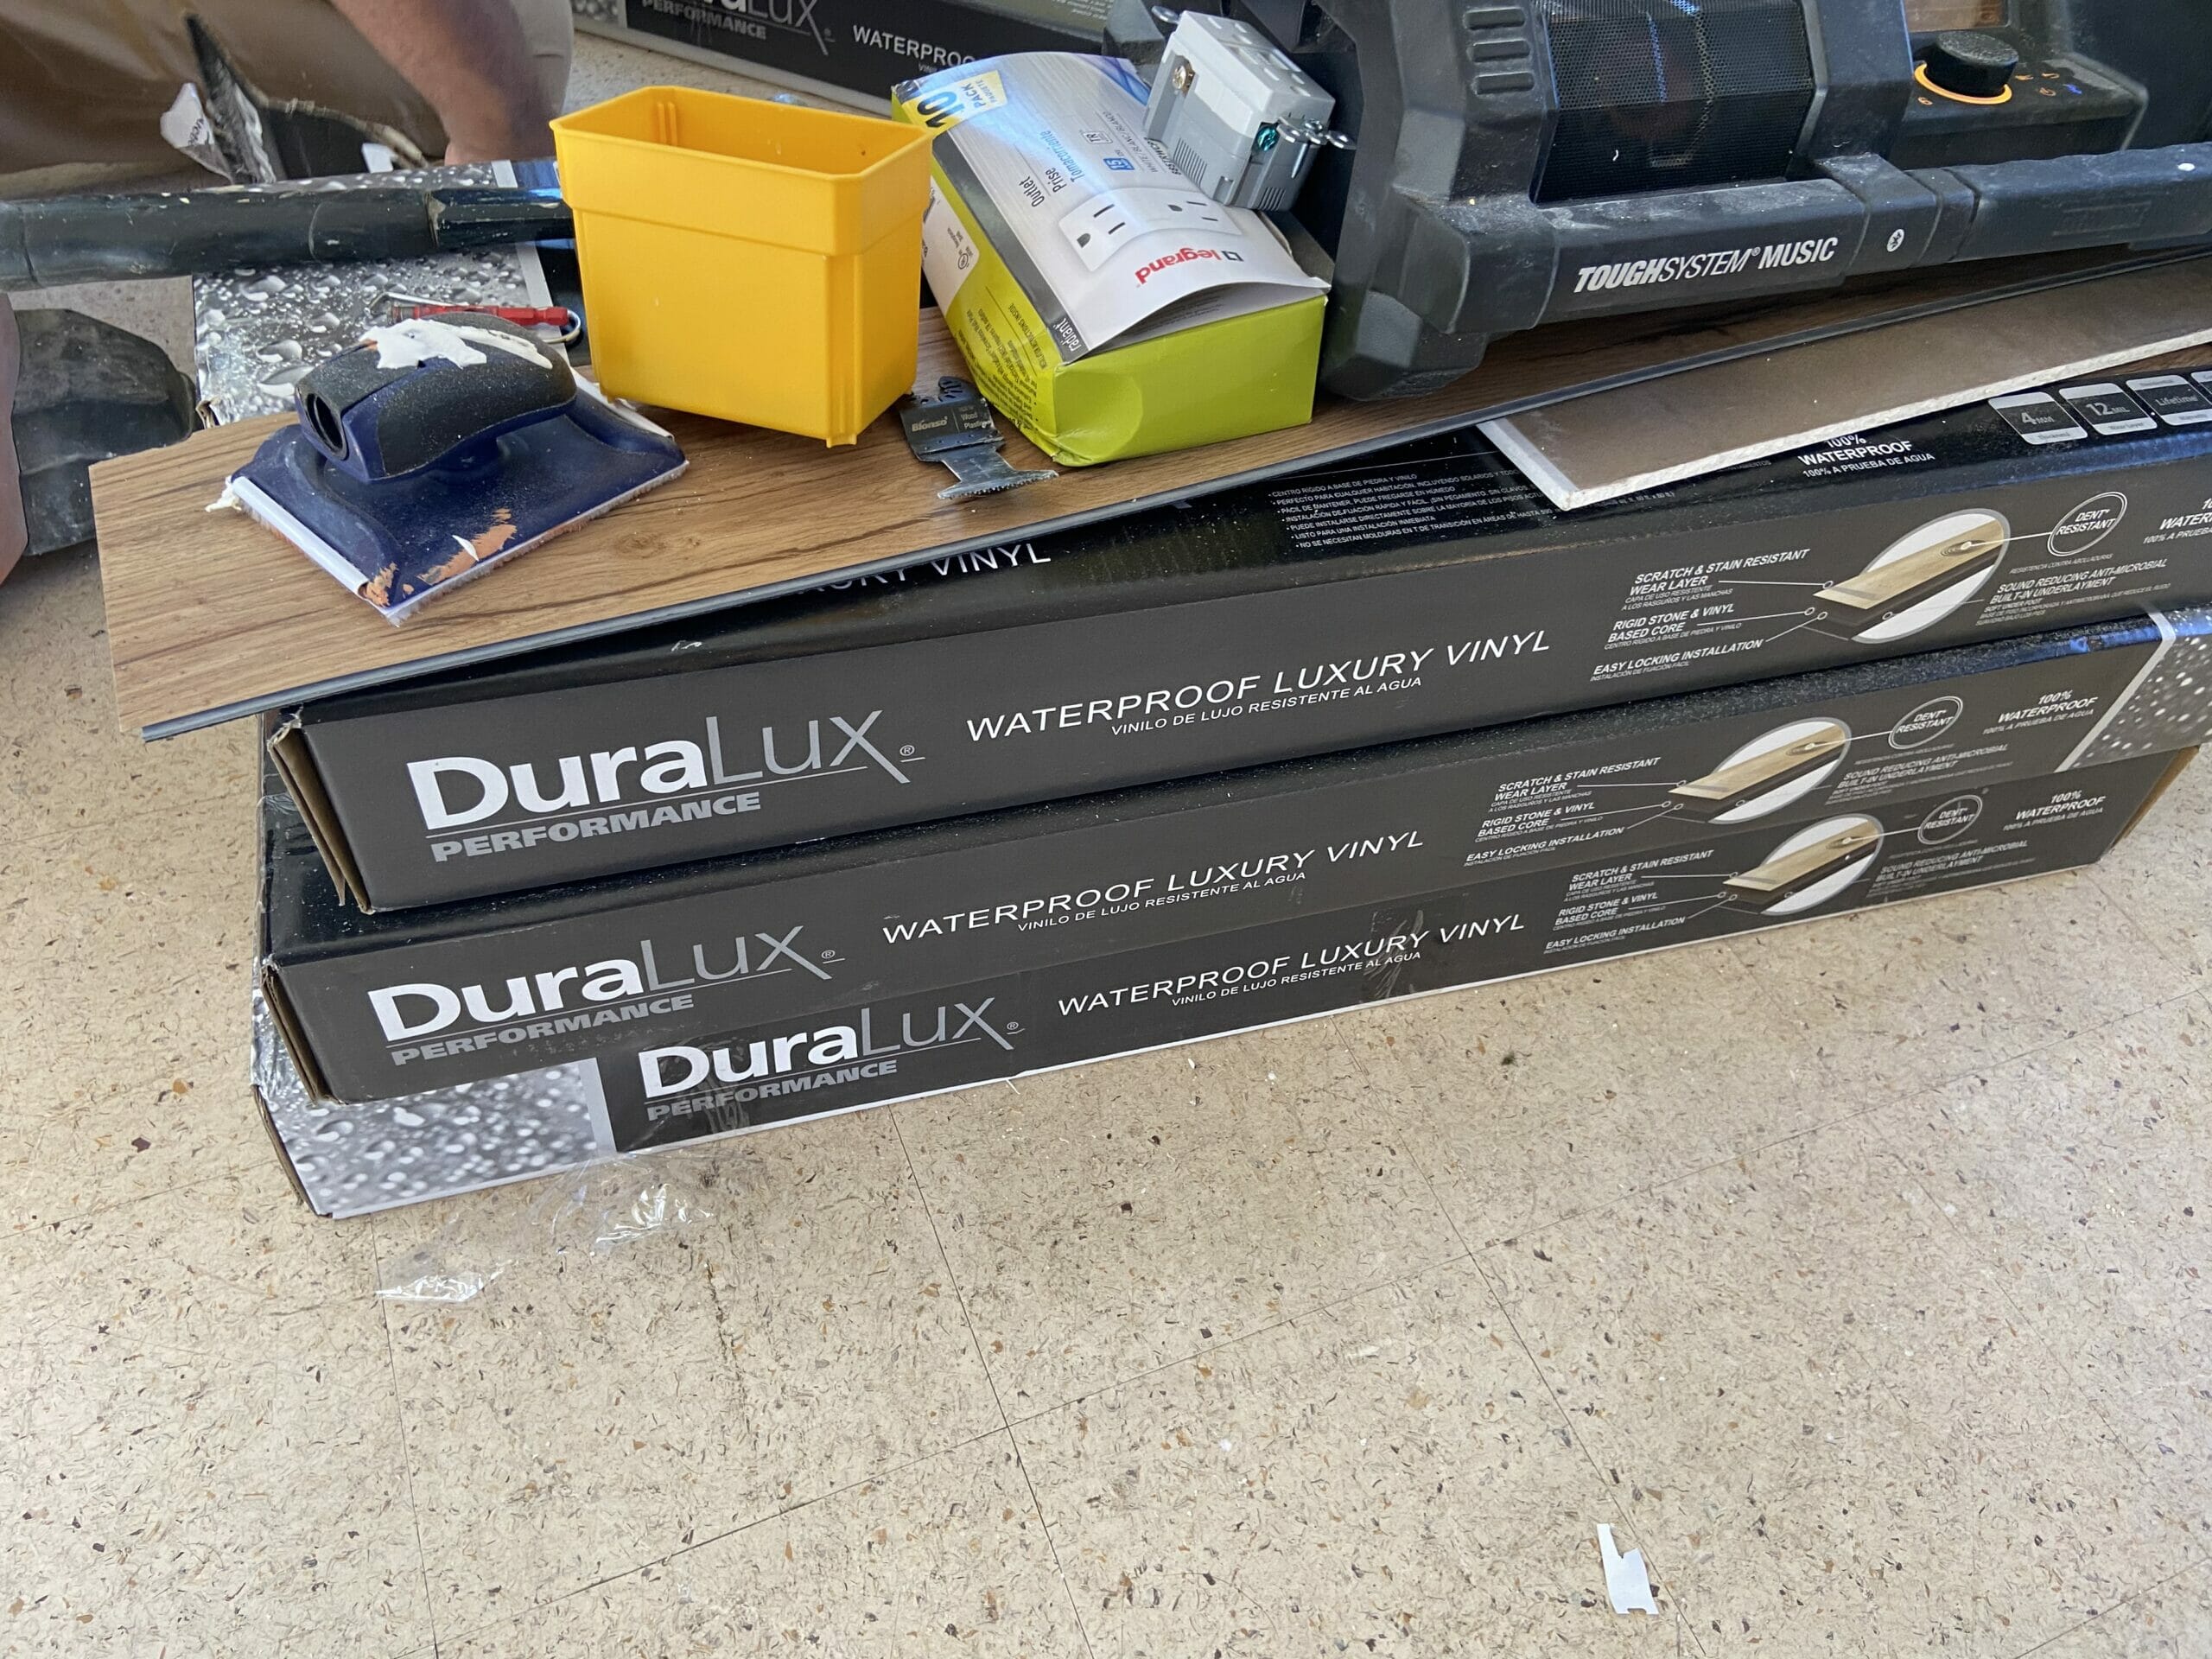
On the floor, we installed new luxury vinyl planks over the old linoleum. Vinyl is great because it’s easy to maintain, easy to install, and does great when exposed to water (there is a door to the backyard in this room, so this was a must).
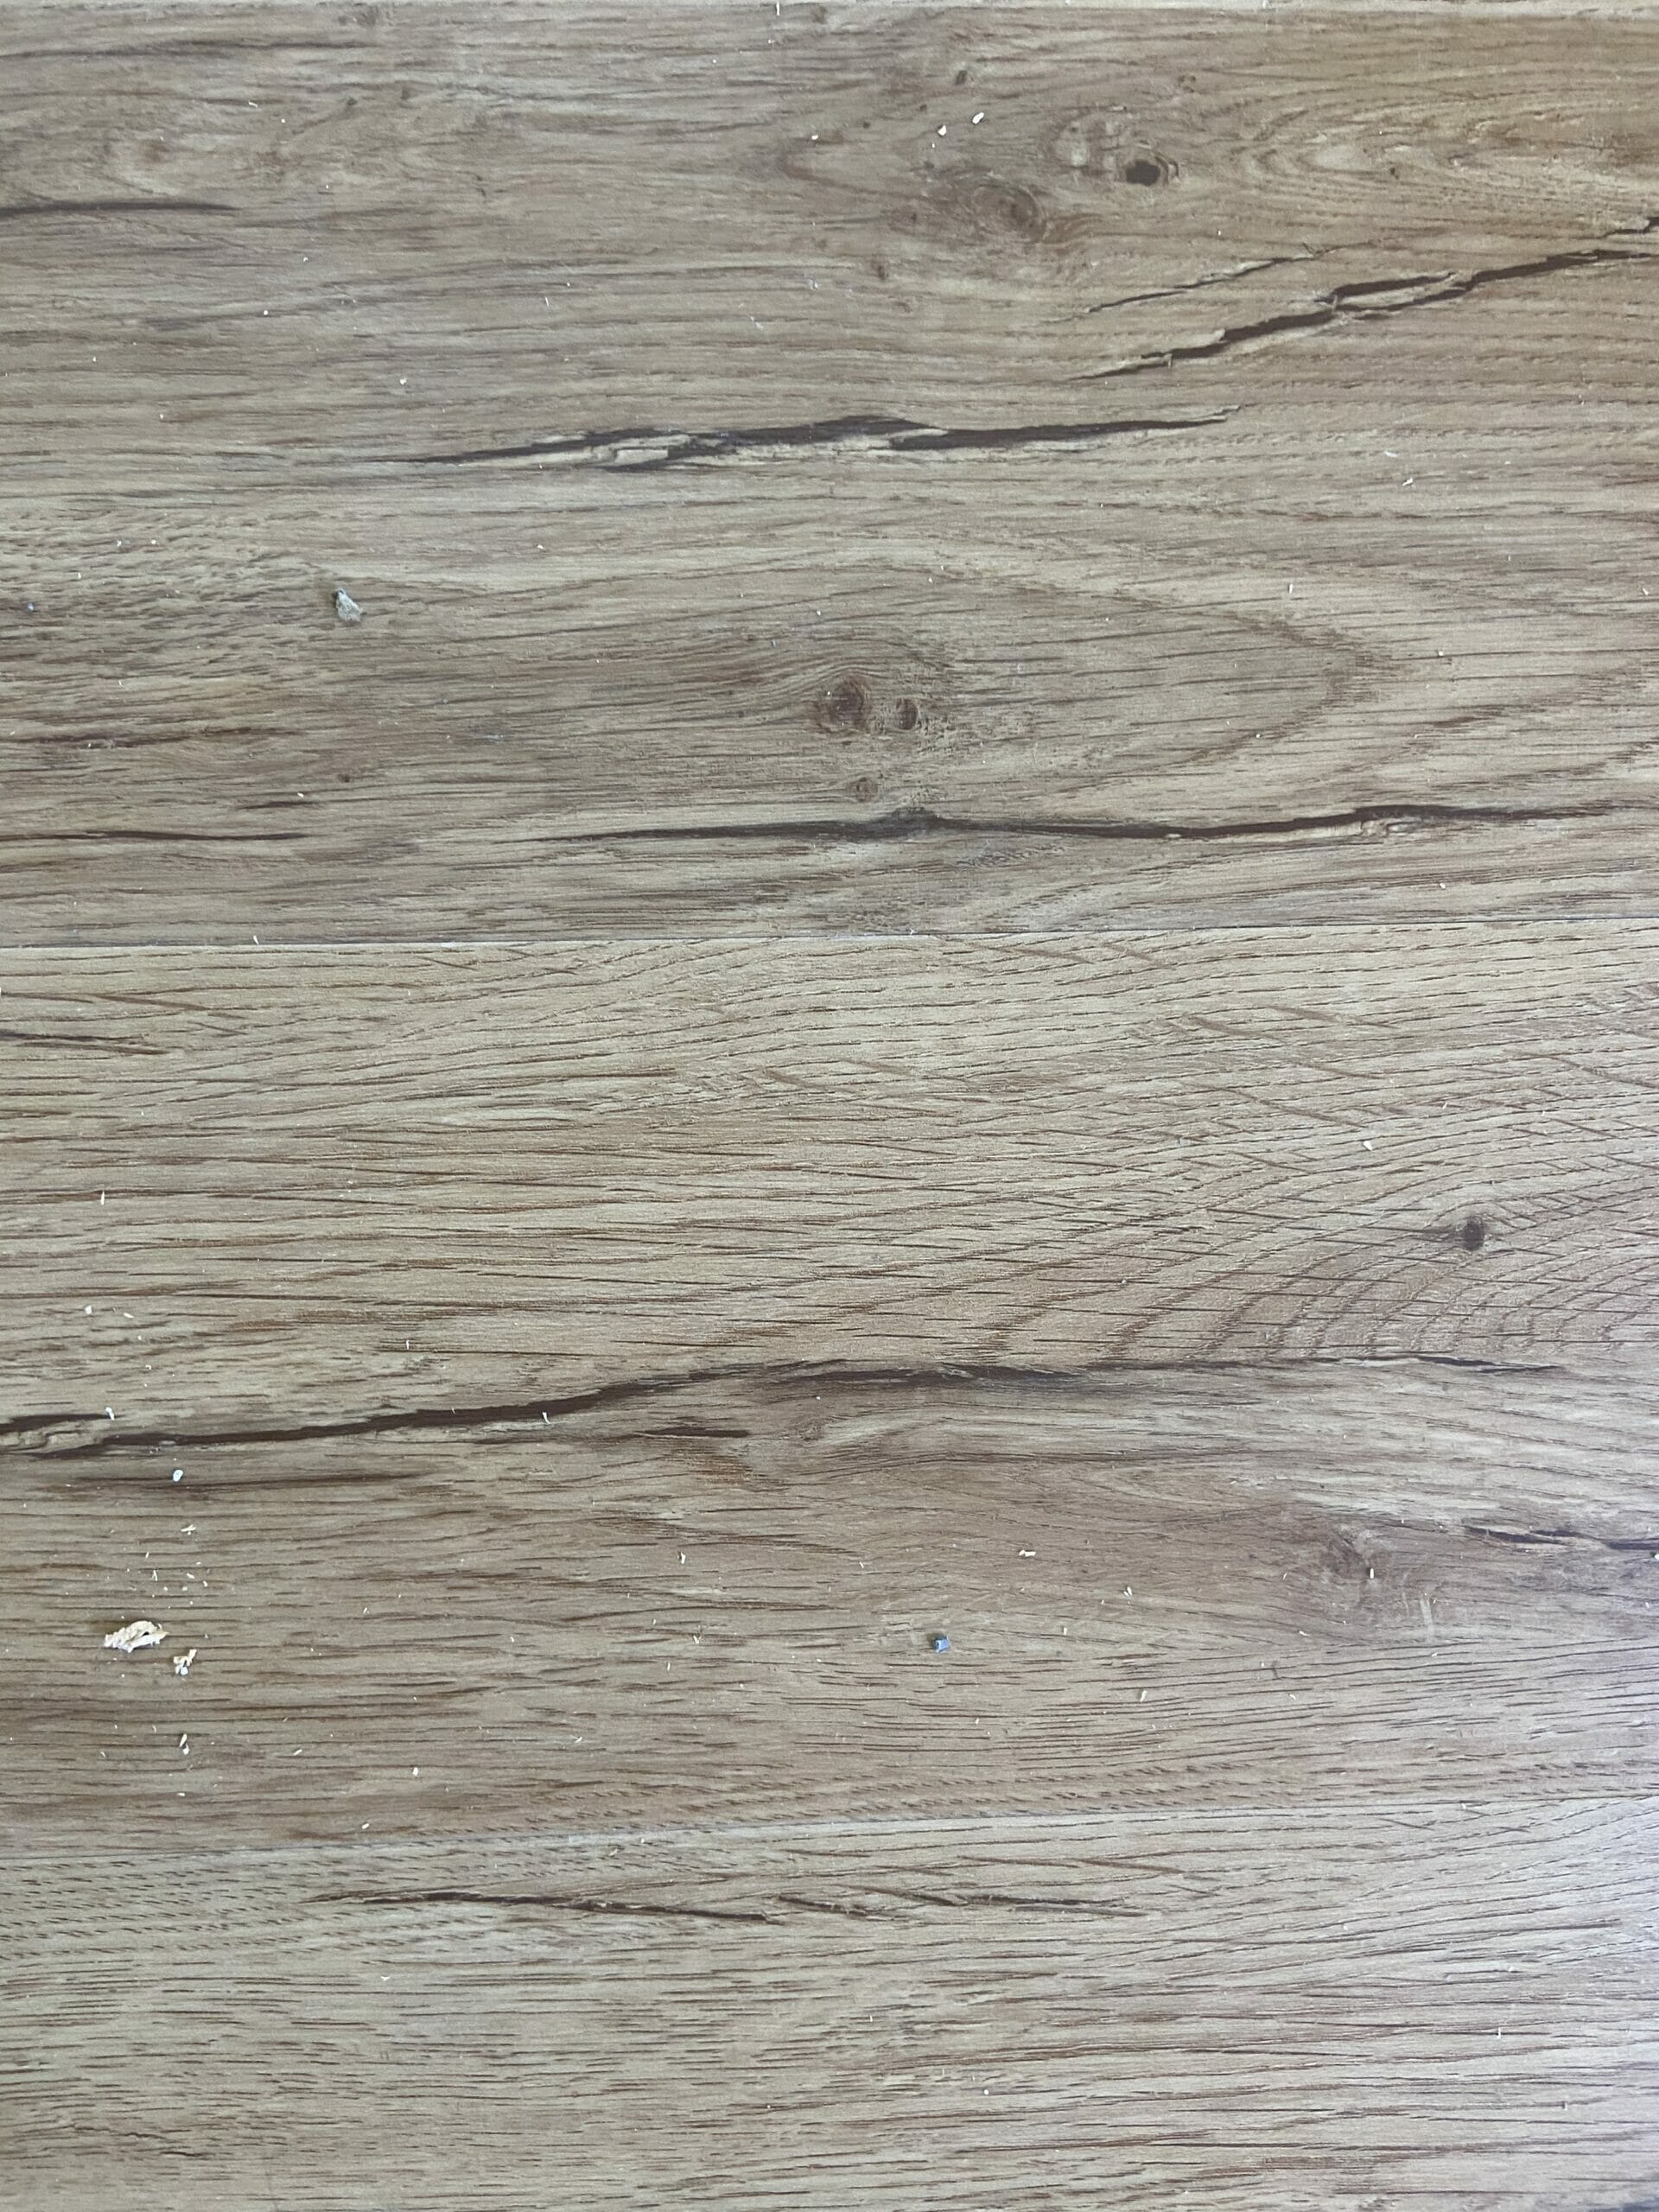
It looks a little gray in this photo but it’s more of a honey brown IRL.
And most exciting of all… we painted everything! Here’s what we chose:
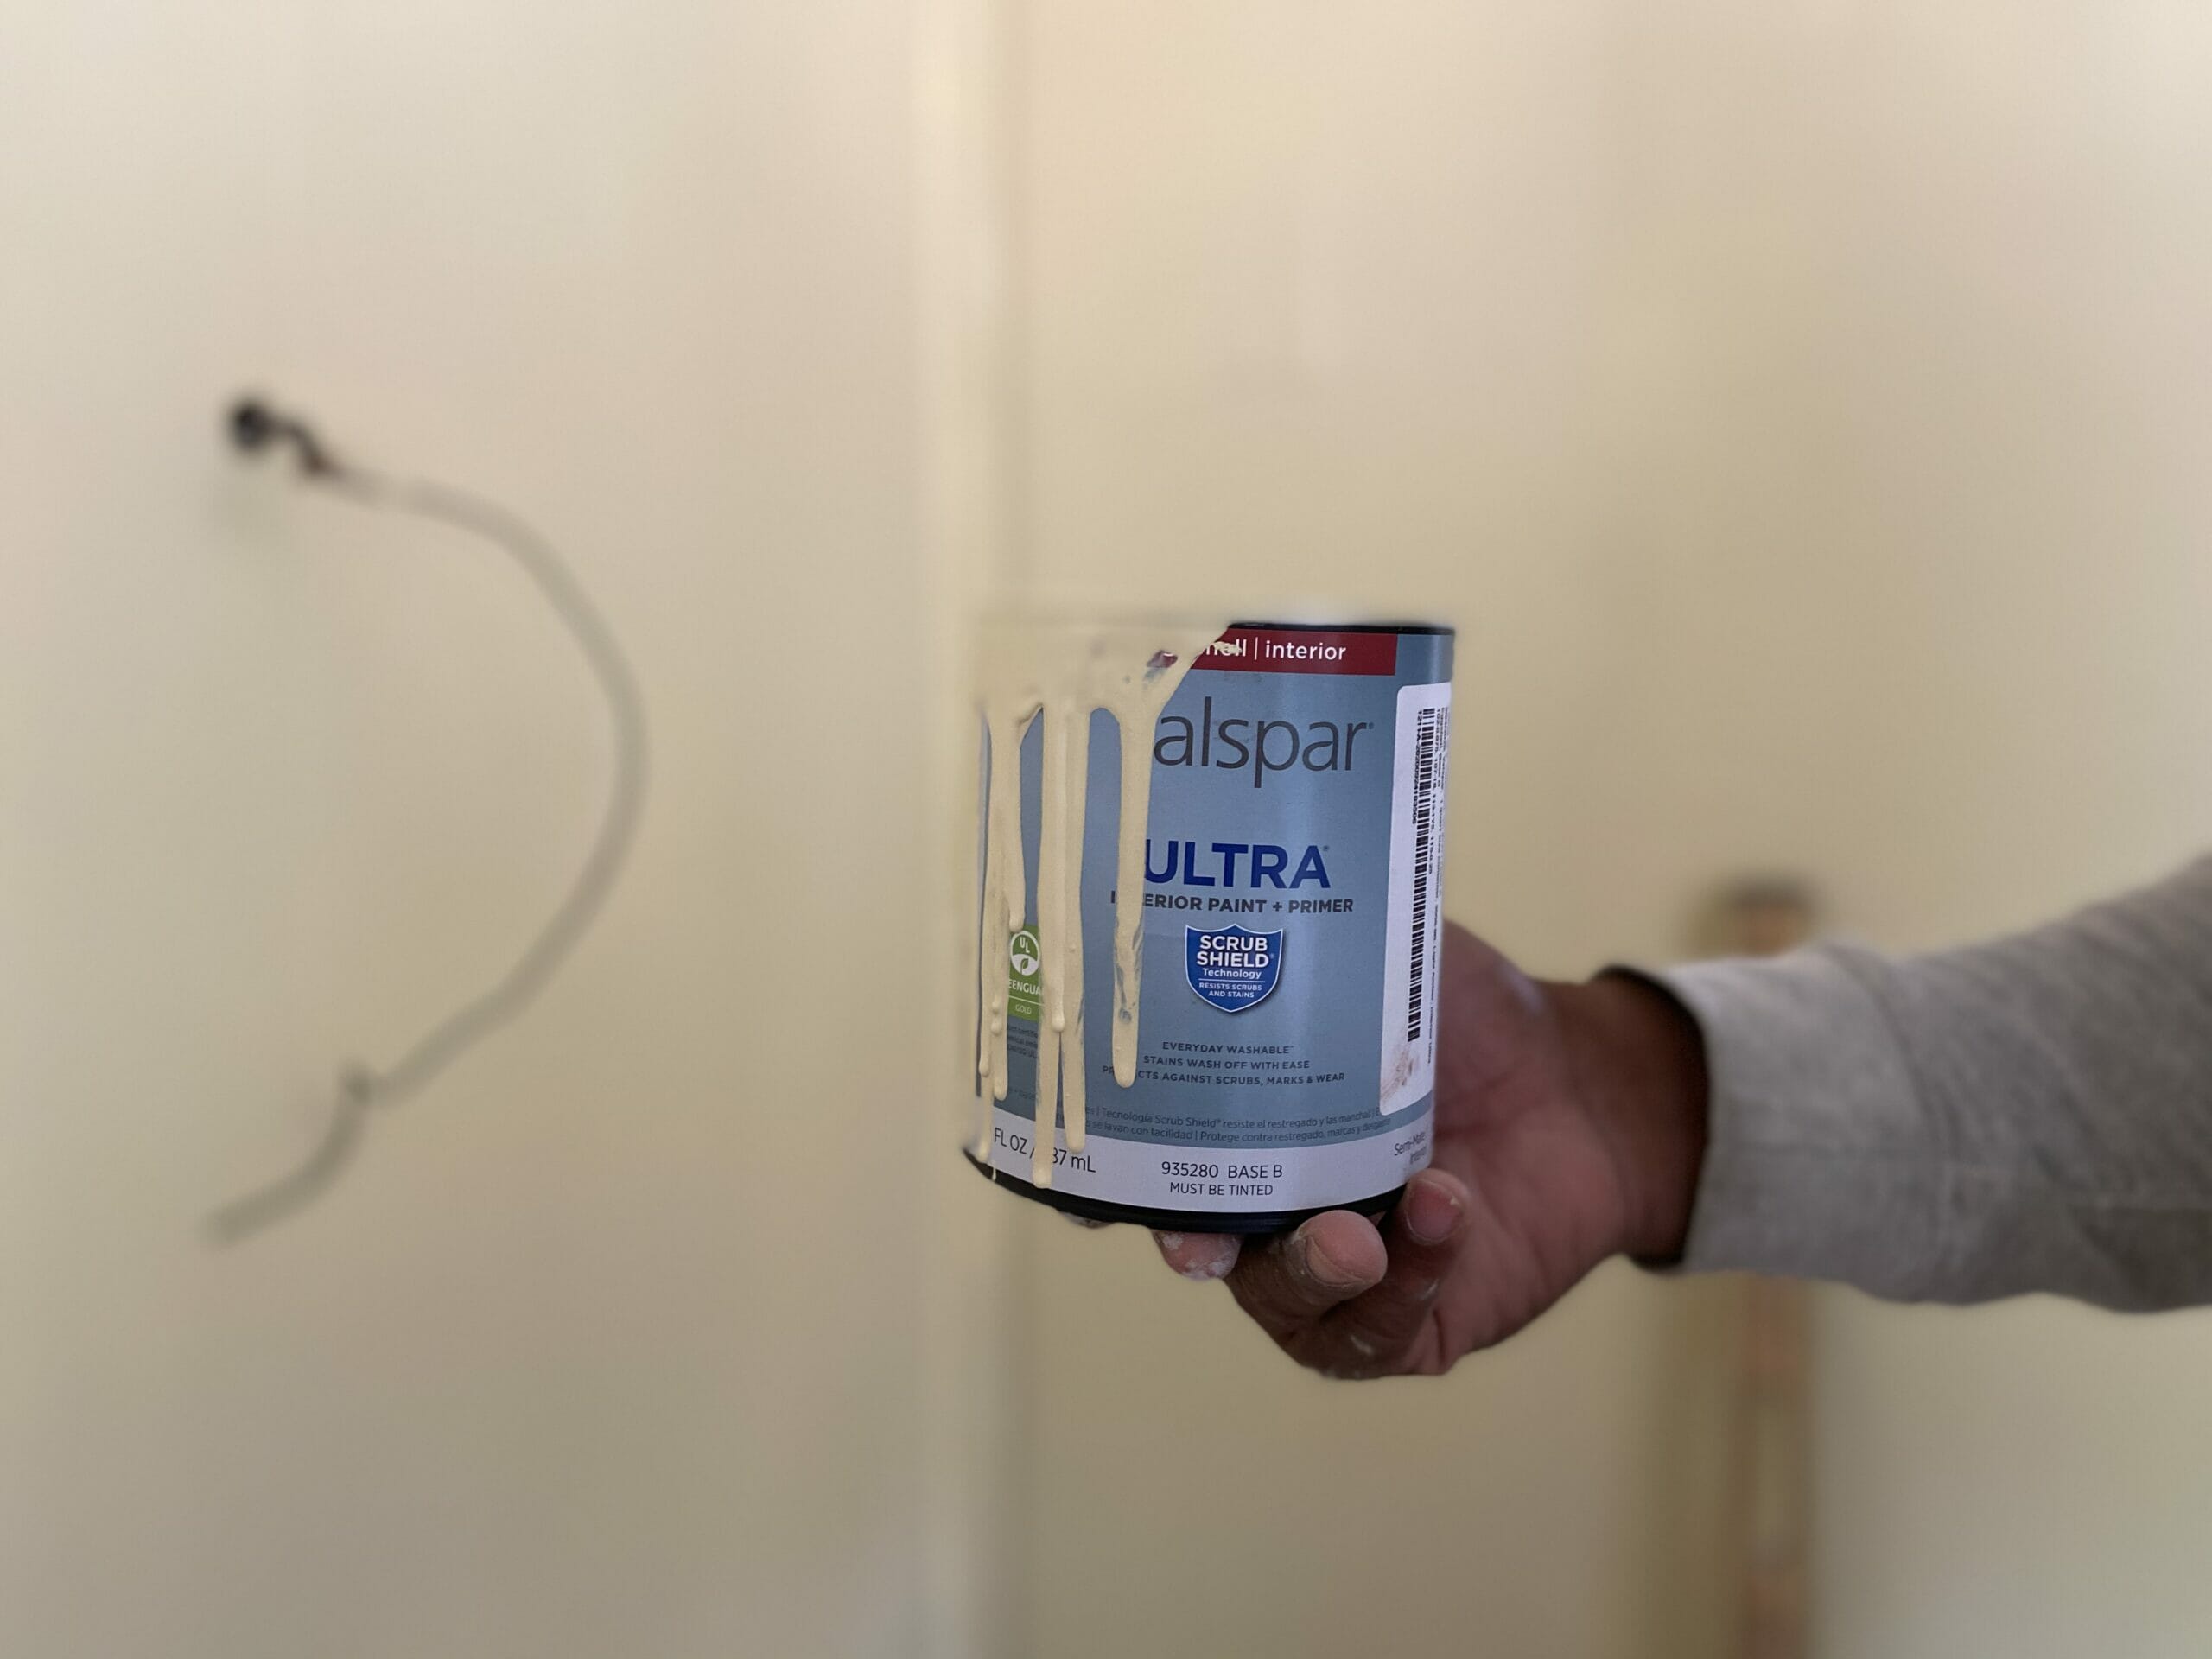
- Ceiling planks: Valspar Swiss Coffee 7002 – 16 — We used the Valspar Ultra line in a satin finish, which did the trick with one coat. Swiss Coffee is a really nice neutral white that goes with everything. It’s one of our favorite colors for bathrooms with white tiles. We chose satin instead of flat because the boards are so pretty and we wanted to accent them. The satin finish isn’t super shiny, but has a bit of sheen that draws your eye up.
- Walls: My parents had their hearts set on yellow. We tried several promising yellow samples, but none of them worked. We ultimately realized that because the room gets so much light, it made them look brighter and more lemony than they did on the sample cards. With that in mind, we moved into the beige family. Perhaps all of the light in the room would brighten a beige tone to look more like the buttery muted yellow tone we were looking for. We sampled a few more and found a winner! Honeysuckle Beige (3007-6A) on the left and Light Amber (3006-8B) on the right below were our favorites, and very close to what we had envisioned. We chose Light Amber in an eggshell finish because it was a bit more muted, and overall looked better throughout the day.
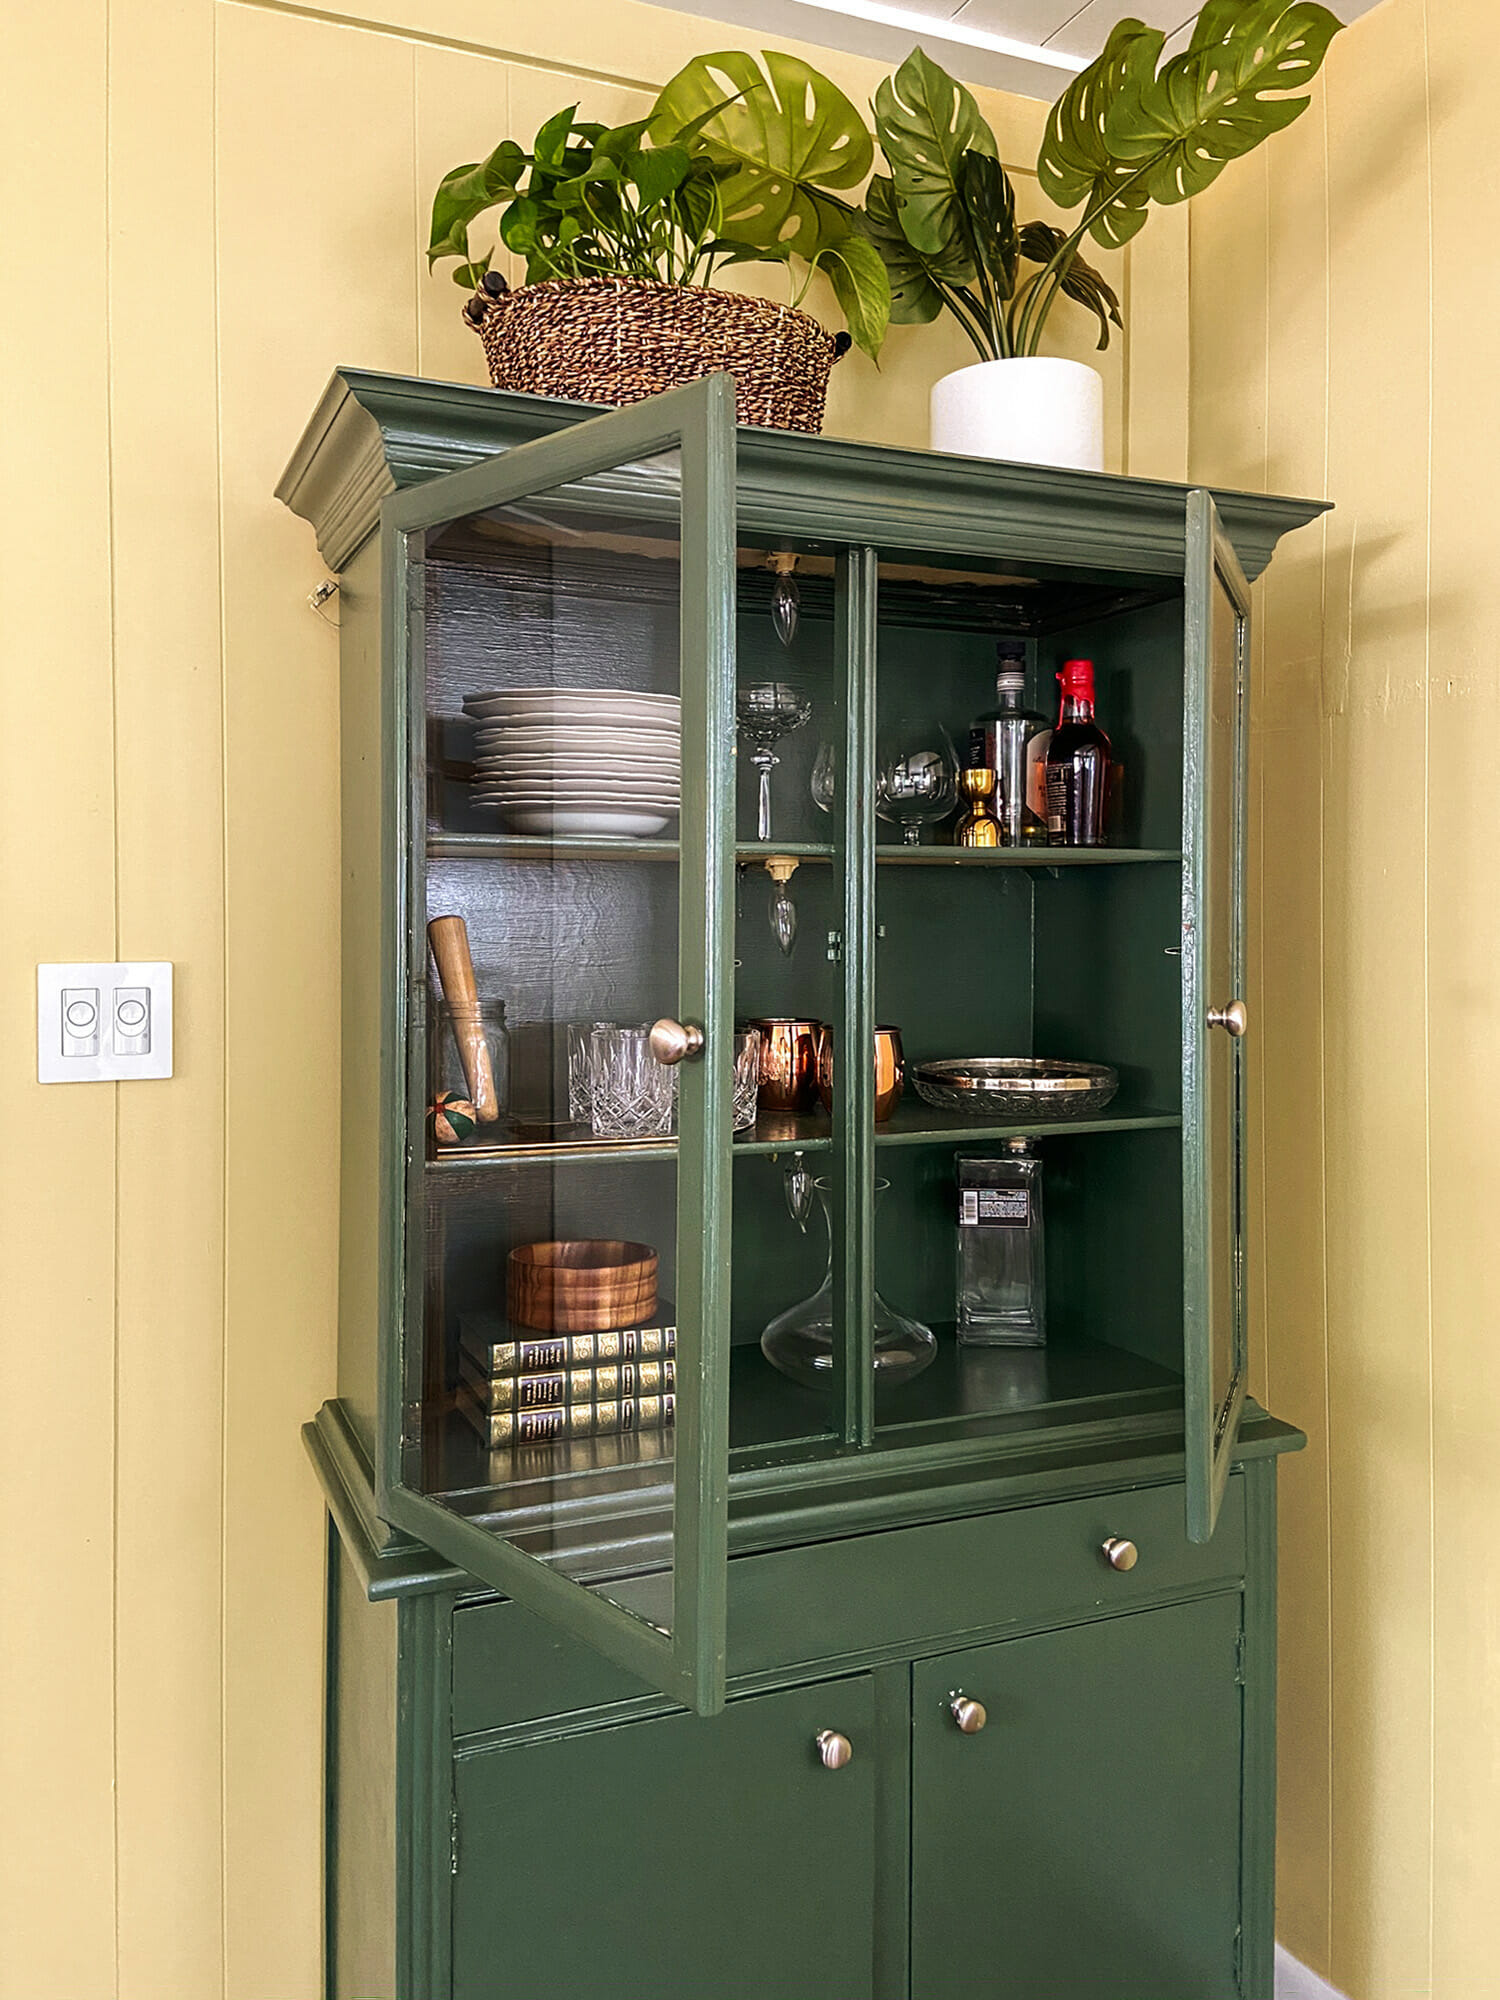
- Hutch: My parents had an old hutch that they had for years and brought with them from NJ. My dad painted their old hutch the prettiest green color called Treeline (5006-4C) in a semigloss finish.
Pro tip: Always, always test large sample swatches in the room you’ll be painting, and leave them up for at least 24H so you can see how the color changes in different light.

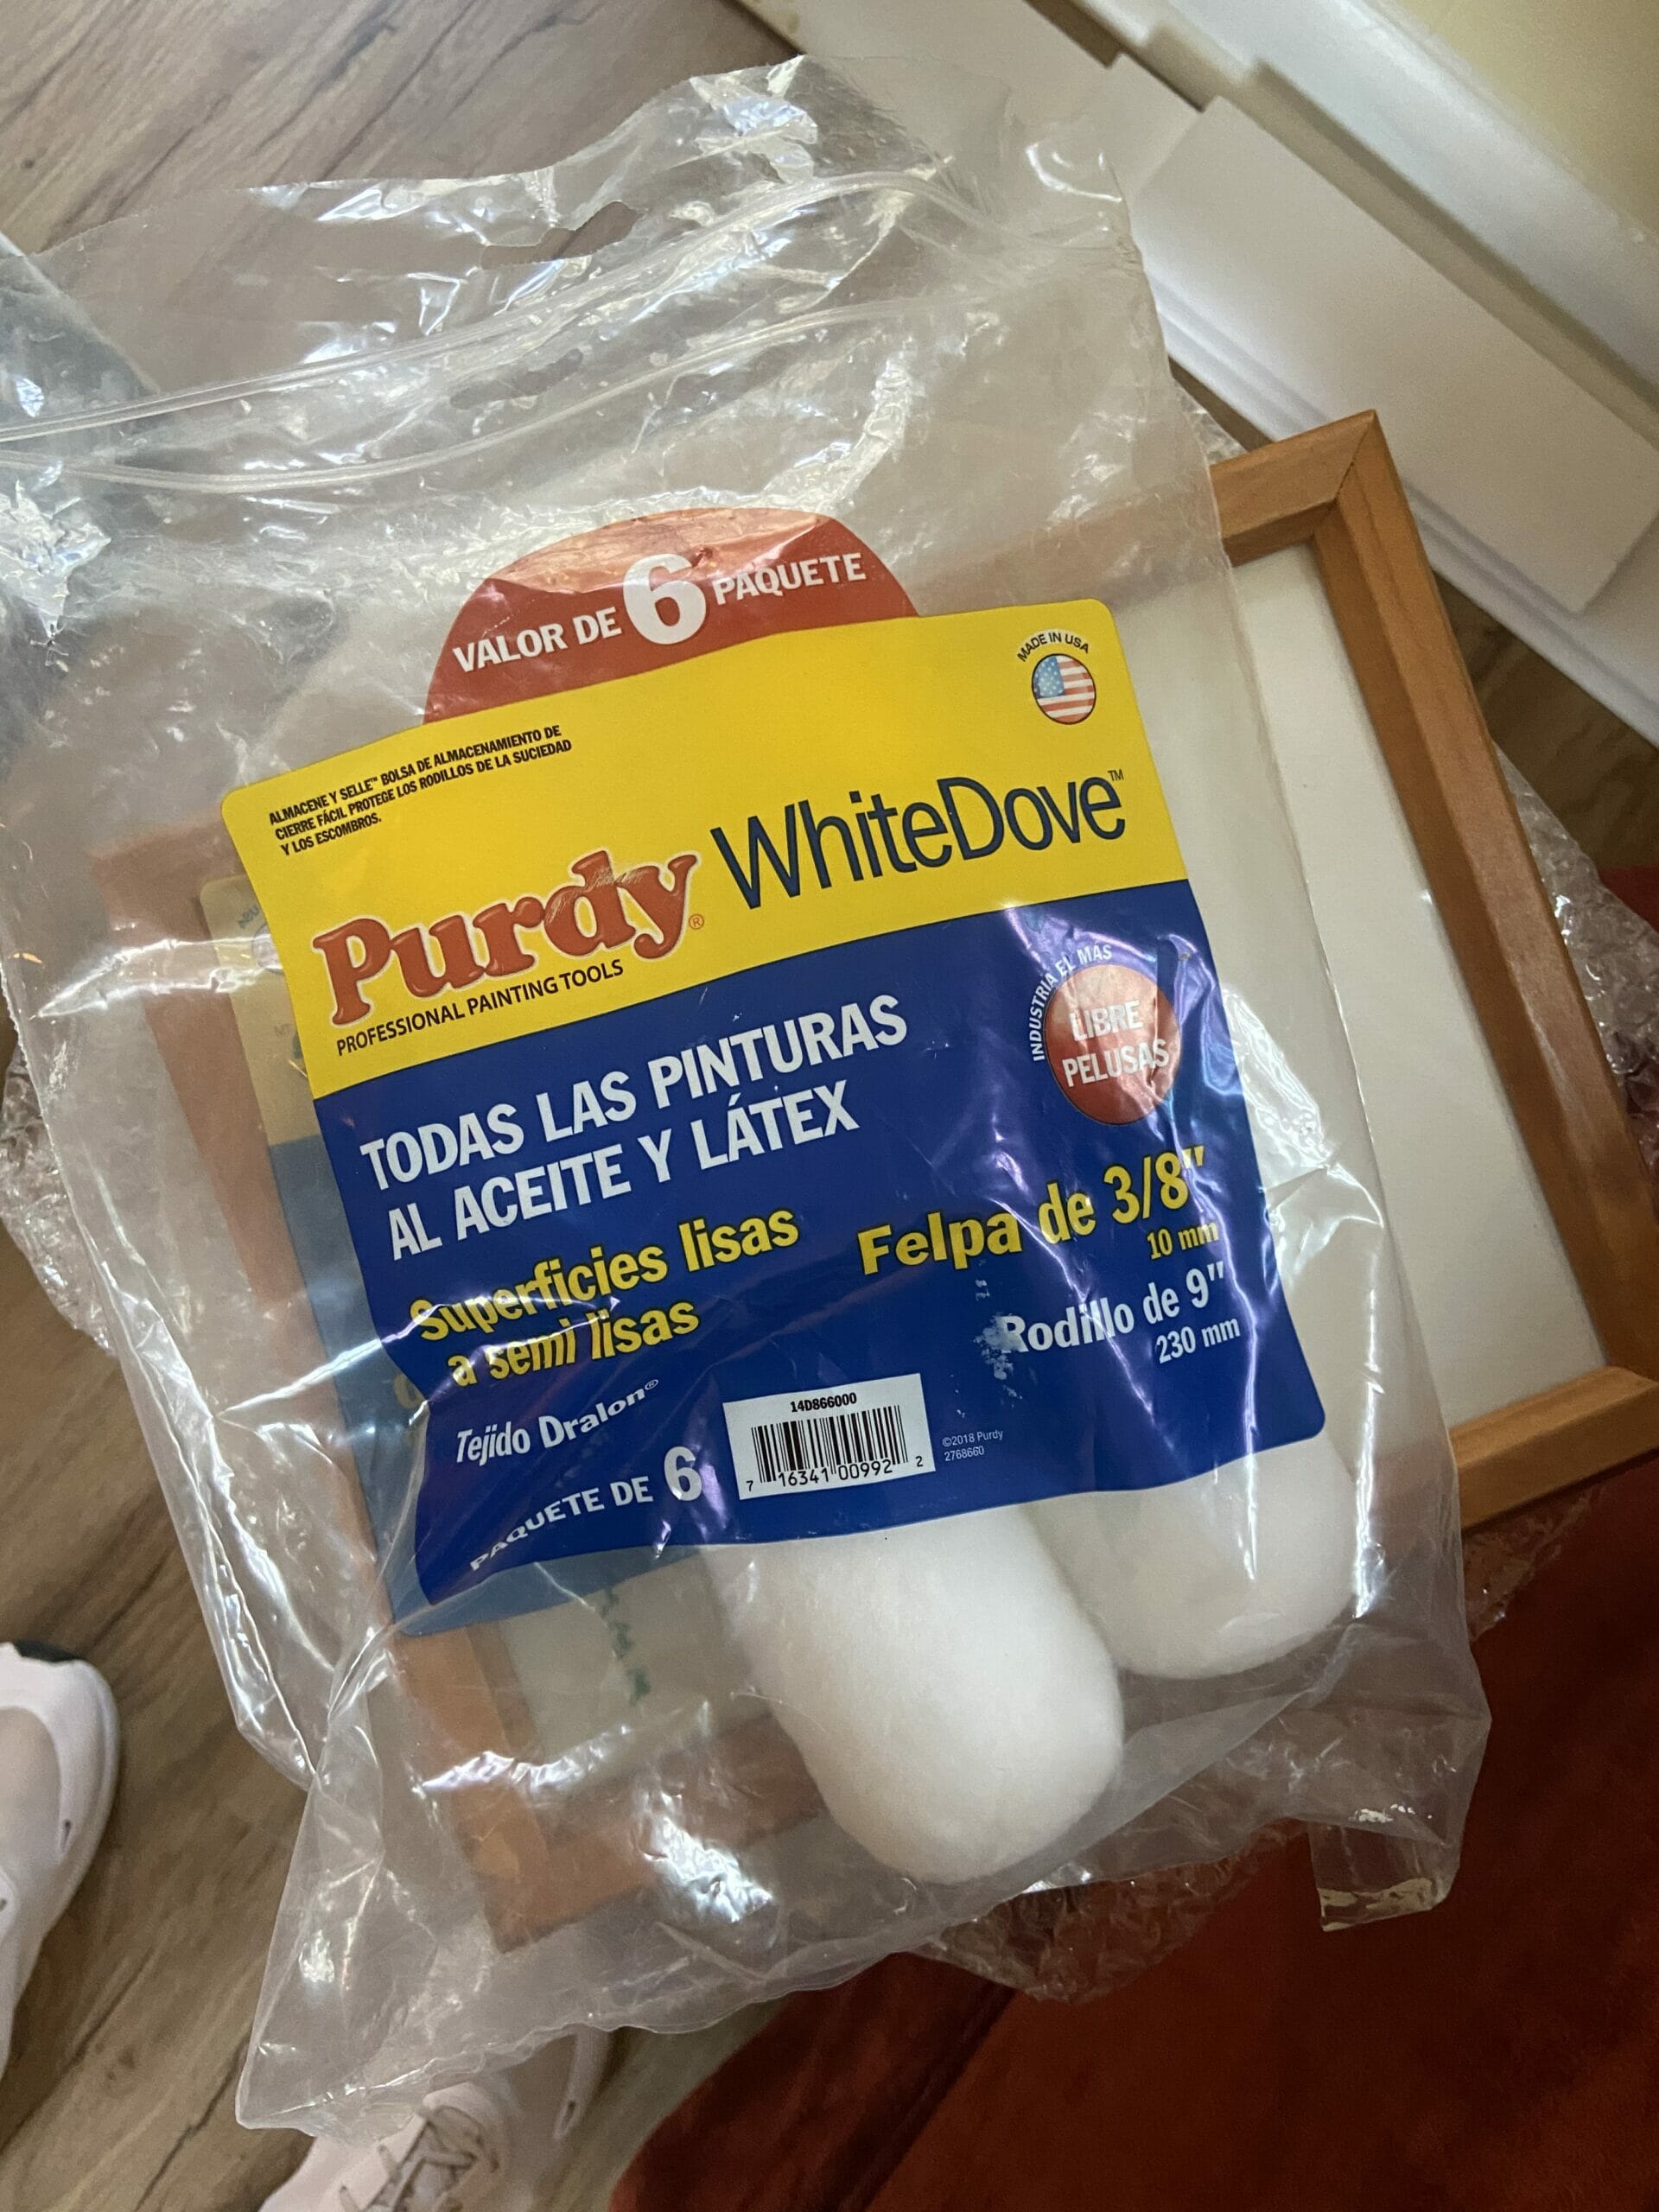
Once our colors were set, we got to work. We used Purdy rollers and brushes for the project, which are a bit more expensive than other brands but 100% worth it. Their rollers hold more paint and don’t spatter at all.
A few coats later…
REVEAL
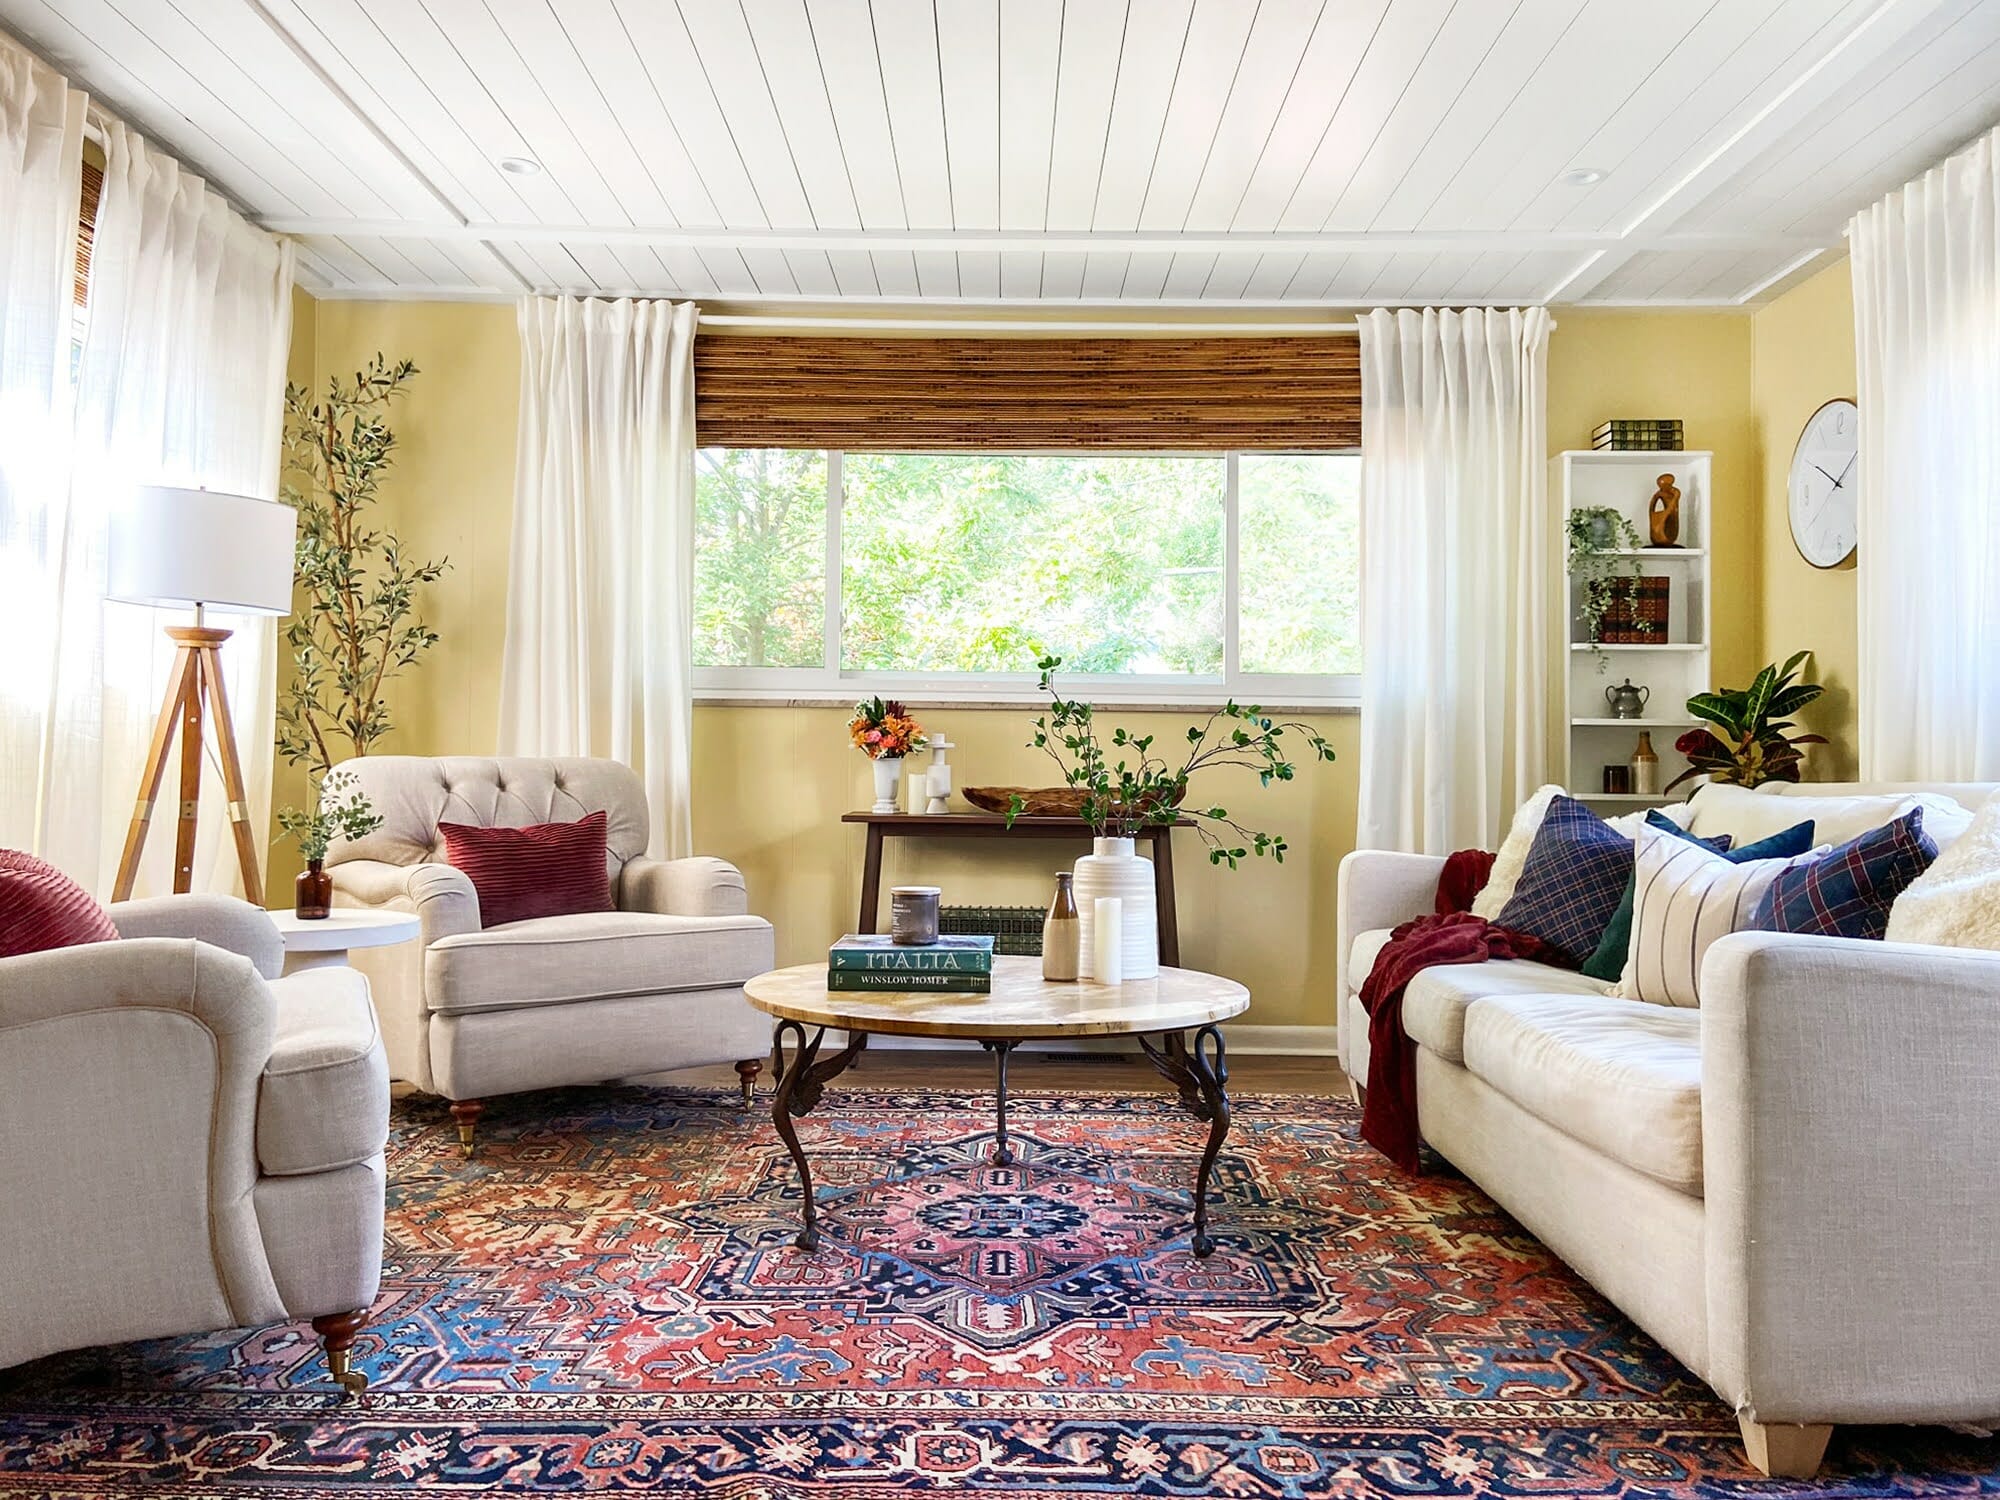
TA DA. The room feels completely different!

Last but not least, let’s take a look at what the built-in wall looks like now…
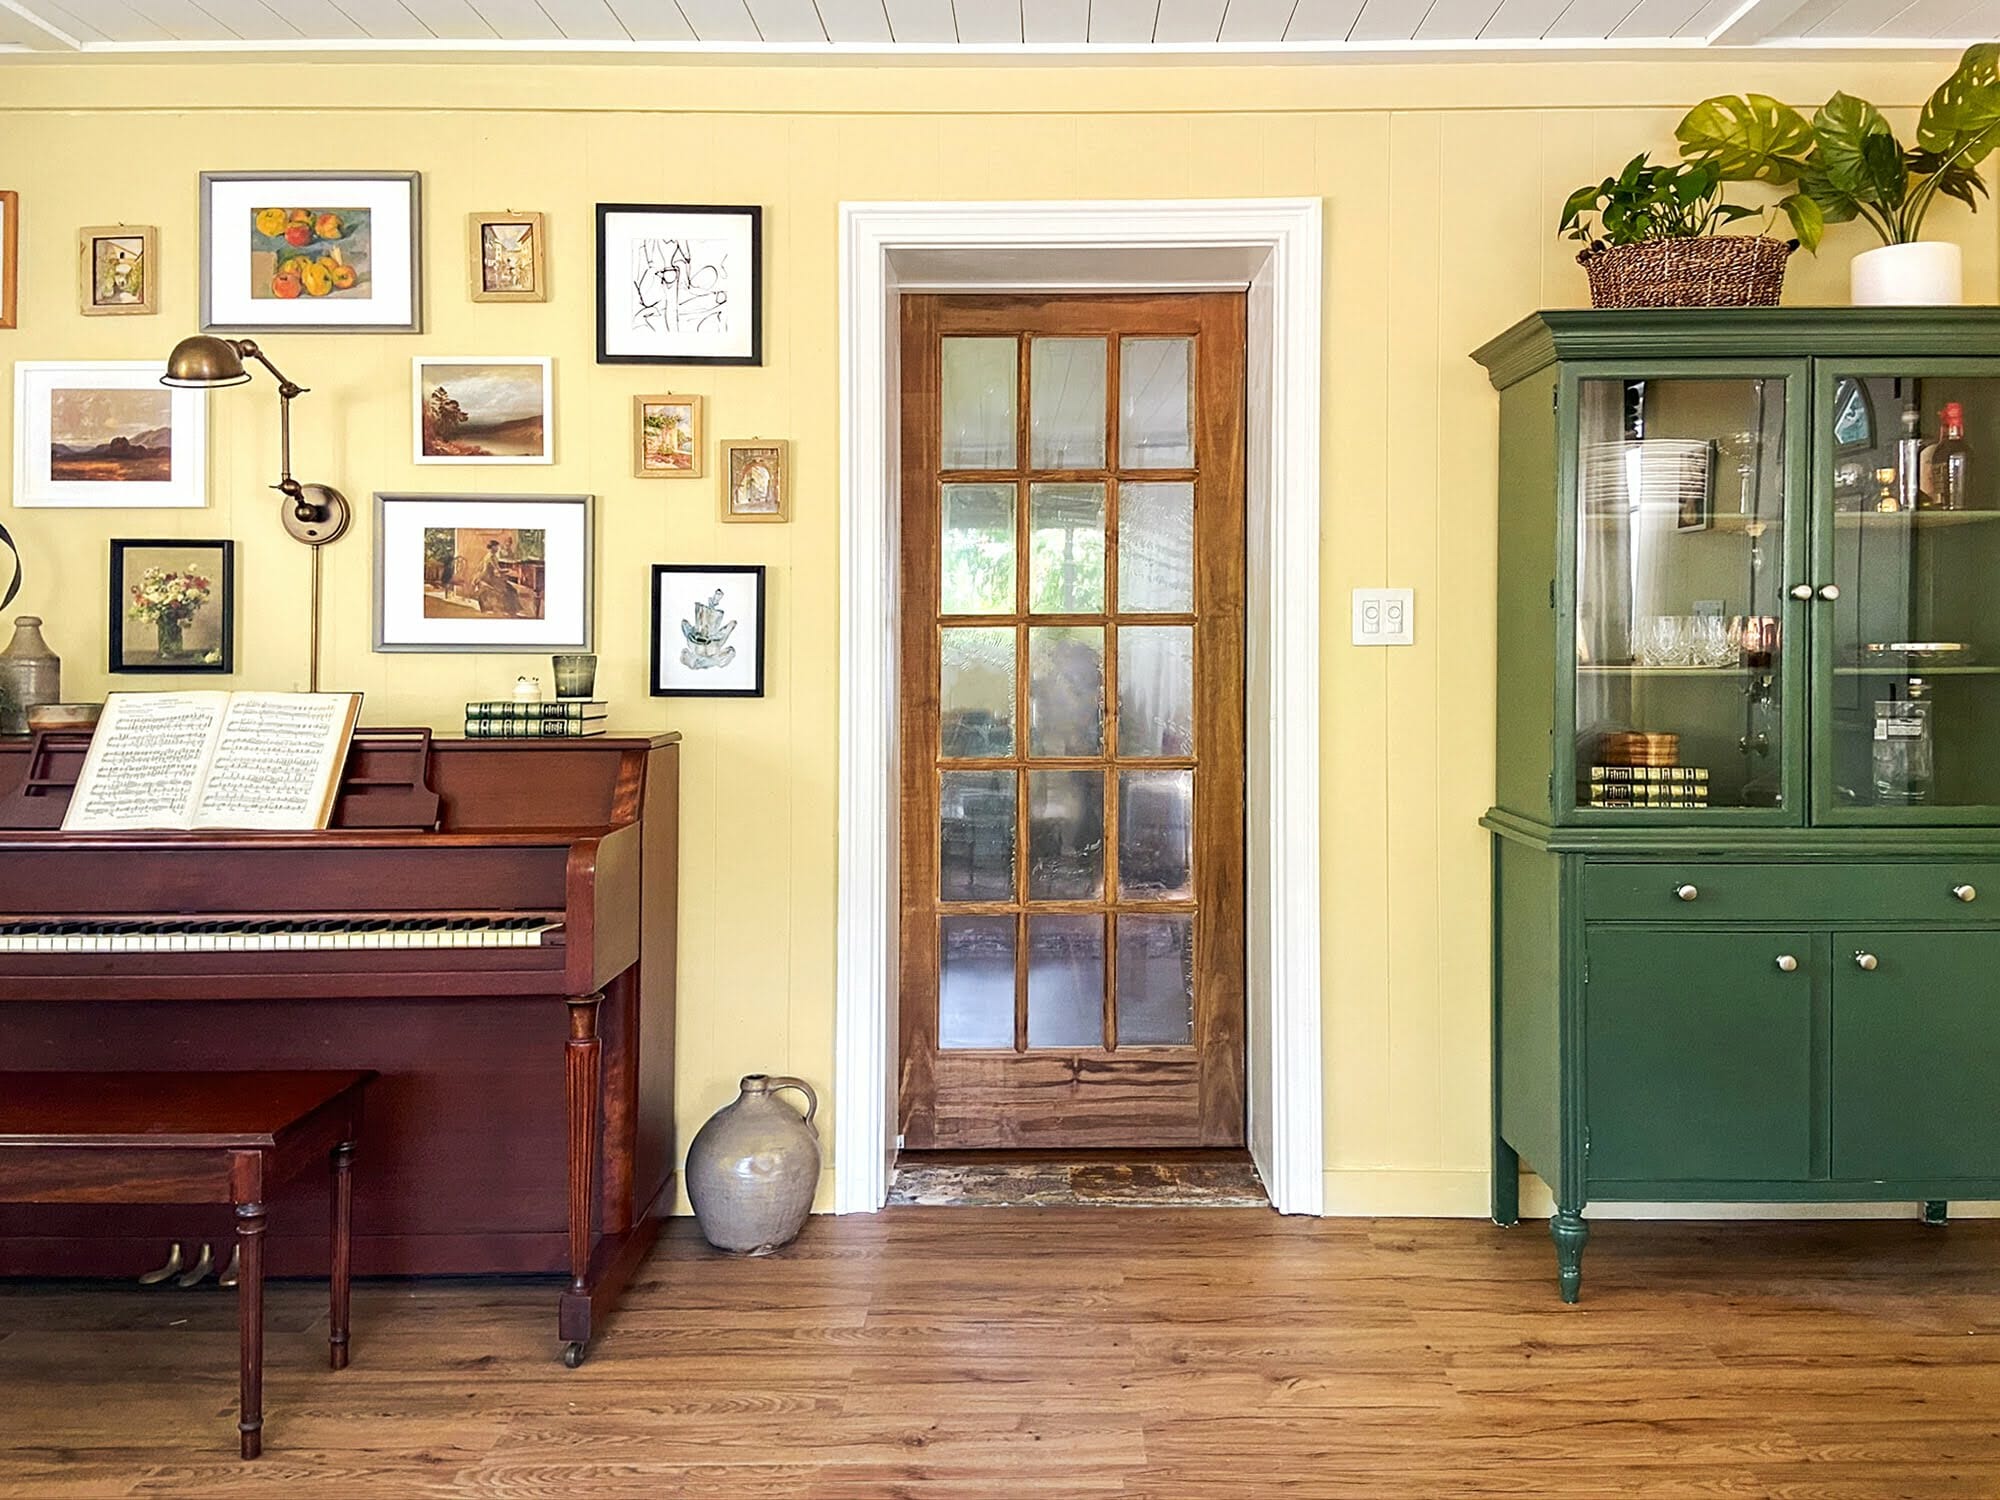
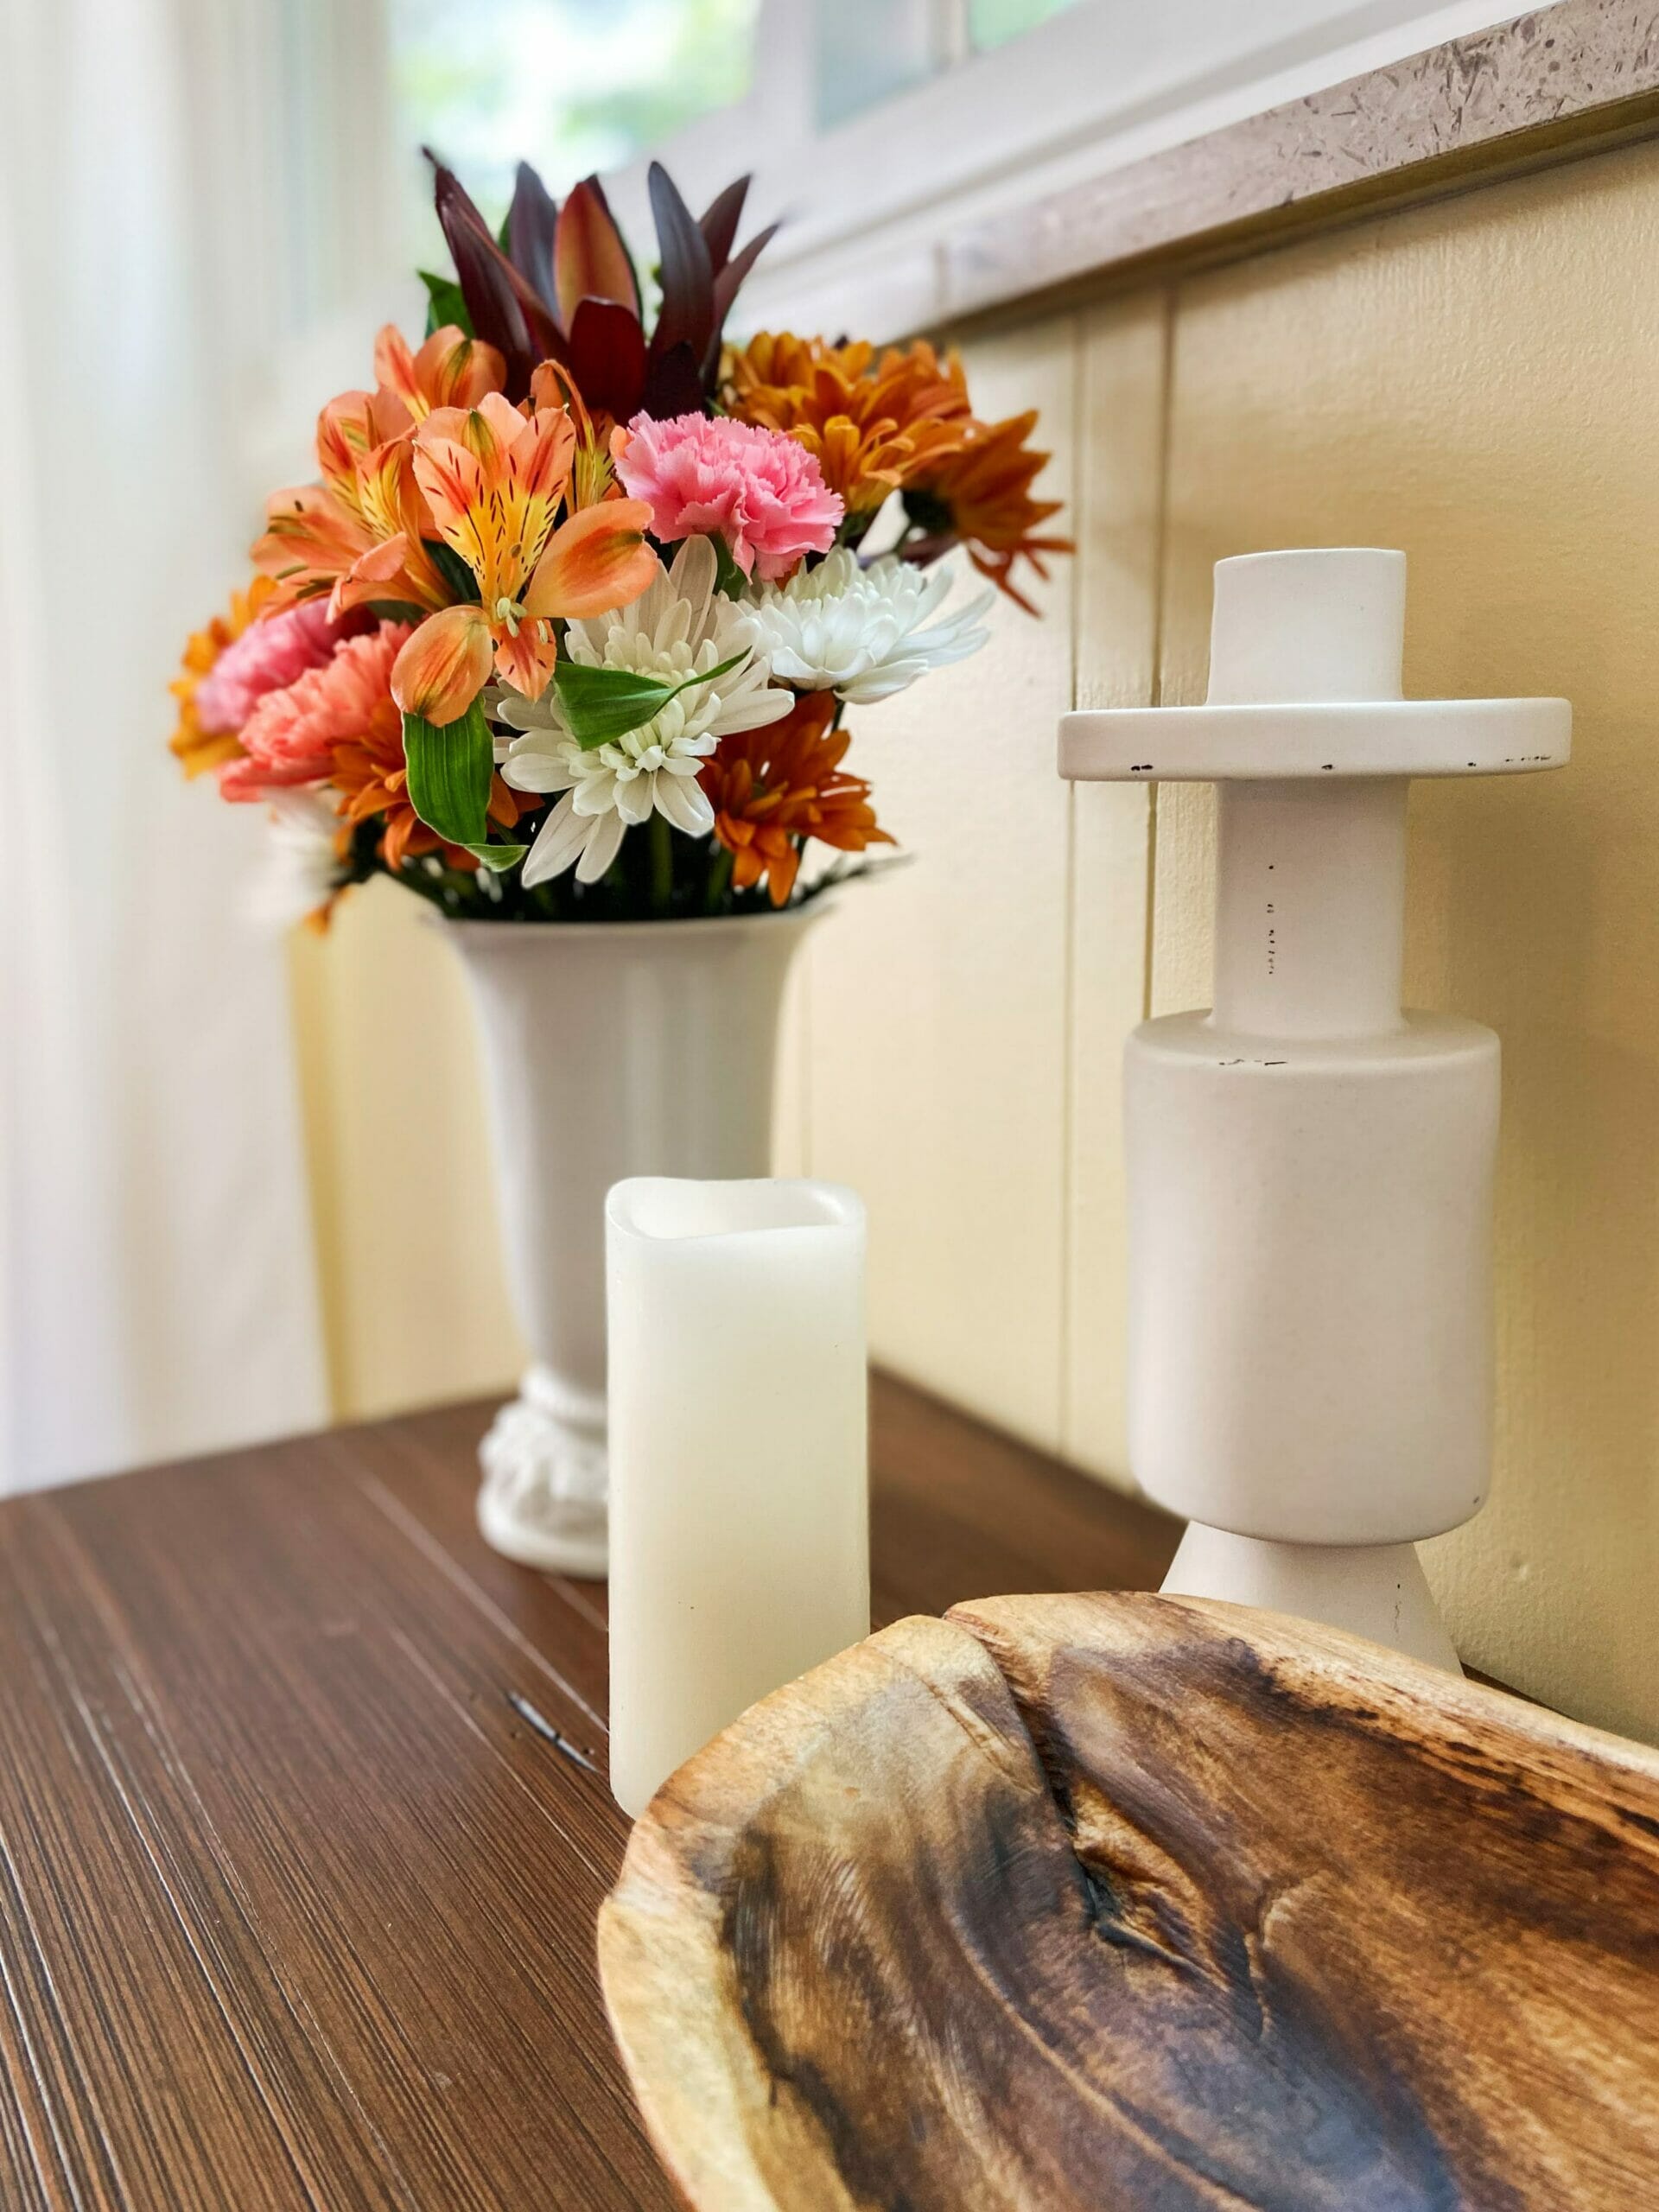
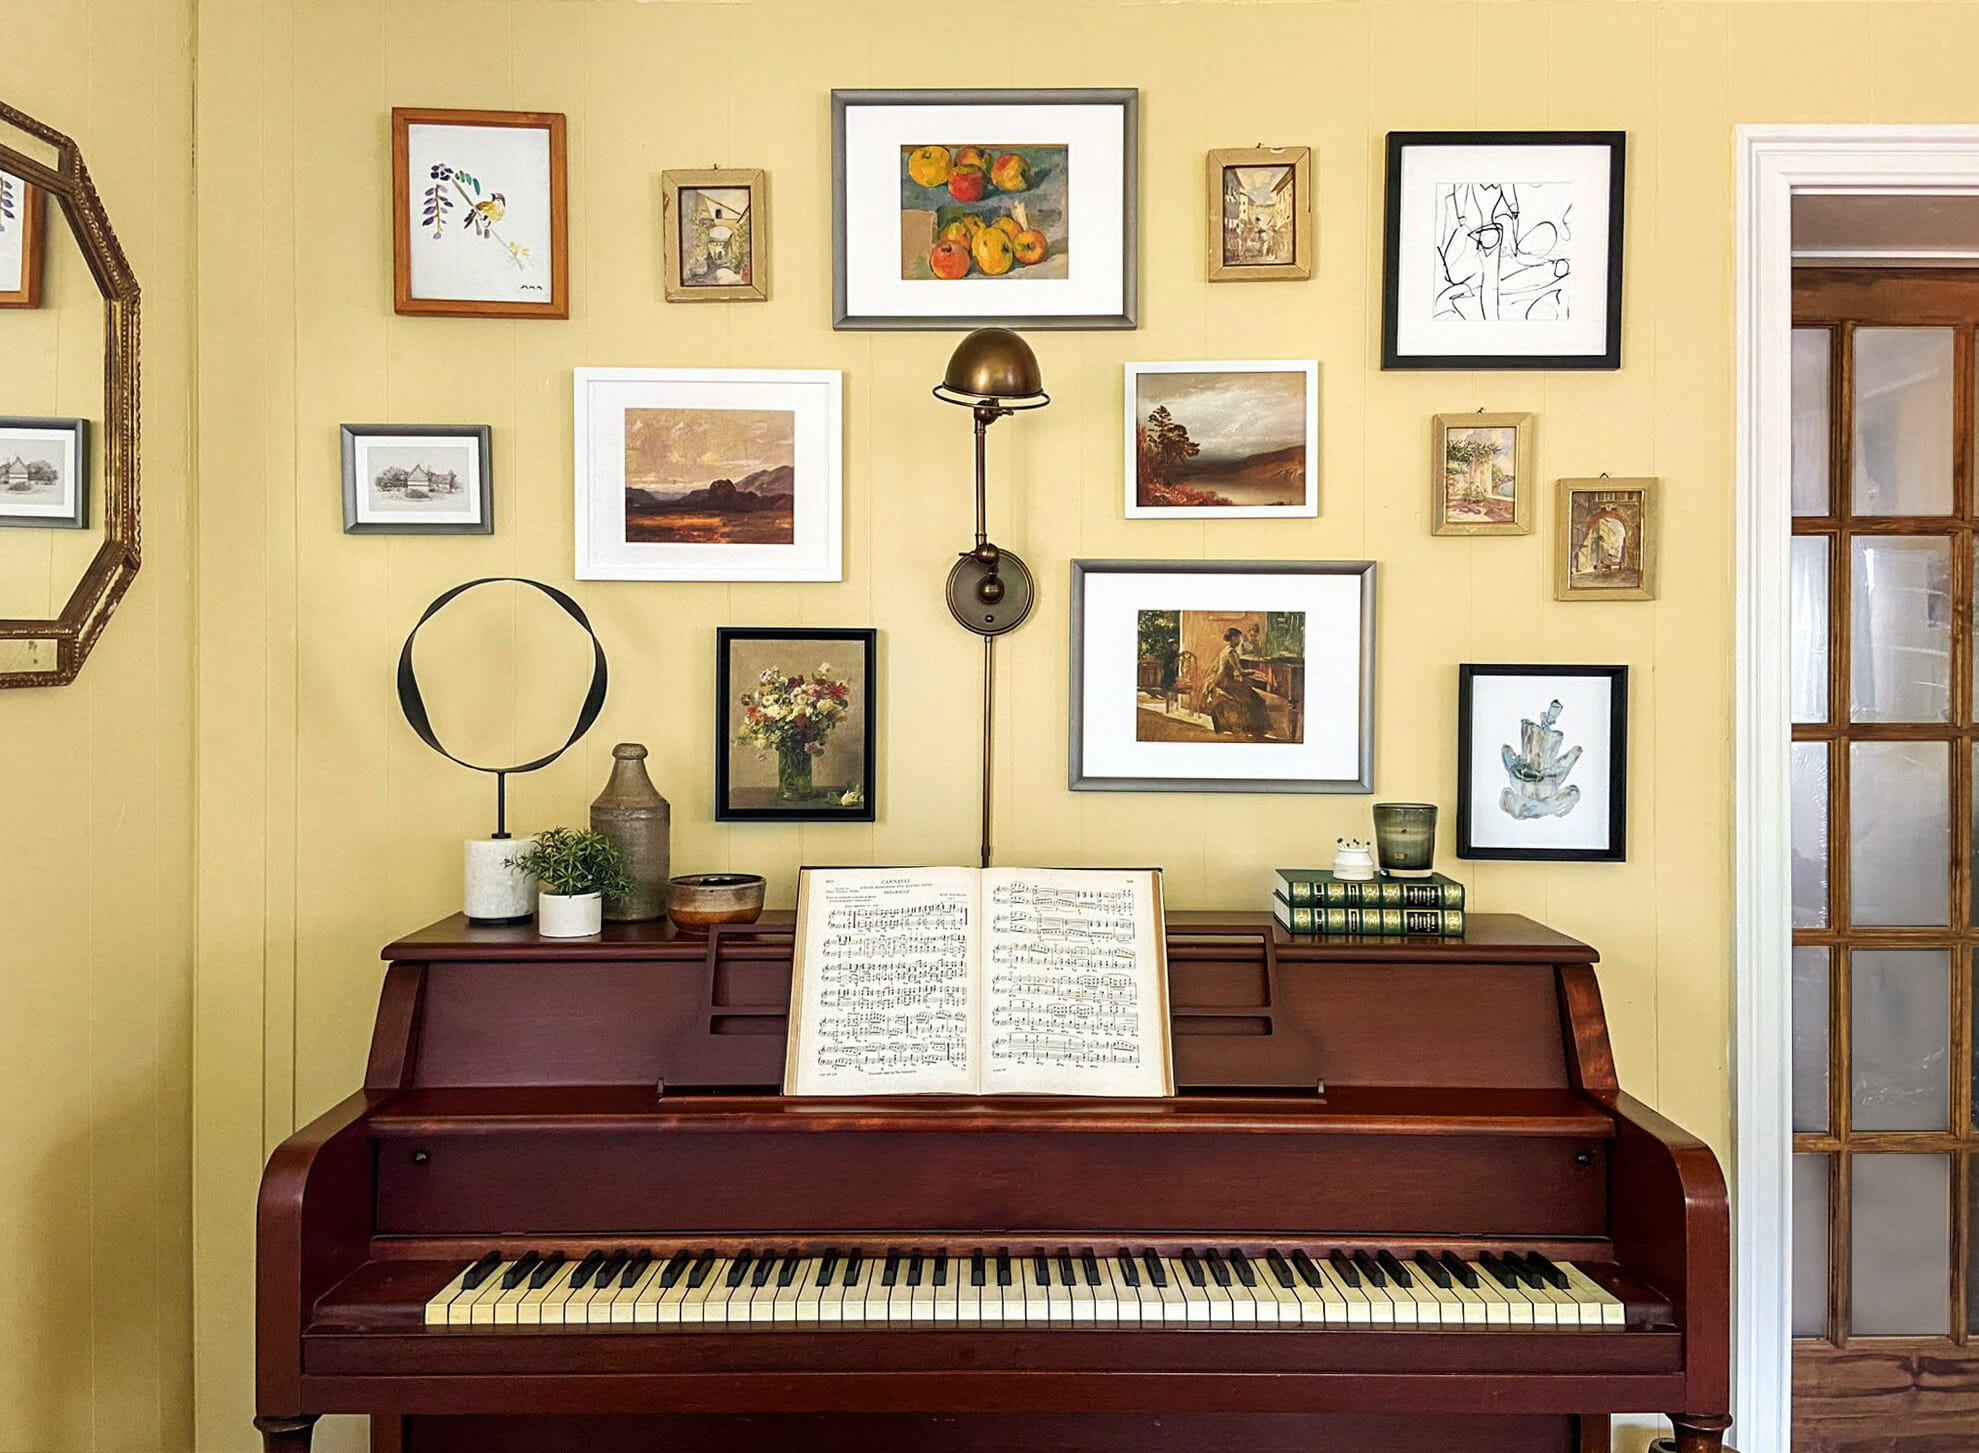
This little corner is my favorite. My parents’ piano fits perfectly on the left side! We installed a gallery wall using a mixture of their art and new prints. It feels nostalgic and colorful and I love it.
The hutch is to the right of the doorway. We knew we wanted to go dark on this piece because we’ve found that dark paint tends to hide imperfections better than lighter paint. This shade of green is Valspar Treeline (5006-4C). It brings some of the green from the windows on the other side of the room over into this corner, and definitely has given the piece a whole new personality. I’m glad we could save it! Bonus: it’s great storage, too.


This is so beautiful! I absolutely love the way you did the ceiling. So pretty
Thank you!
Could you give us some info on the window treatments in this room? I’mm currently looking to buy something similar.
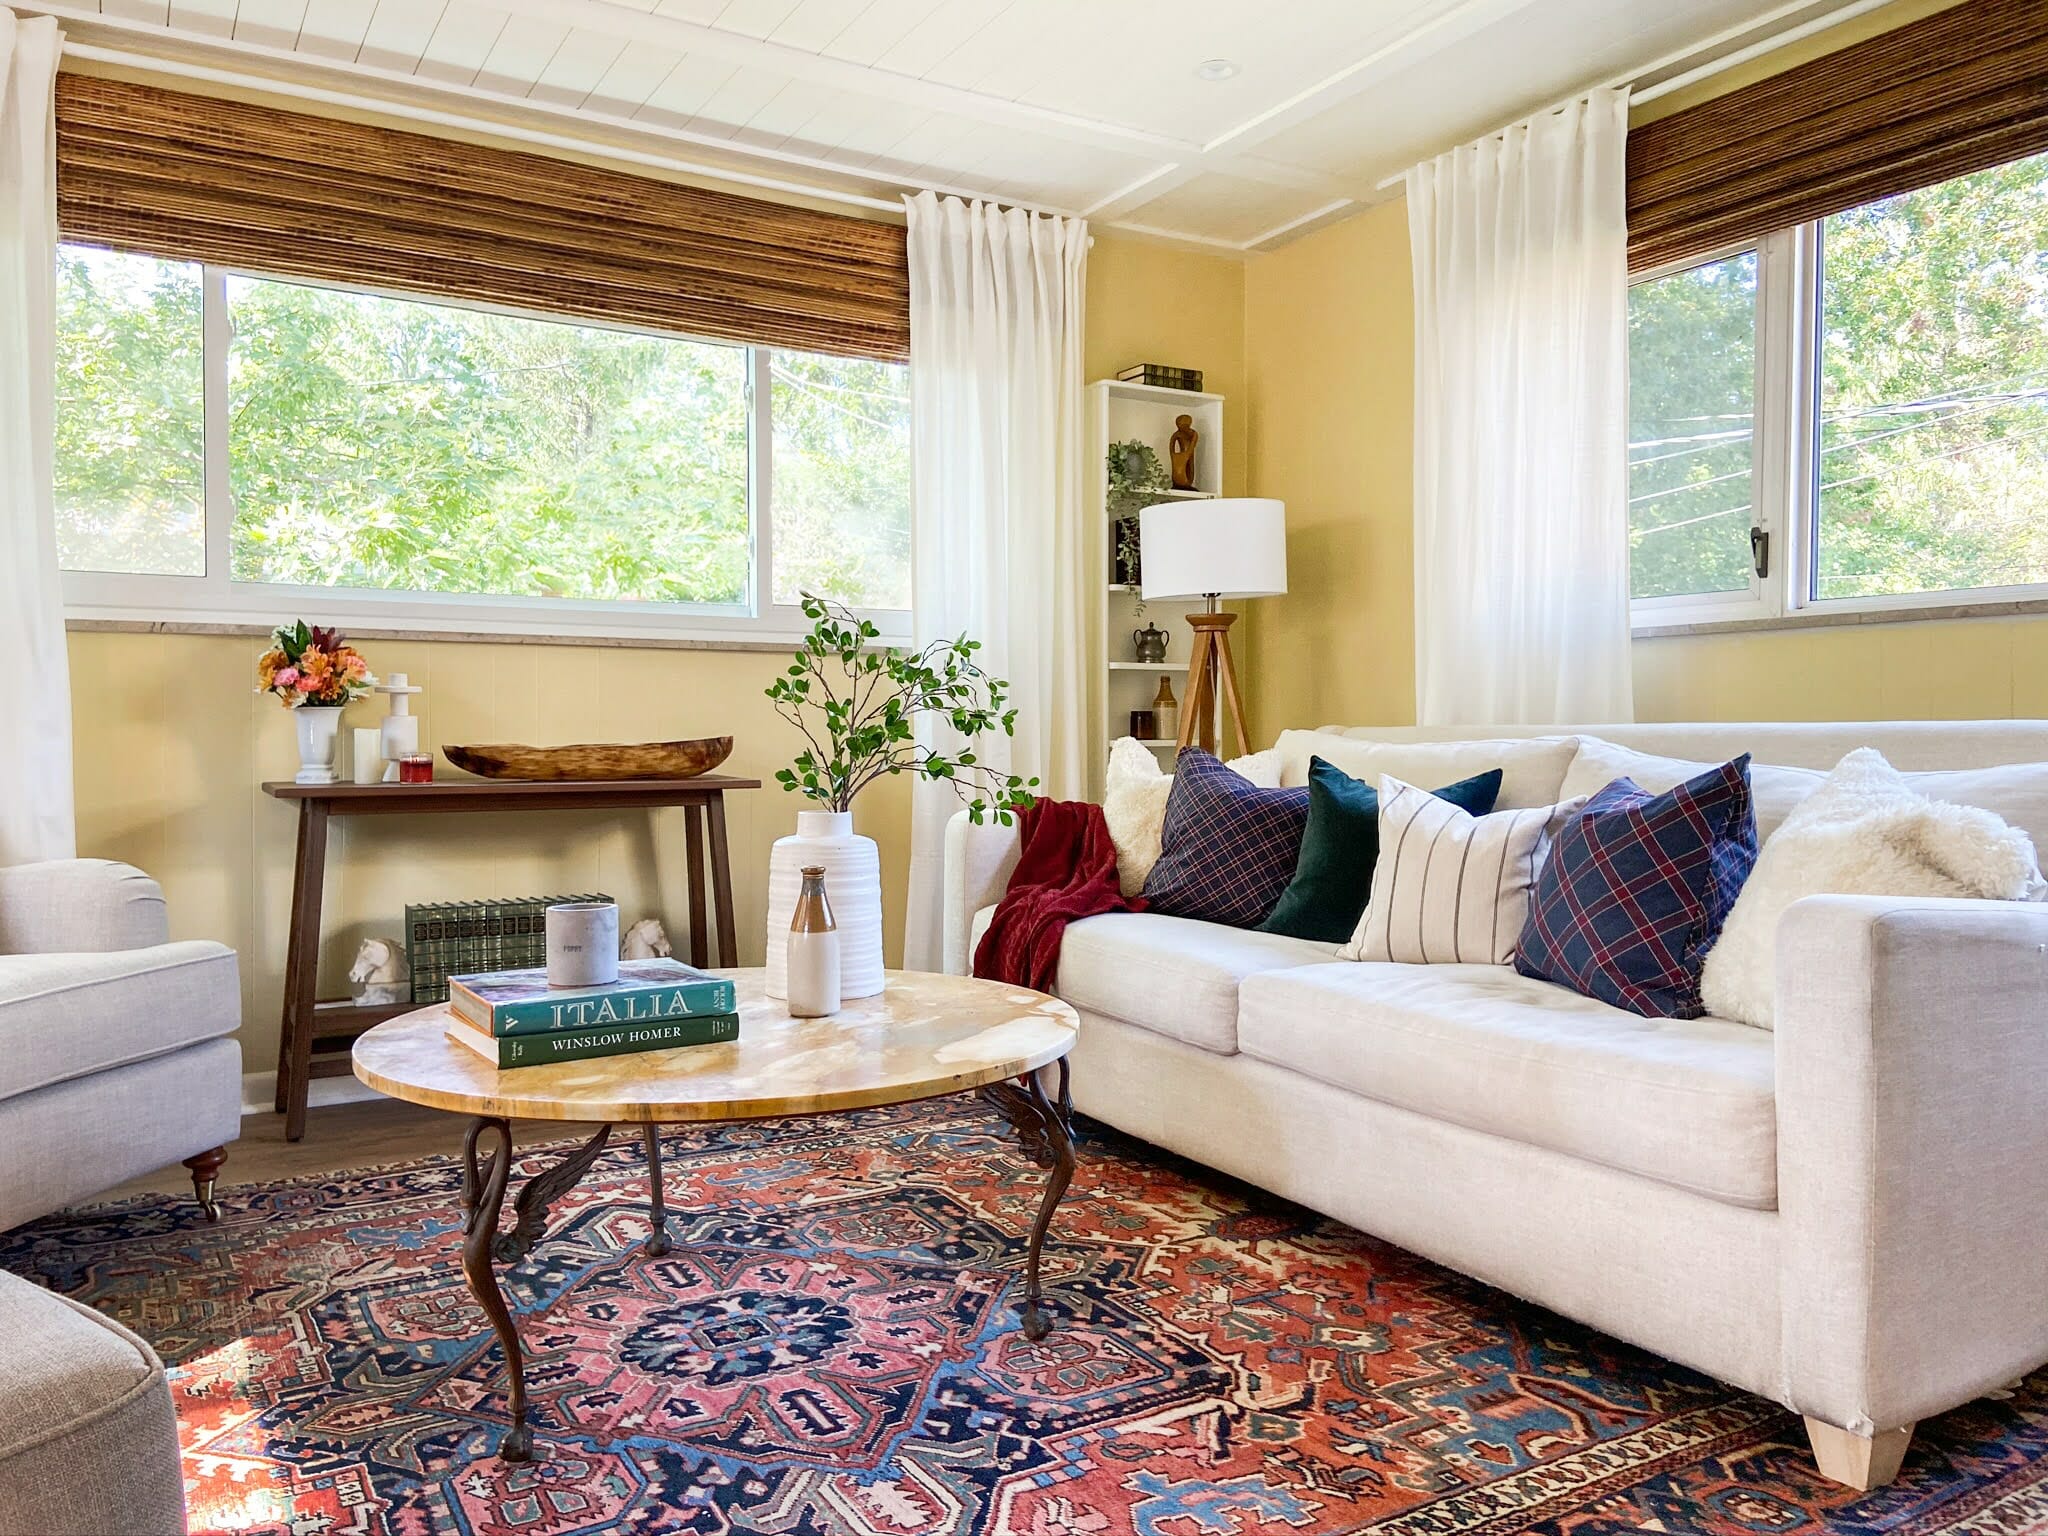
The bamboo shades are from Lowe’s, and the curtains are from Ikea. Bought both in store!
Thanks!