

Update: Our bathroom, along with the rest of our townhome, was featured on Design*Sponge!! Check out our full home tour post for before & afters, and a link to our feature!
***
Welcome back, friends.
Guess what? We finally finished our #historictownhome renovation! If you follow us on Instagram, you probably already knew that, but stick with us ok?
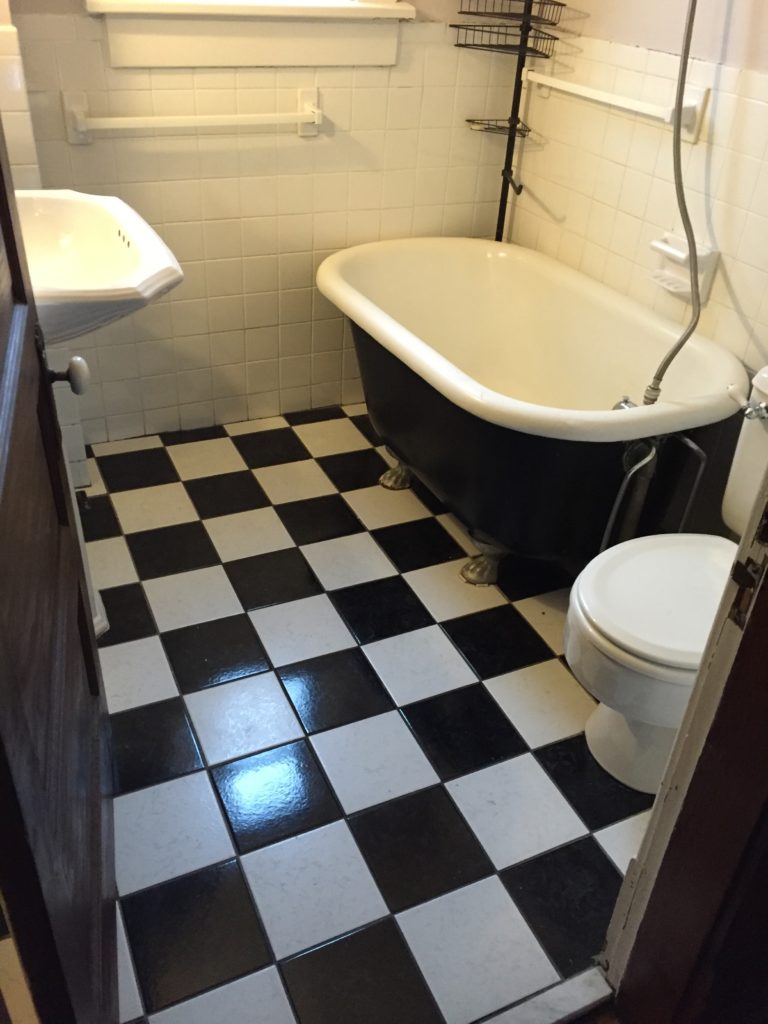
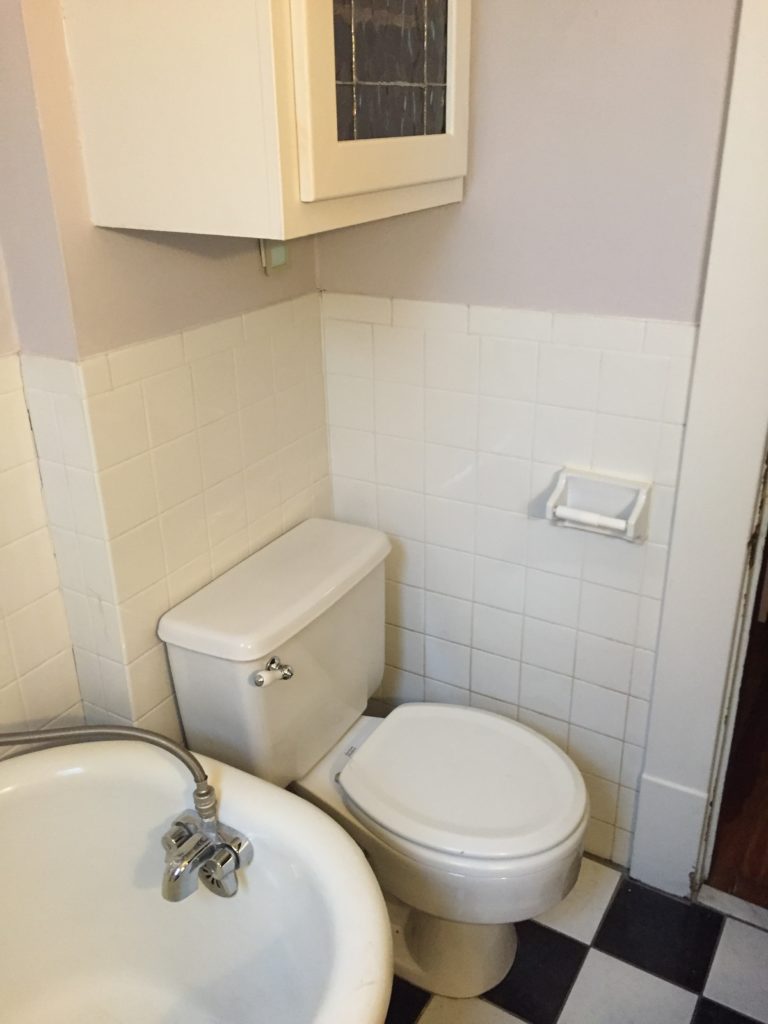
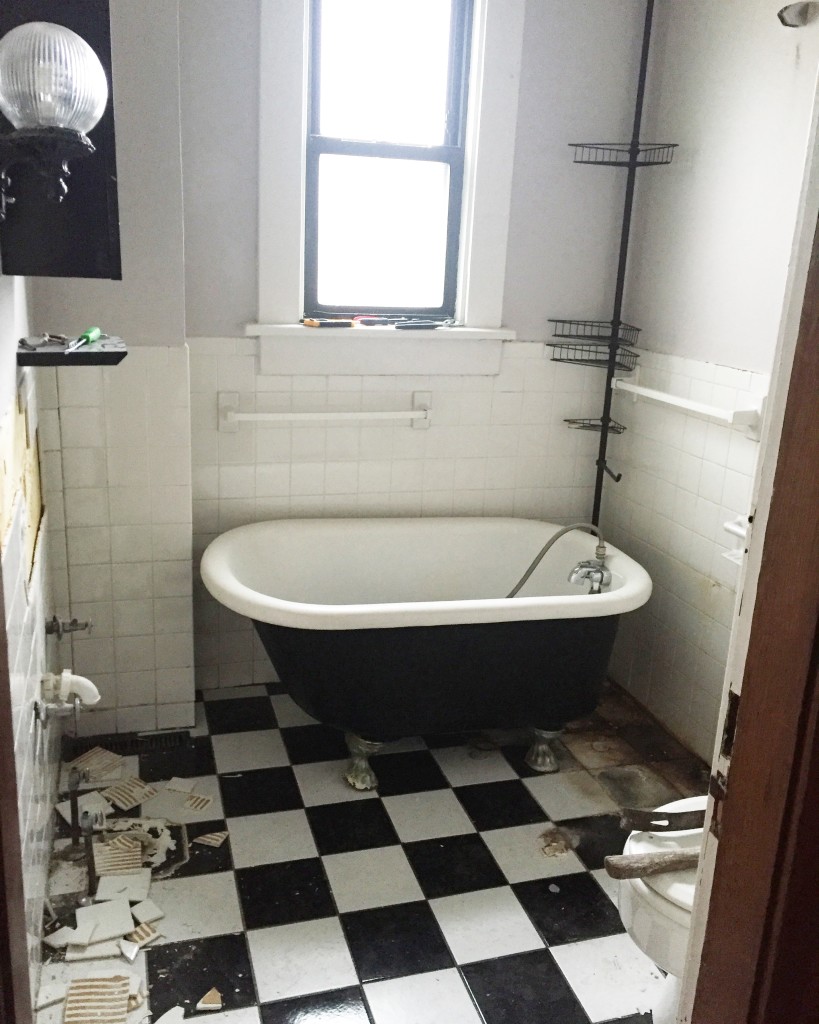
One of our favorite makeovers in the house was the bathroom. Not only was it small and awkward (it’s just 6×6!), but it was also the only one in the house. A few of its many quirks included oversized sconces that prevented the door from fully opening, a toilet that almost touched the tub, and a tub that took up half the room. Also, it felt old. Not the cute, vintagey kind of old, but the grimey kind of old.
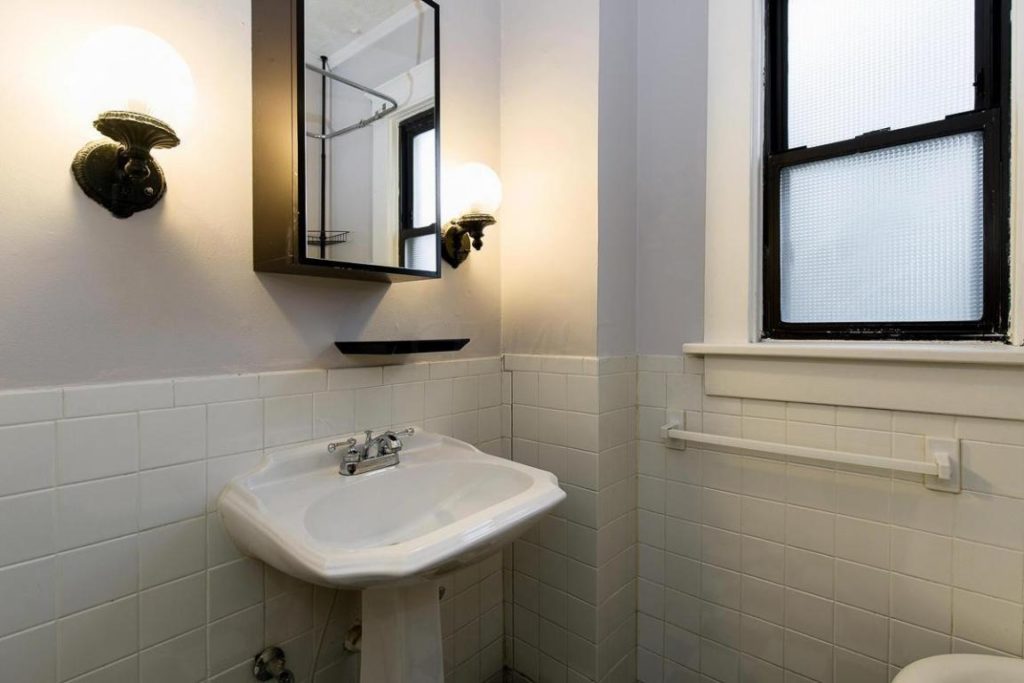
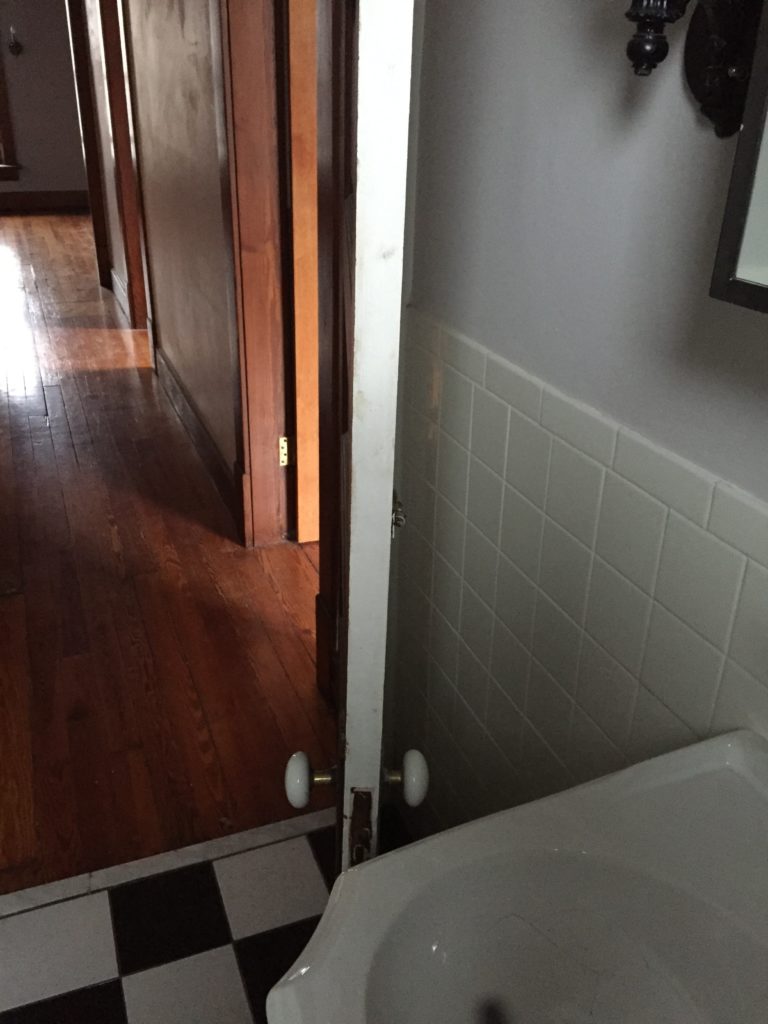
You can’t really see it here, but the door couldn’t fully open because the wall sconces were in the way.
 We didn’t intend to fully gut the bathroom because we wanted to keep costs down, but quickly discovered we would need to when we found some nasty water damage on the floor under the tub.
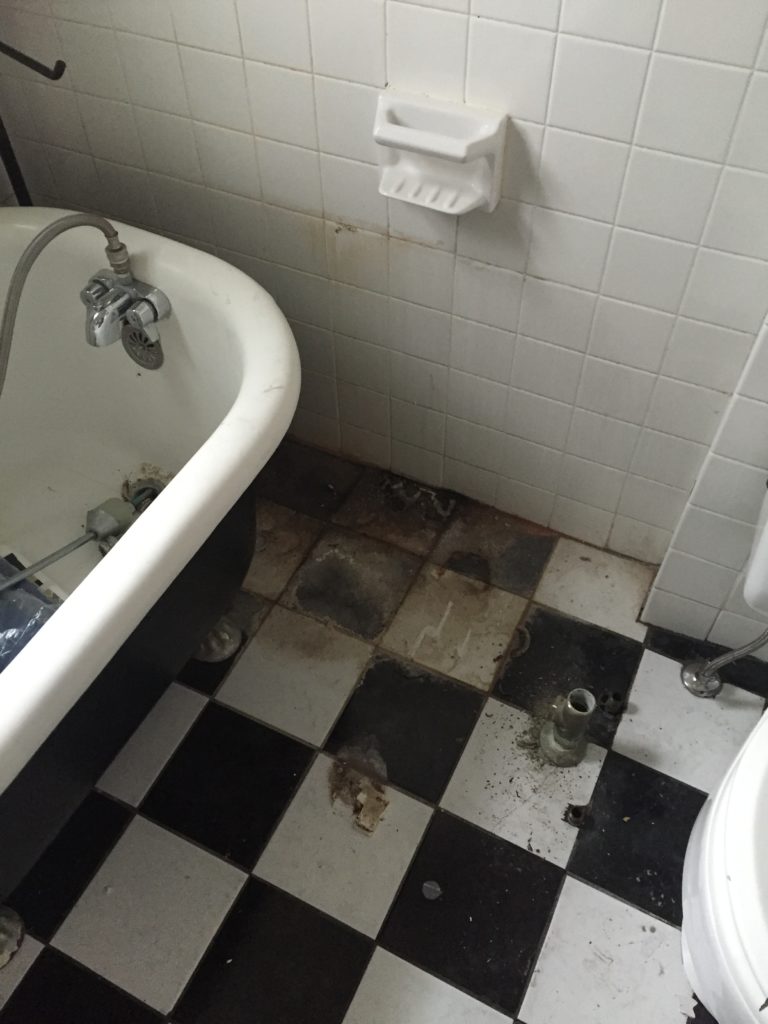
When we took up the old tiles, we discovered that the damage had made its way to the subfloor.
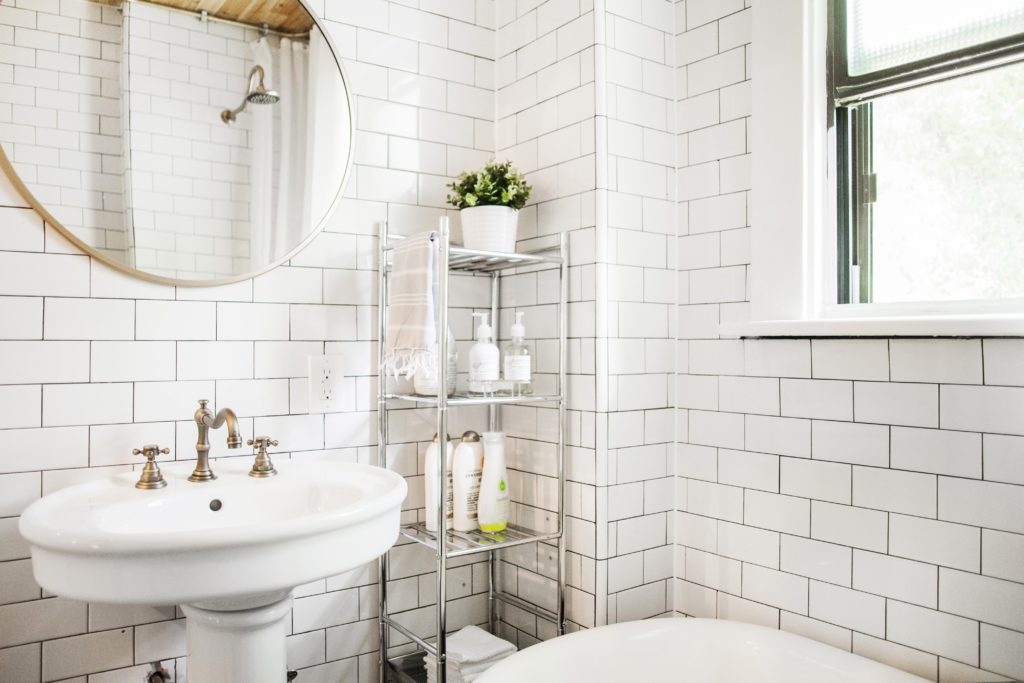
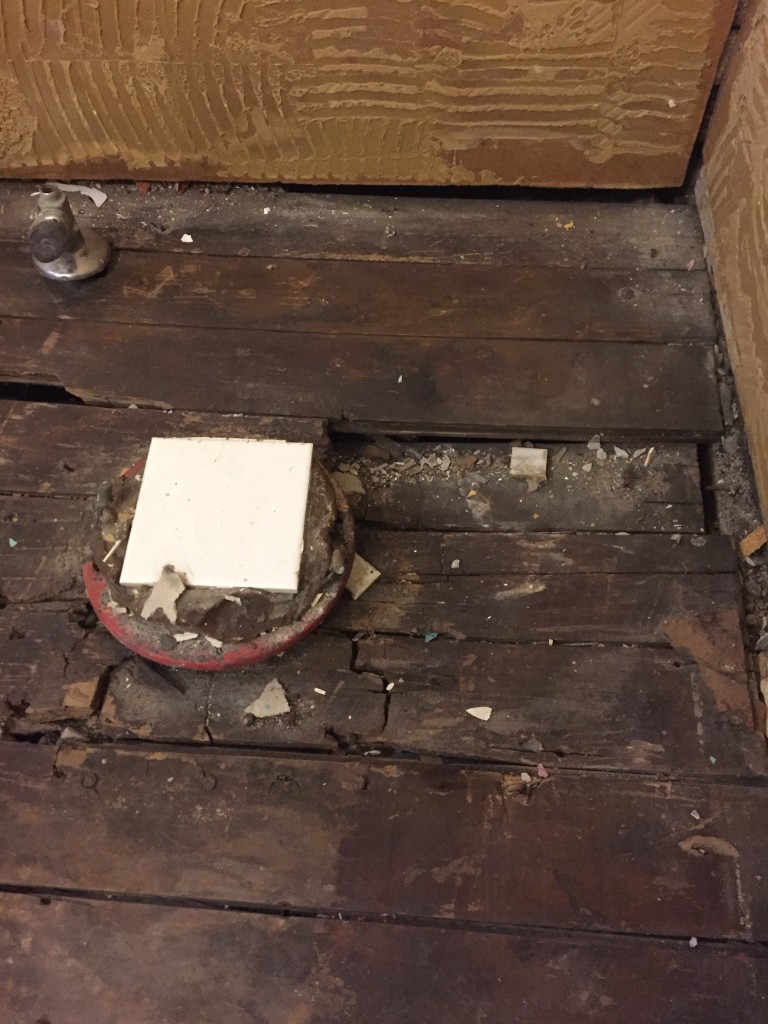 So, we started from scratch and took everything out, including the rotten subfloor. We opted to keep the original mini-clawfoot tub, but moved it to the back wall and added in-wall plumbing. We repainted the outside of the tub in Farrow & Ball Downpipe, and revived the feet with brass spray paint. We tiled all of the bathroom walls with floor to ceiling subway tile and dark grout.
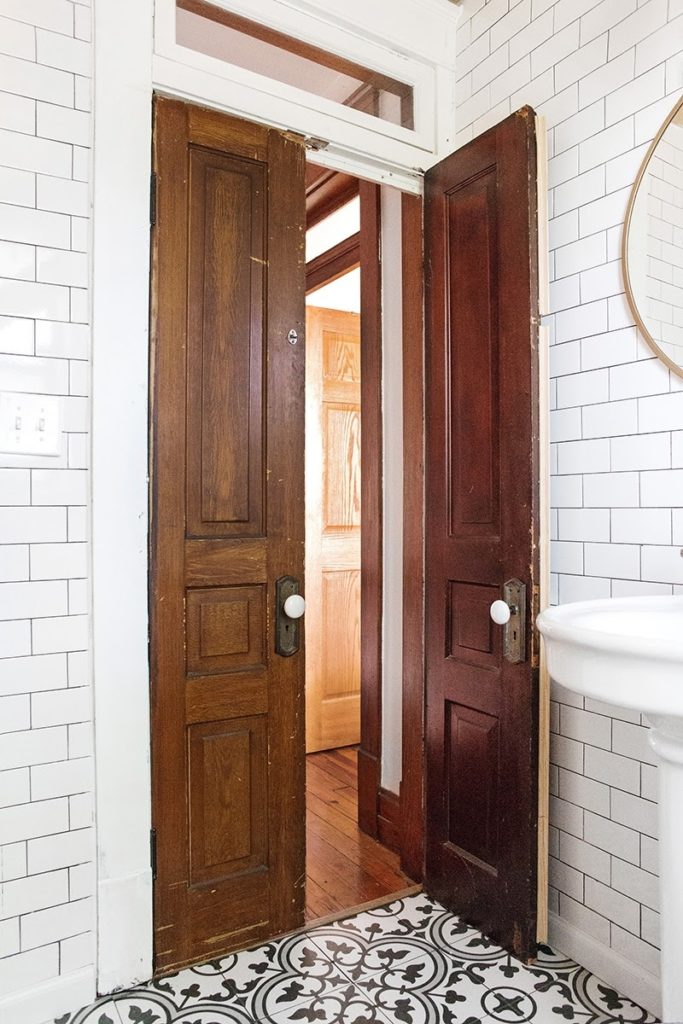
We replaced the old cracked pedestal sink with a new one, and swapped the two oversized sconces with one overhead pendant to save space. For the floor, we opted for an updated take on the old black & white tiles with a patterned tile from Home Depot. We used these in our Pearl St. bathroom renovation, too, so we knew they would look great.
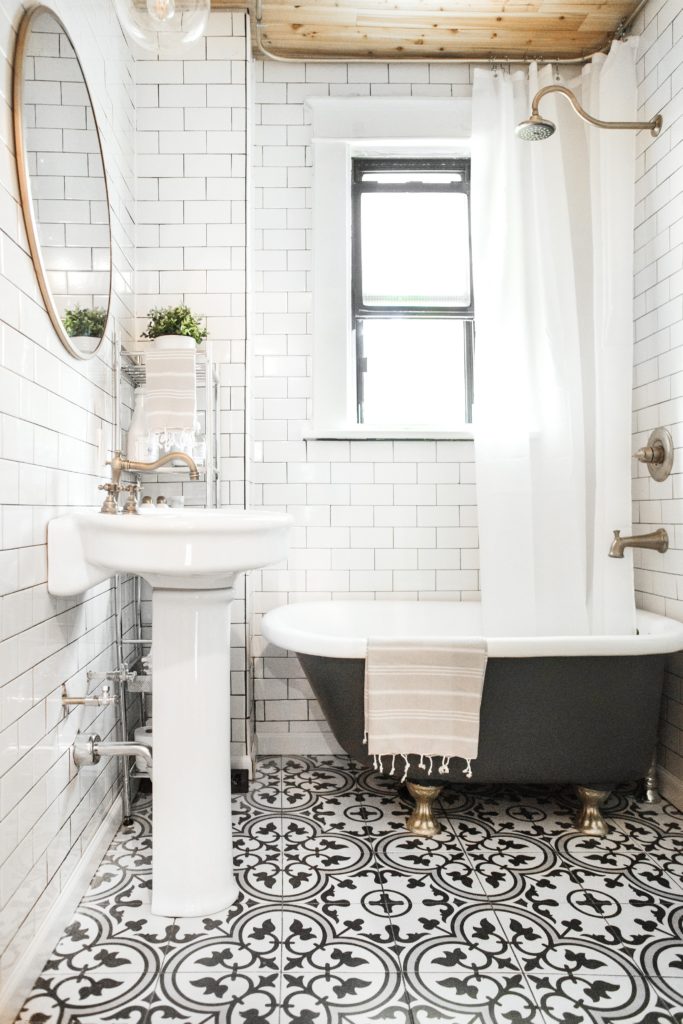
We purchased both the sink fixture and shower fixtures w/valve from Amazon (hint: ordering the trim kit and valve separately saved us lots of moola!) To get the showerhead away from the wall, we ordered a separate shower arm that fit the bill. We found the round mirror at Target and the pendant at Restoration Hardware Outlet for $30 (similar here). The turkish towels are also from Amazon.
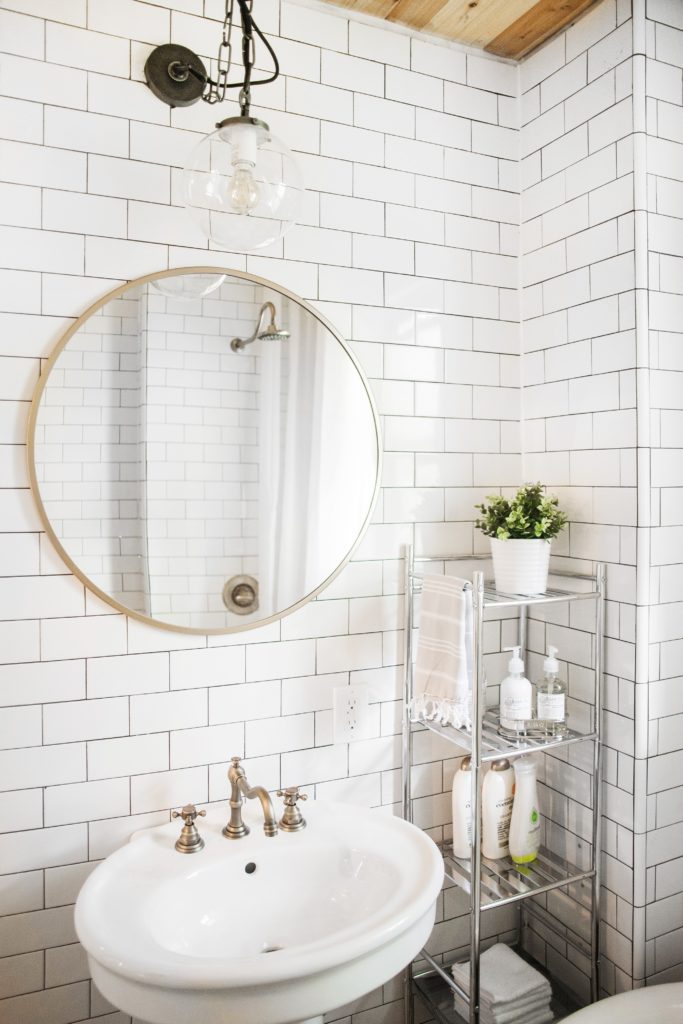
The shelf unit in the corner fit perfectly in the space and adds much needed storage for bathroom essentials.
We found two little pocket doors at Columbus Architectural Salvage that fit the doorway perfectly, and took up less space inside the room than the original hinged door. They match the other doors in the house and look like they’ve always been there!
By DIYing the bulk of the work and being smart shoppers for our finishes, we were able to keep our total project cost under $5k. More before & afters of this home are coming soon, so stay tuned! In the meantime, follow us on Instagram for daily posts of our work. Also, check out our awesome photographer, Esther!


This is awesome. I had to redo my fathers bathroom to make it accessible for him, not with the same results. This has me rethinking some things. Thanks so much for posting. Is the shower curtain longer than normal and what was the source? My dad’s shower goes from ceiling to floor and I can’t find a shower curtain long enough.
I am most curious about the shower curtain rod. Did you make it? I have been looking for one that is that shape .I would appreciate it if you could elaborate a bit on it and share with me.
Thanks
Martha
Hi Martha! We made it out of electrical conduit. Conduit is inexpensive and bends so we were able to get it to the exact shape we needed. When we were done we spray painted it with brass spray paint.
Beautiful!! I’m in the middle of a redo and have almost the identical cement tiles! I love them! They are so thick though. I was only able to get 66 of them since they were on clearance (left over from the lot) so now I have to figure out where to put them. It’s a large room so the floor is out. I was going to do a “rug”, but they are so thick that the other tile won’t be level with it. Sooooo, I think I’m going to do the far end of the shower wall, take it up 7′, and use that wall to hold a few teak shelves for plants. The shower will be over 6′ long, so it probably won’t even get wet when we take a shower. Did you use a sealer on them prior to grouting? Did you lay them yourself? BTW, your bathroom is just amazing. We ended up vaulting our ceiling in the remodel and laid oak plank flooring across the ceiling like u did. I found the flooring on craigslist for a great price.
Beth, How fun! We didn’t seal the tiles because they’re actually porcelain. We did lay them ourselves 🙂 A rug sounds like a good idea, but you’re right – you’d want to have the other flooring match the height of the tiles. Good luck!!
[…] Beginning In The Middle Blog […]
This is stunning! You have such talent! We are in the process of a bathroom remodel. Can you tell me your subway tile source and grout color? So many options! It’s helpful to pick from a finished product 🙂
Thanks Theresa! We get our subway tile from Home Depot. We like the color the best (white but not too white). For grout, we went with a charcoal grey in here (also from Home Depot). Hope this helps!
[…] This before and after […]
This is gorgeous and major inspiration for my guest bath! Do you know if the subway tile was Daltile or Jeffrey Court? Also, which spray paint did you use for the tub feet?
It looks amazing! I love everything about it. Curious though, your bathtub looks smaller than most and I absolutely adore it. What are the dimensions if it? Did it come with your home or did you purchase it?
Thank you! It is original to the house. It’s a petite claw foot tub & is about a foot shorter than the standard claw foot tubs.
[…] don’t need color to make a statement—especially not in this bathroom reno from Beginning in the Middle. The Moroccan-inspired tiles bring life and character into the tranquil space, without looking busy […]
This is gorgeous and major inspiration for my guest bath! Do you know if the subway tile was Daltile or Jeffrey Court? Also, which spray paint did you use for the tub feet?
Thank you! It was whatever they had in stock at the store. We used this spray paint for the feet.
What tile did you use for the floor
It’s linked in the post.