

This post is sponsored by Lowe’s.
One of our goals for the kitchen renovation at White Cape Cottage was to make the room feel cohesive with the rest of the house, especially after opening up the wall between the dining room and kitchen. The rest of the first floor had beautiful original red oak hardwood floors, so we set out to install brand new ones in the kitchen that looked like they’ve always been there. We found unfinished red oak hardwood floors from Lowe’s for about $3 per square foot and got to work. Here’s how we did it.
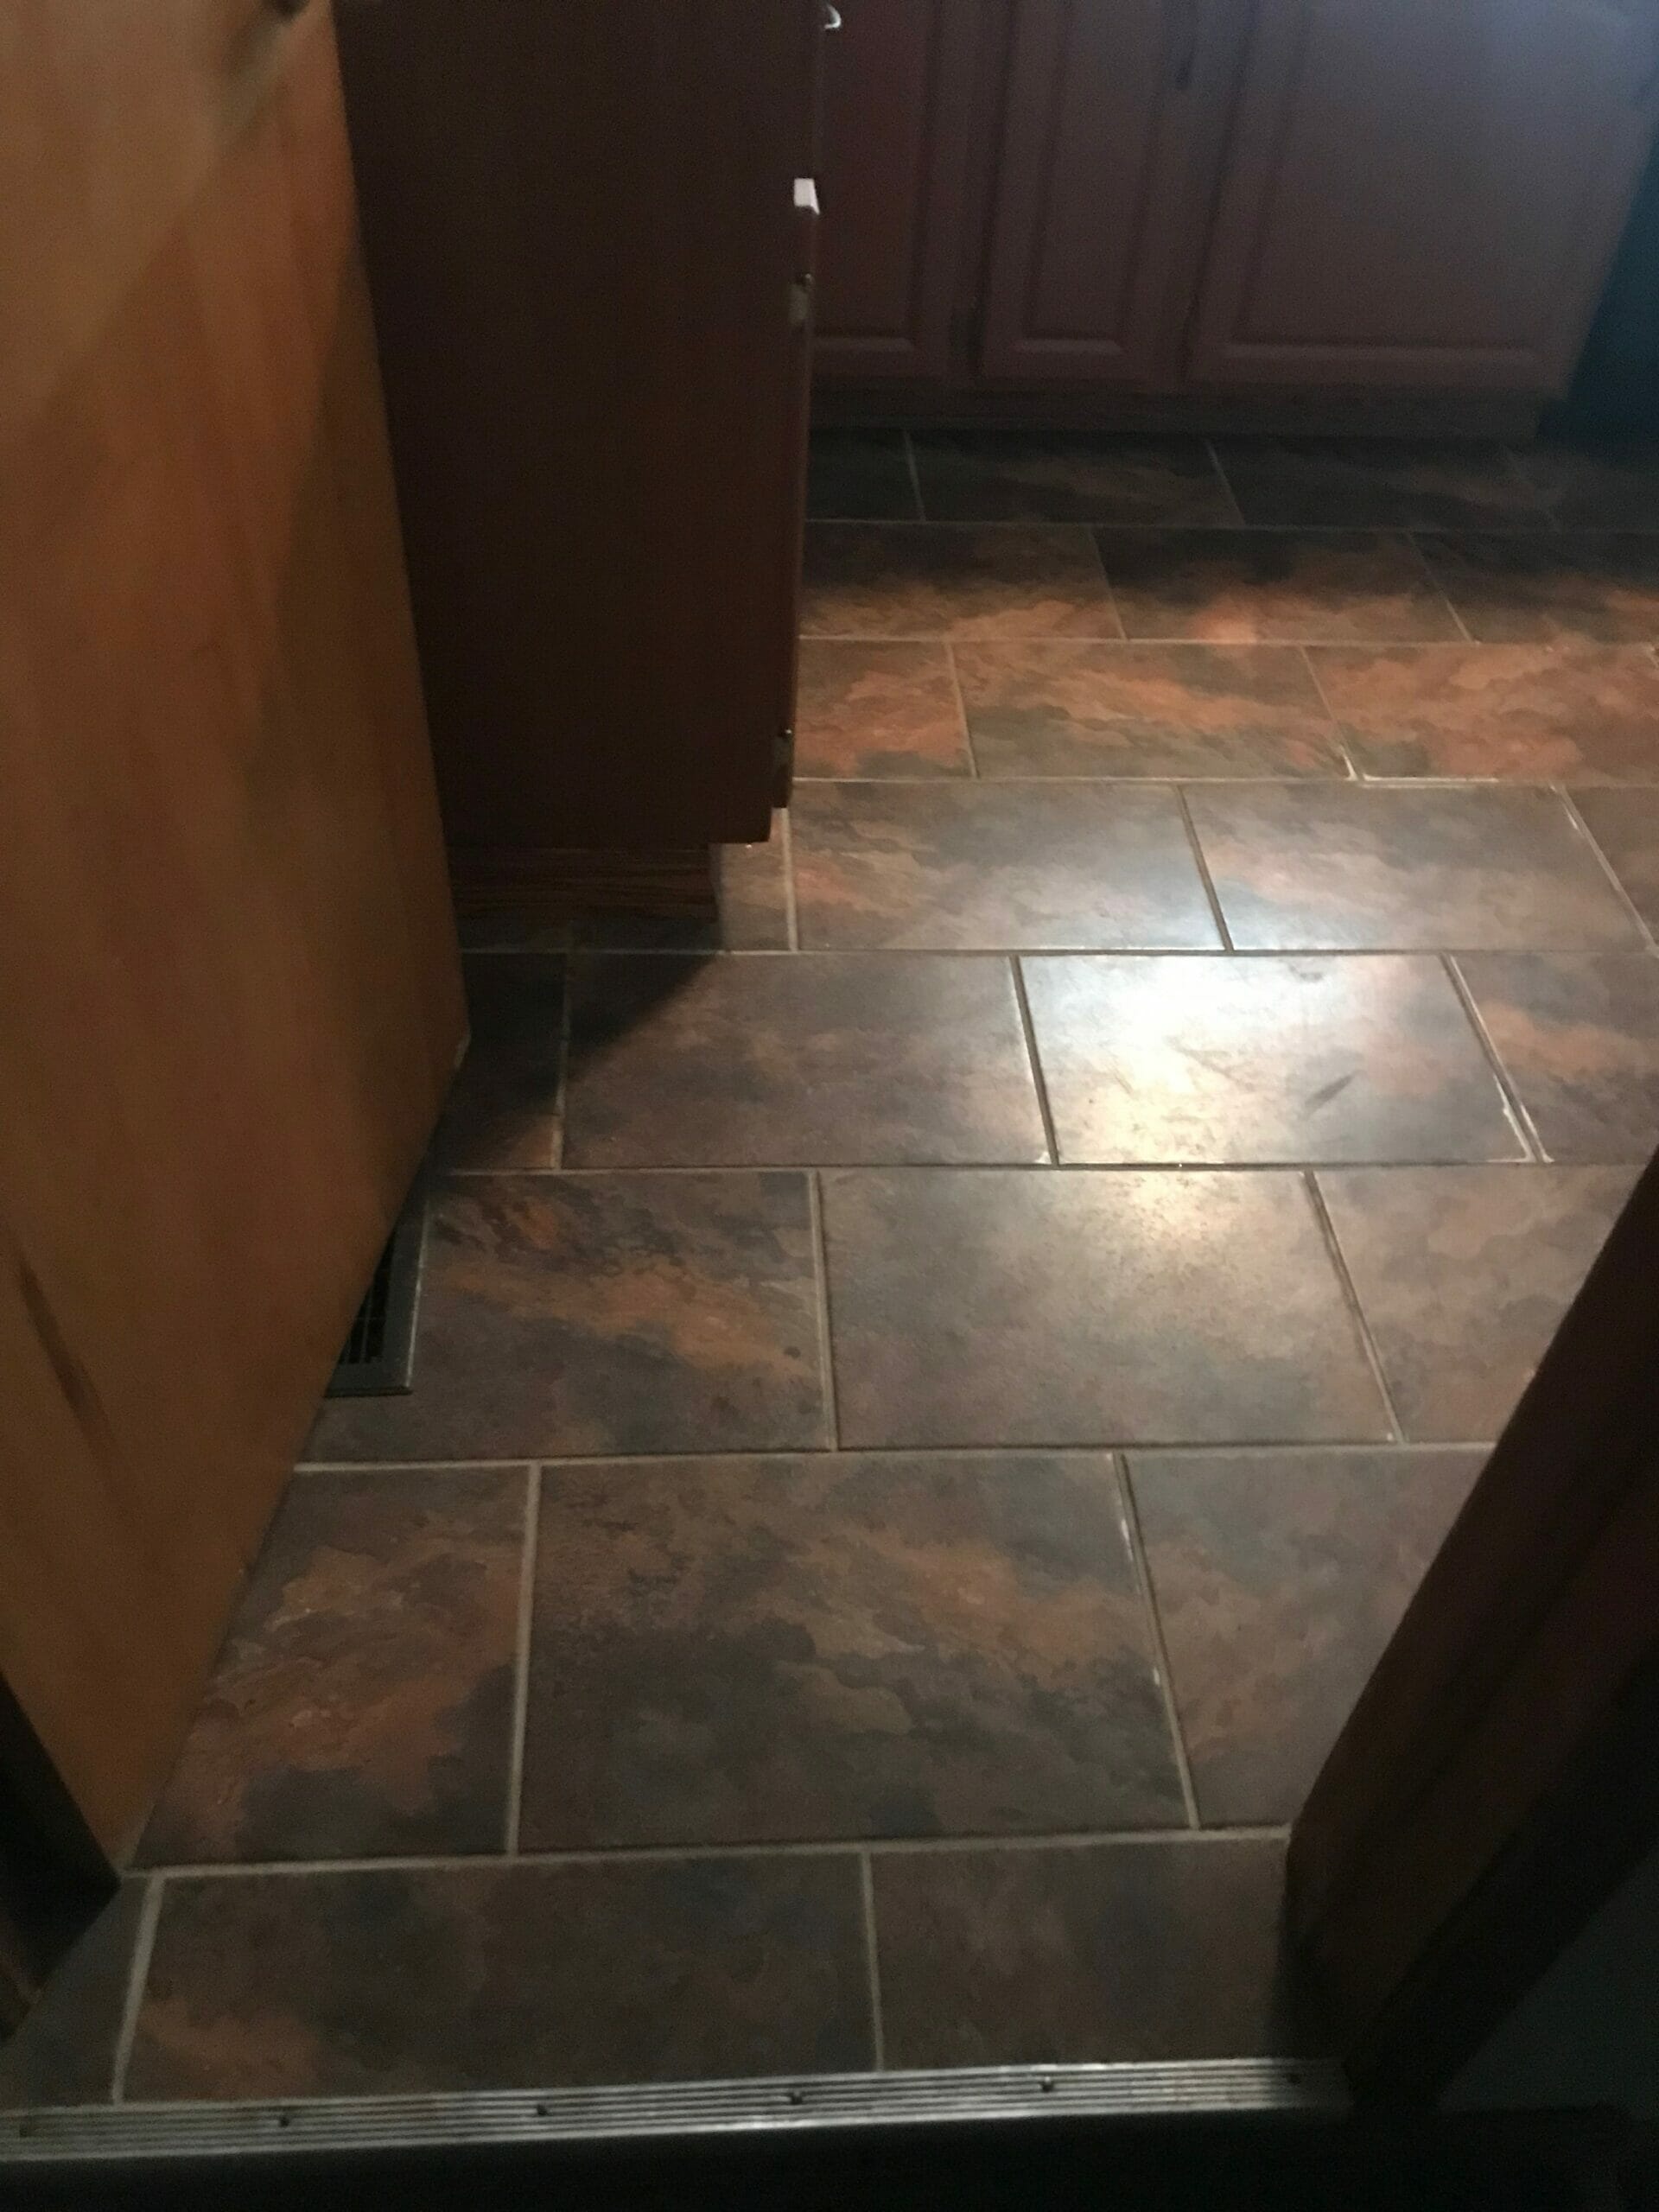
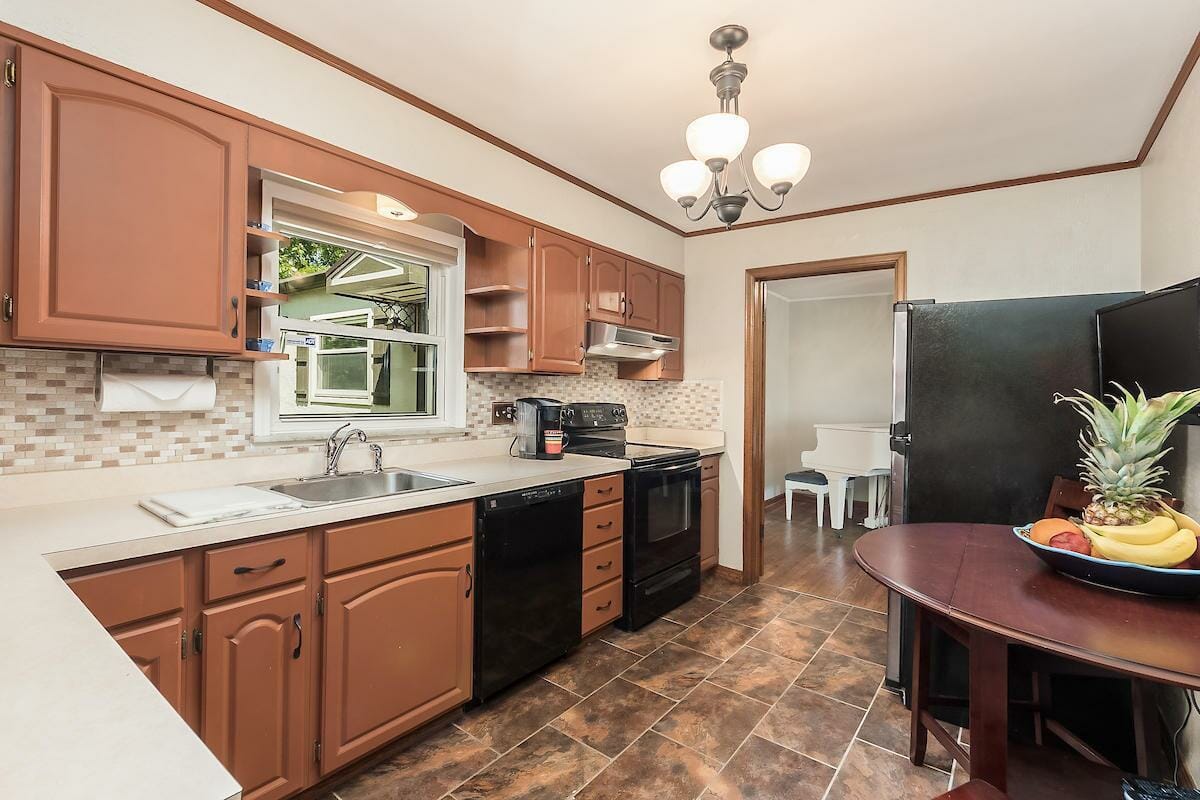
Here’s what the old vinyl flooring looked like in the kitchen. As remodelers, we were actually thankful they were vinyl and not tile because it made demo much easier!
First things first: wood flooring needs to acclimate to the environment it’ll be installed in for at least a few days before it’s installed (it varies based on species and product). The goal here is to reach an equilibrium between the moisture of the wood and the air where it’s being installed to prevent excessive gaps, warping, buckling, etc. in your floors. We had ours sitting in the house for several weeks before we installed them.
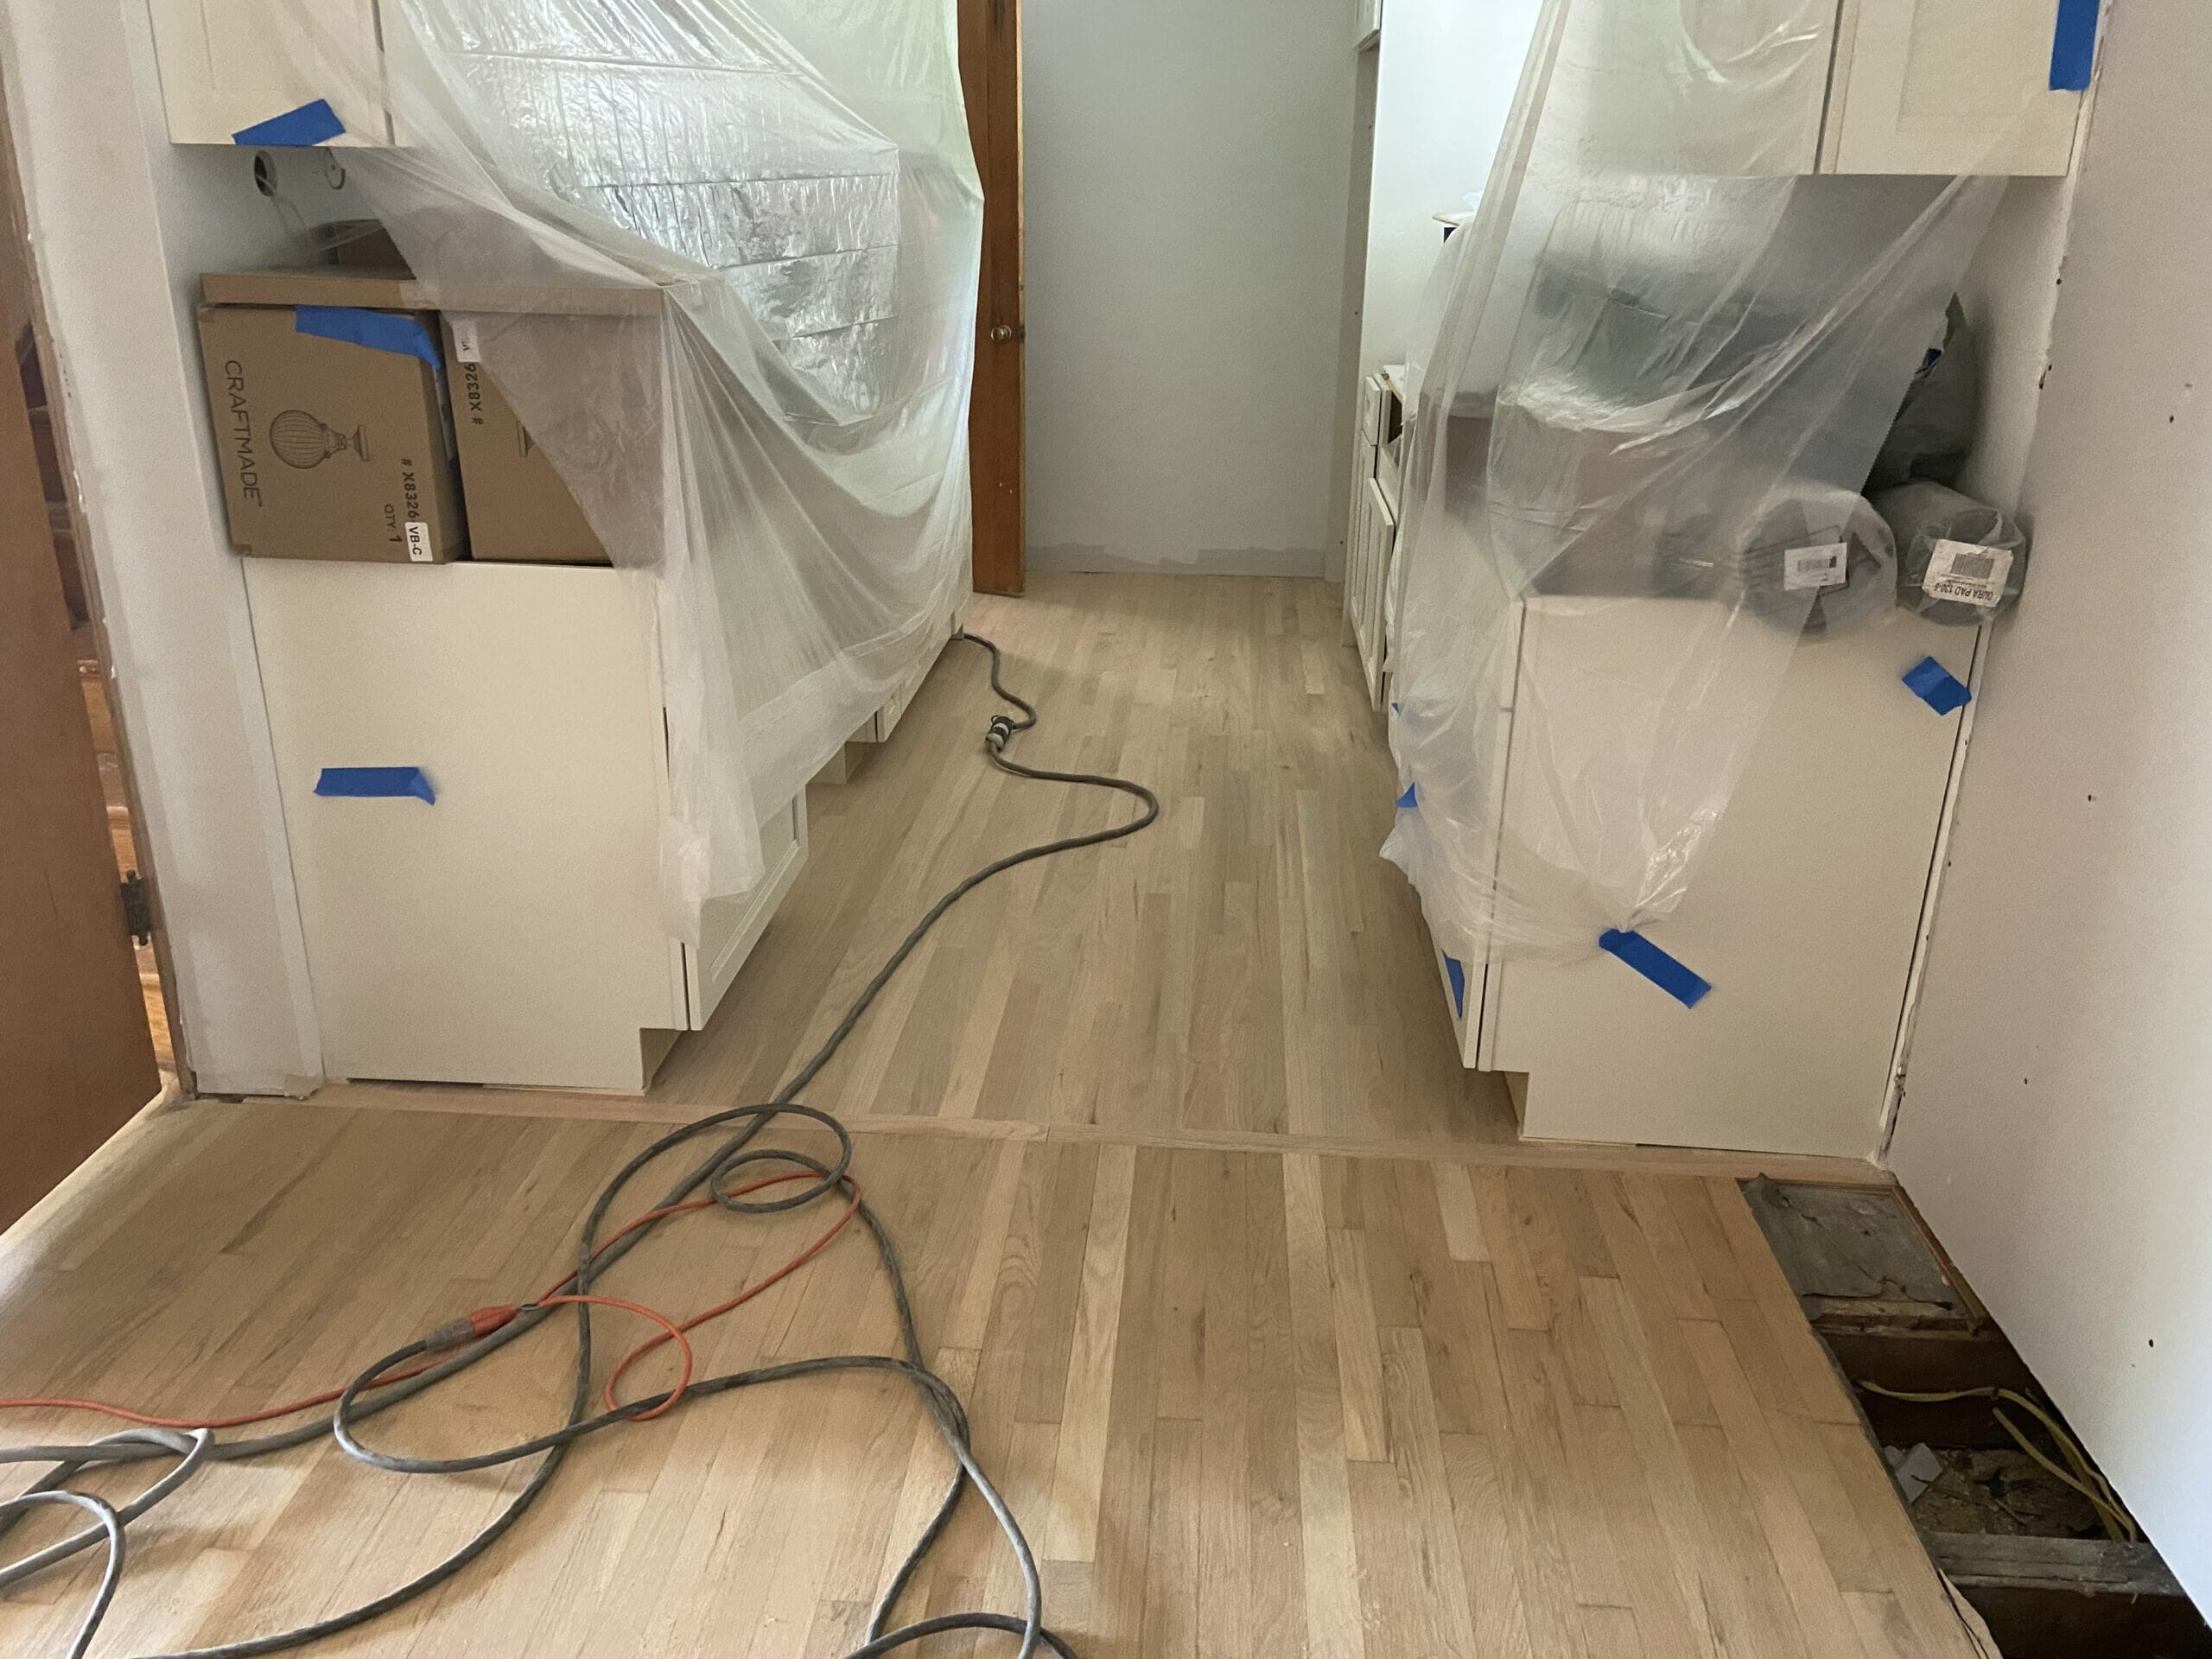
Next, we knew we wanted the transition between the old wood floors and new wood floors to be completely flush. Our hardwood floors were the same height as the old wood floors sitting directly on top of the subfloor, which meant that we needed to do the same in the kitchen. We removed the vinyl layer plus all of the other old flooring layers to reveal the subfloor and create an even starting point. After cleaning and removing the old nails and debris from the kitchen subfloor, we laid down a thin Rosin paper underlayment and began installing the wood flooring. (We’ve used this flooring nailer on a few projects this year and have been really happy with it!)
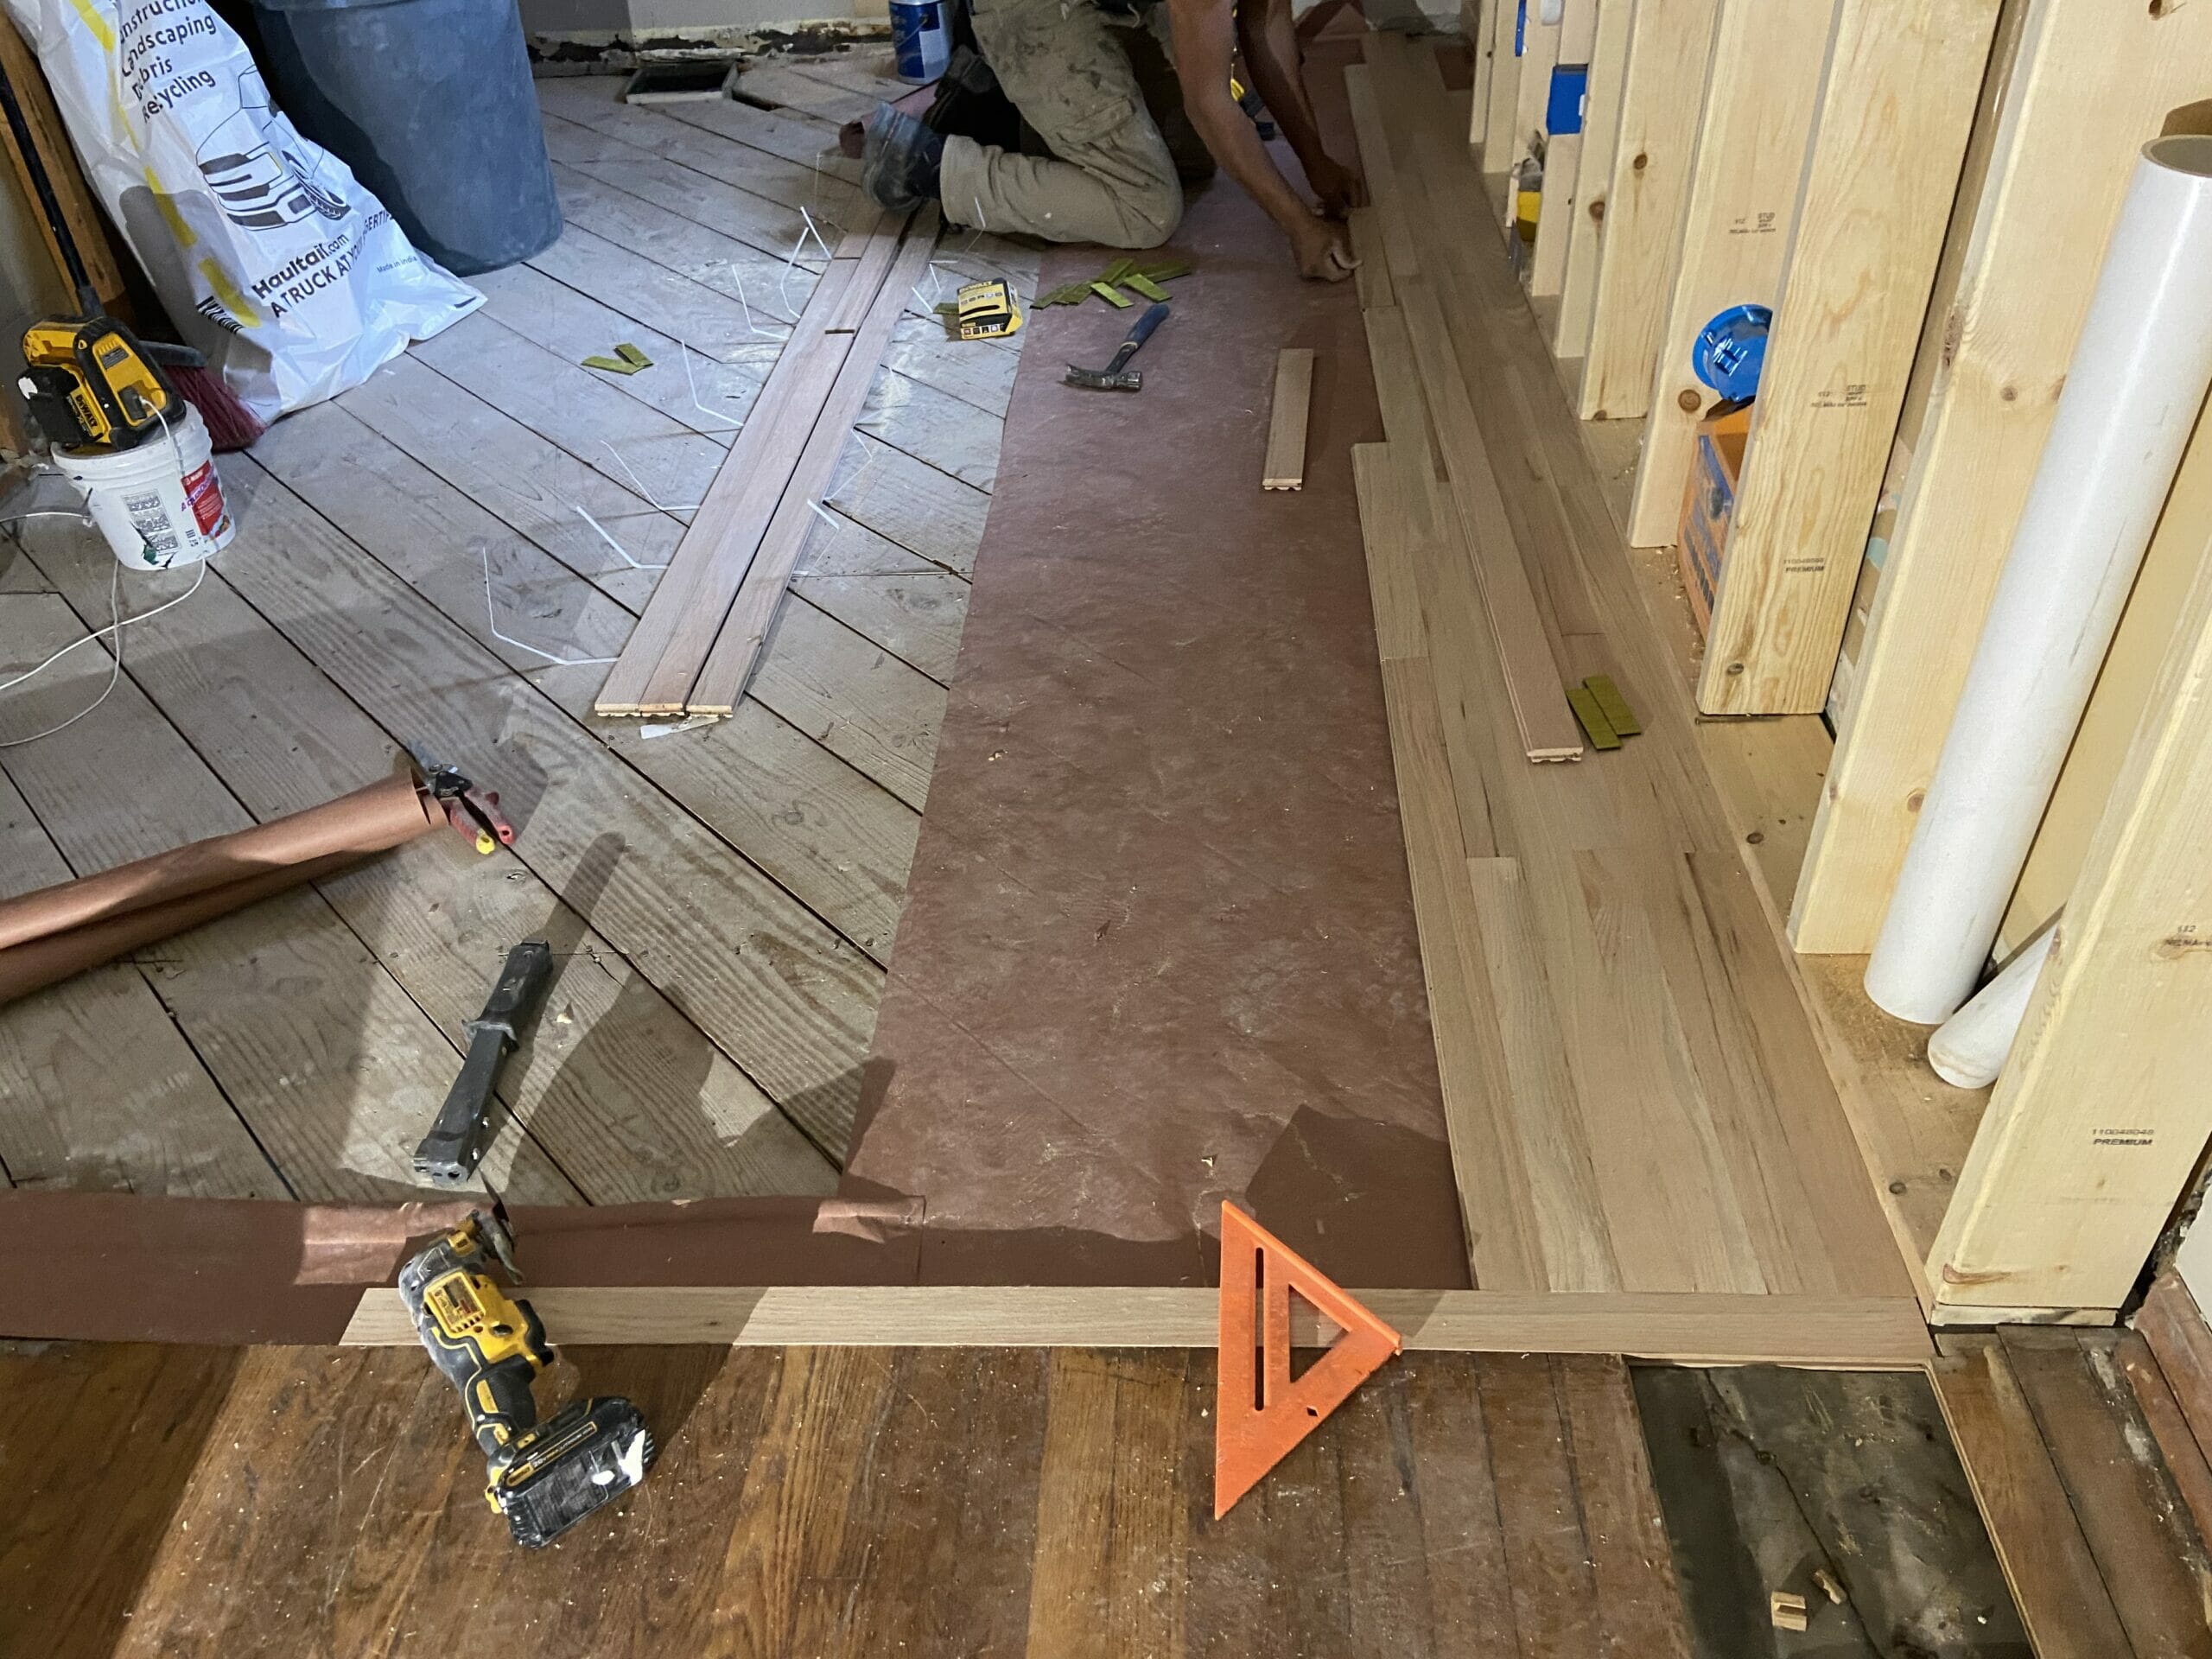
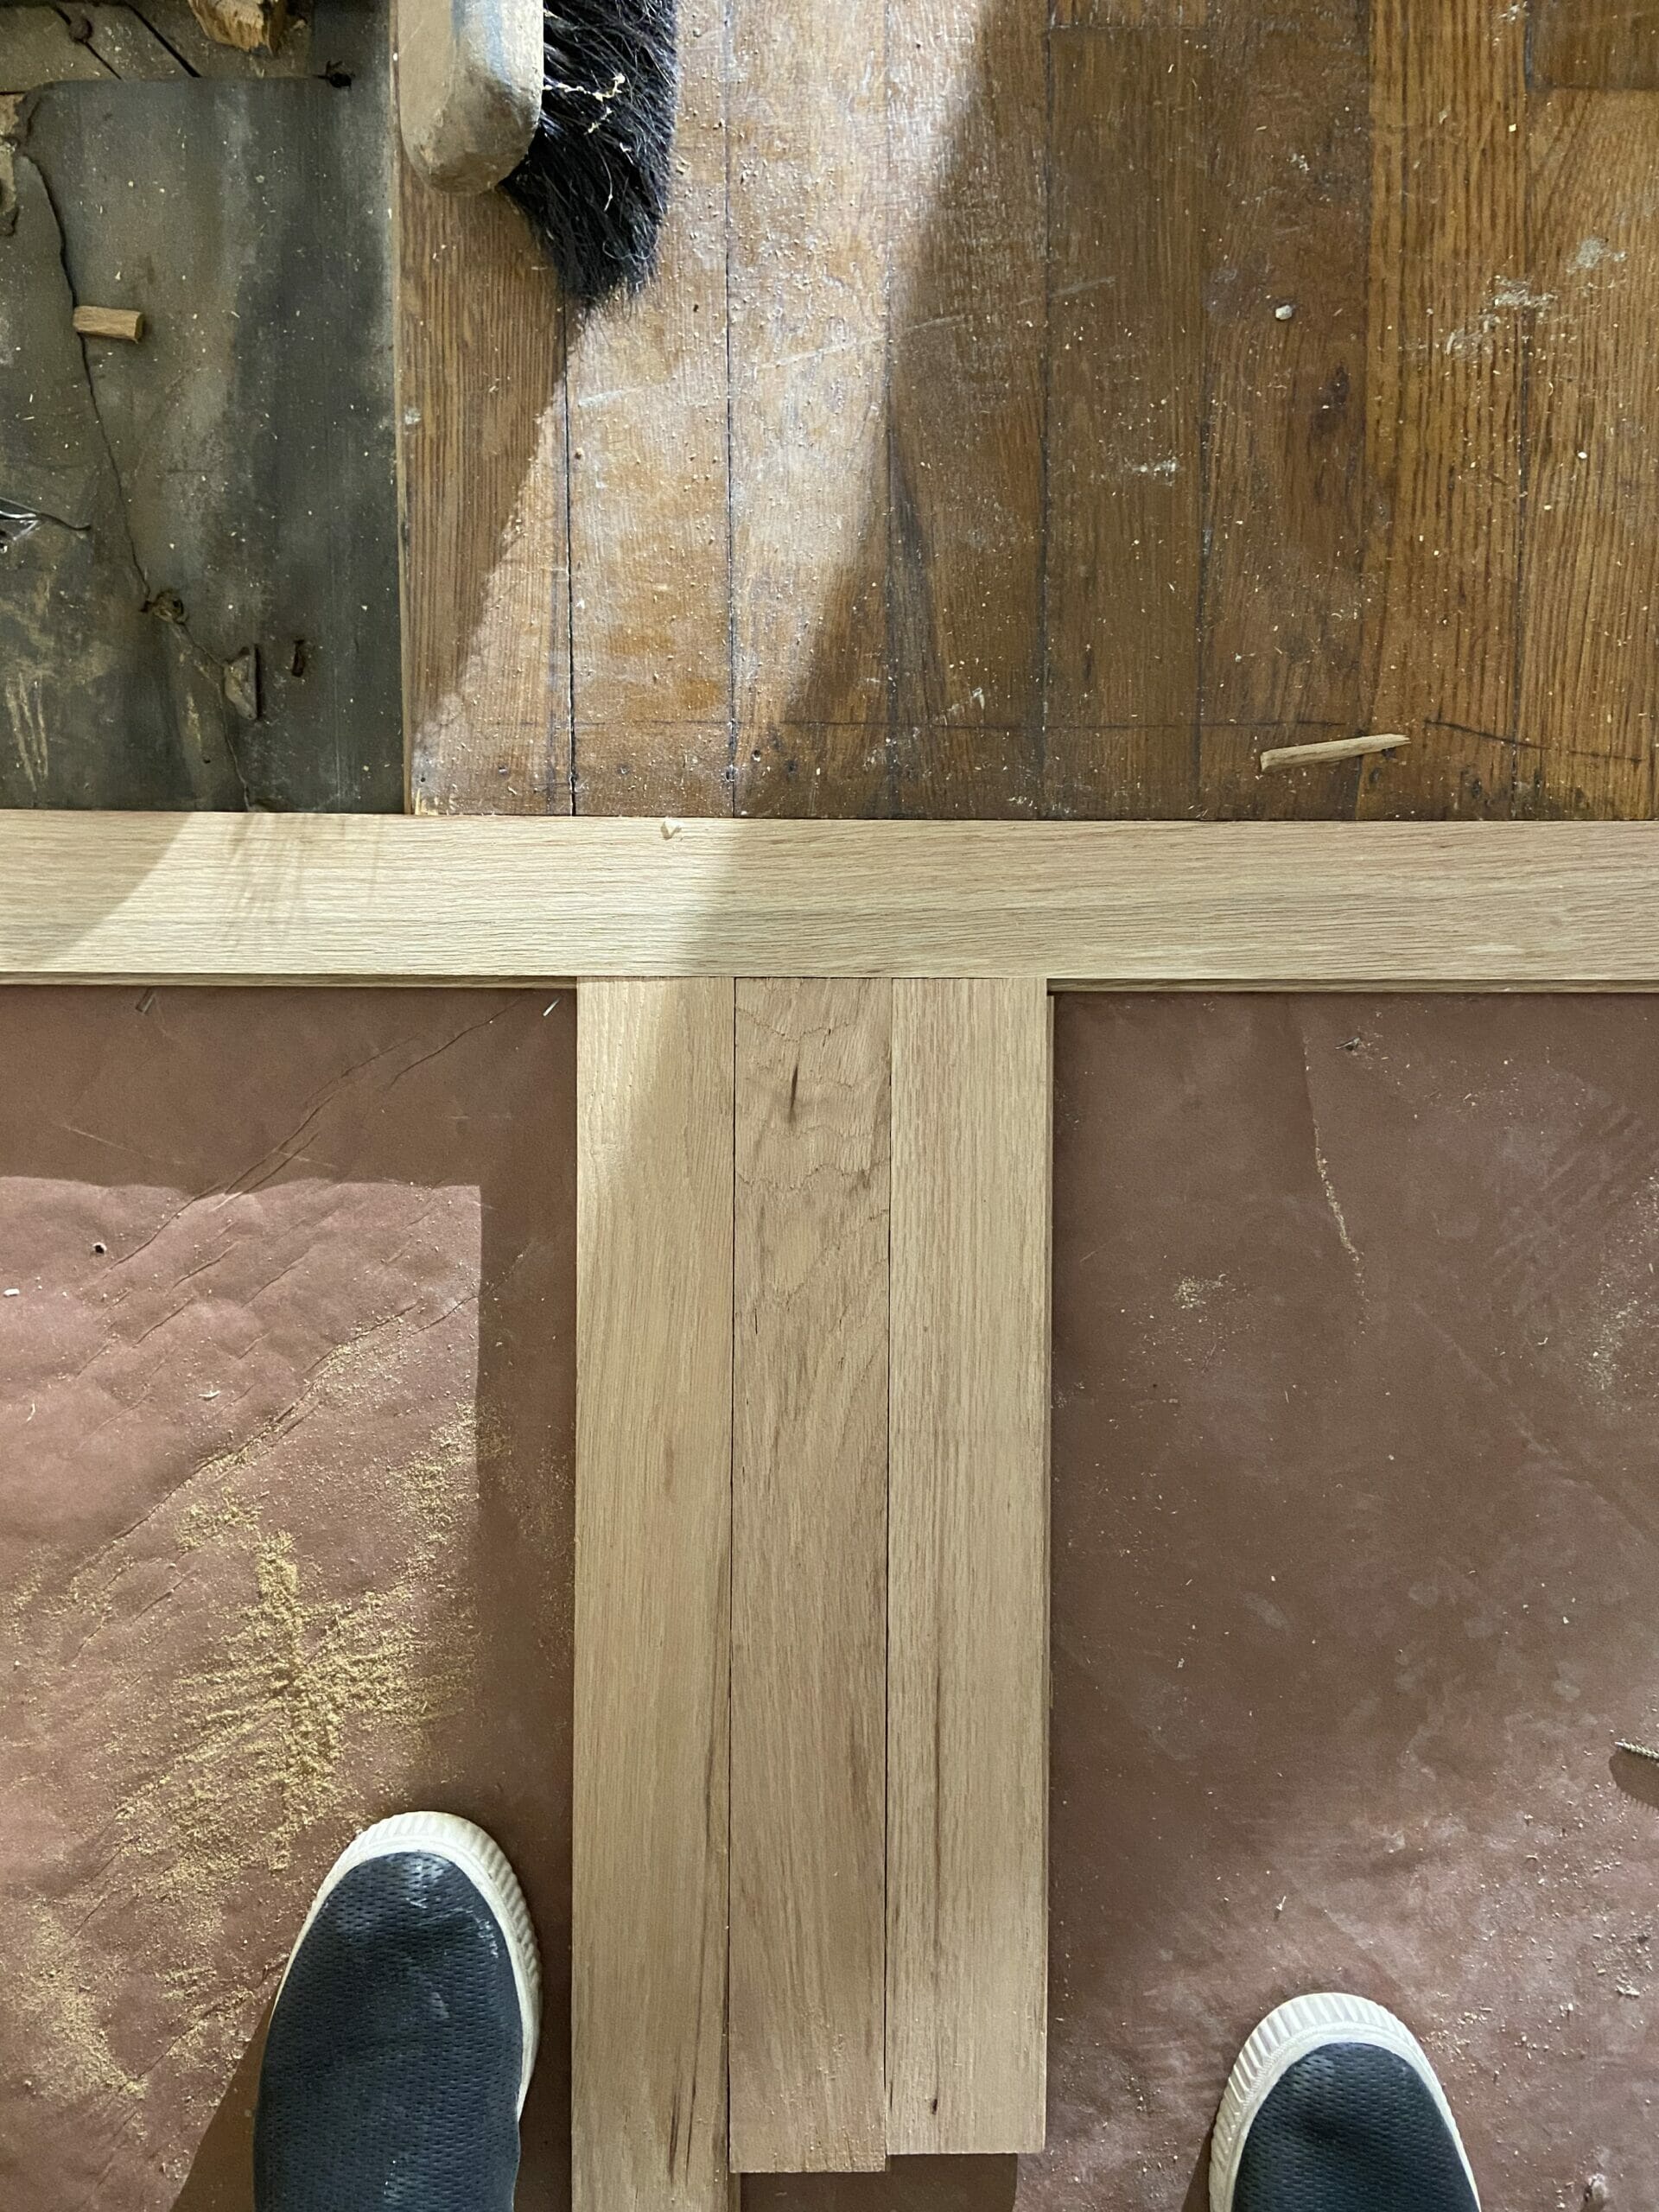
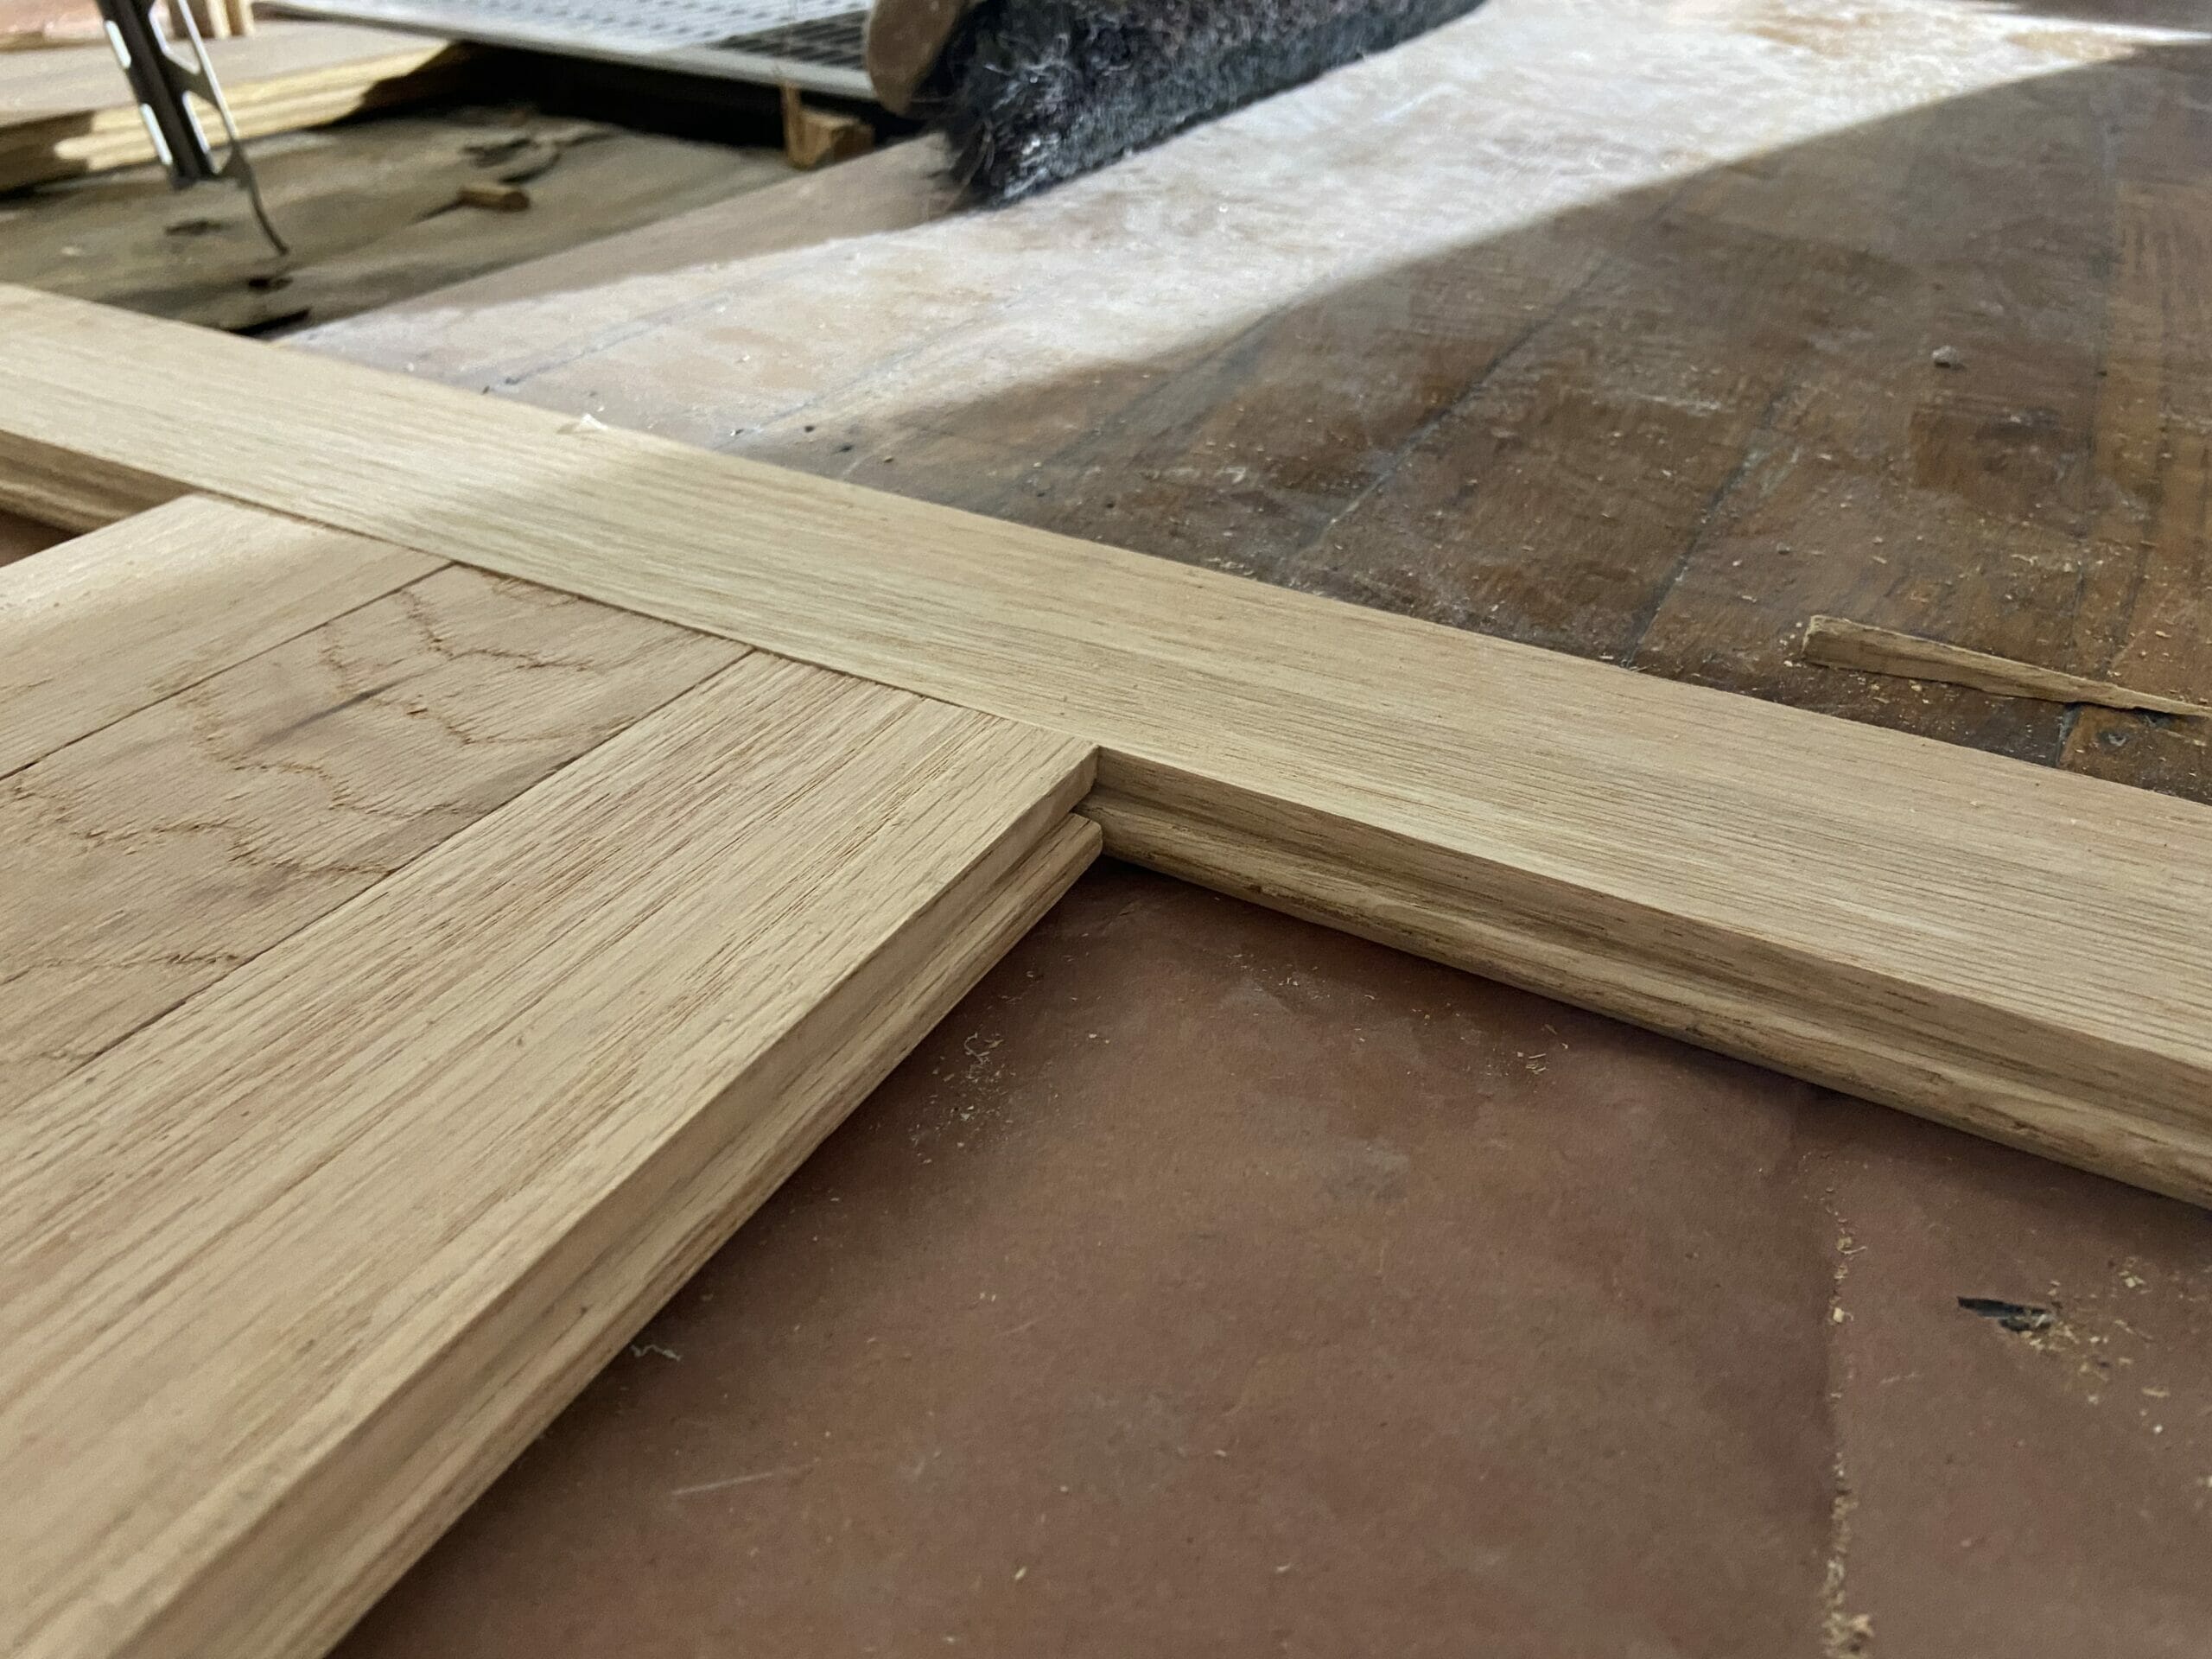
We considered a few different options for flooring layout. We could either 1) feather in the new boards with the old boards to keep the pattern going without a transition, 2) switch the direction of the flooring to be perpendicular of the dining room, or 3) add a perpendicular transition piece and resume the pattern to match the dining room. We chose option 3 because it would allow us to keep the flooring running vertically down the center of the kitchen without going through the extra effort of feathering the boards in with the old.
… Aaaand kept going until all of the boards were in. (We chose to run the flooring under the base cabinets, but not everyone does this!) After we finished the install, we had our flooring guys come and sand everything down on the entire first floor. The old wood is a bit more saturated than the new, but for the most part it looked almost exactly the same.
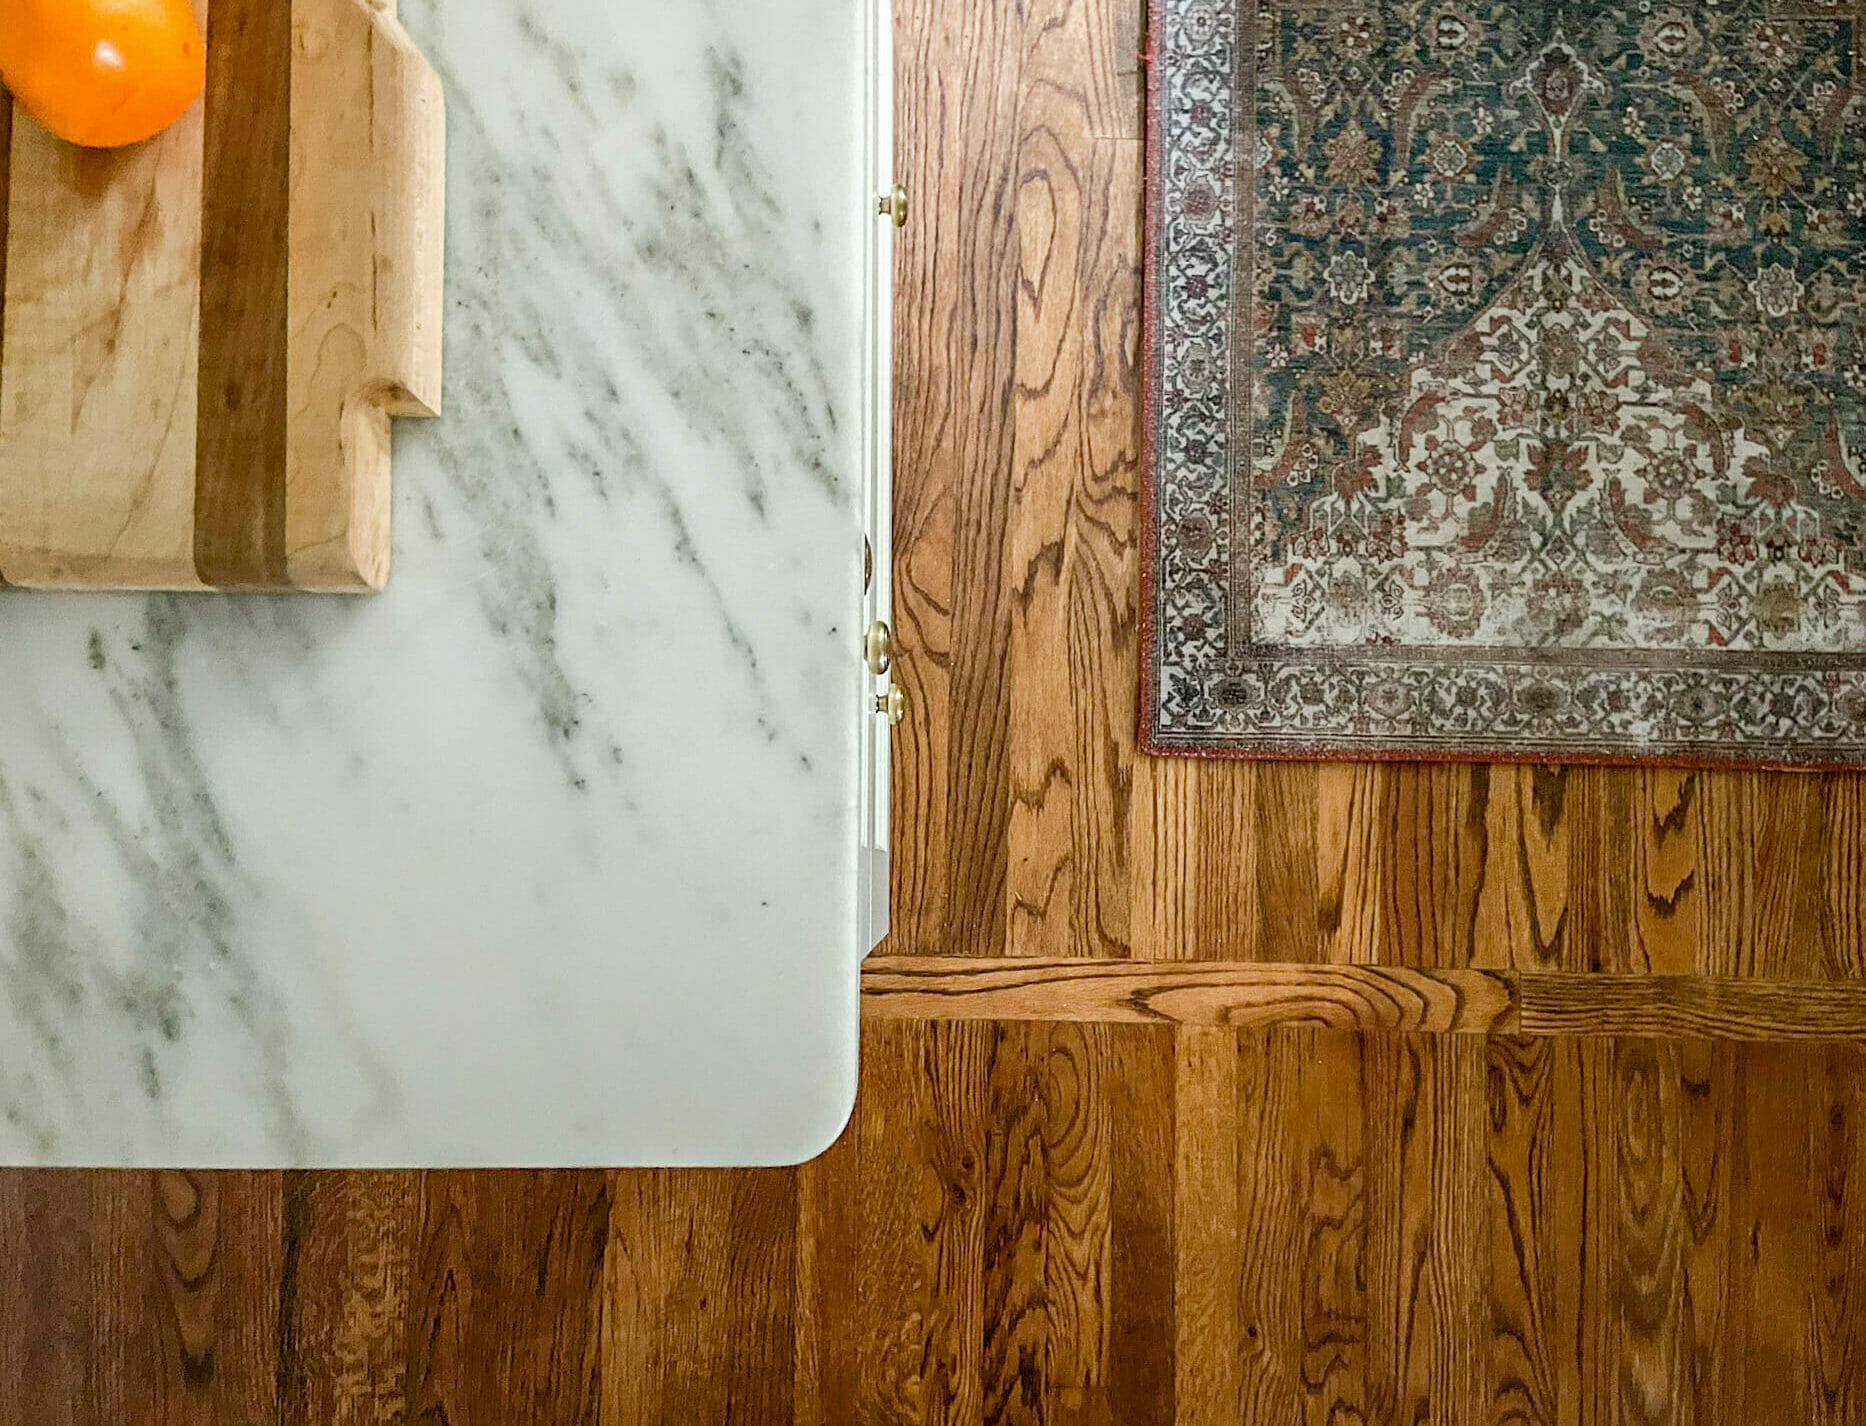
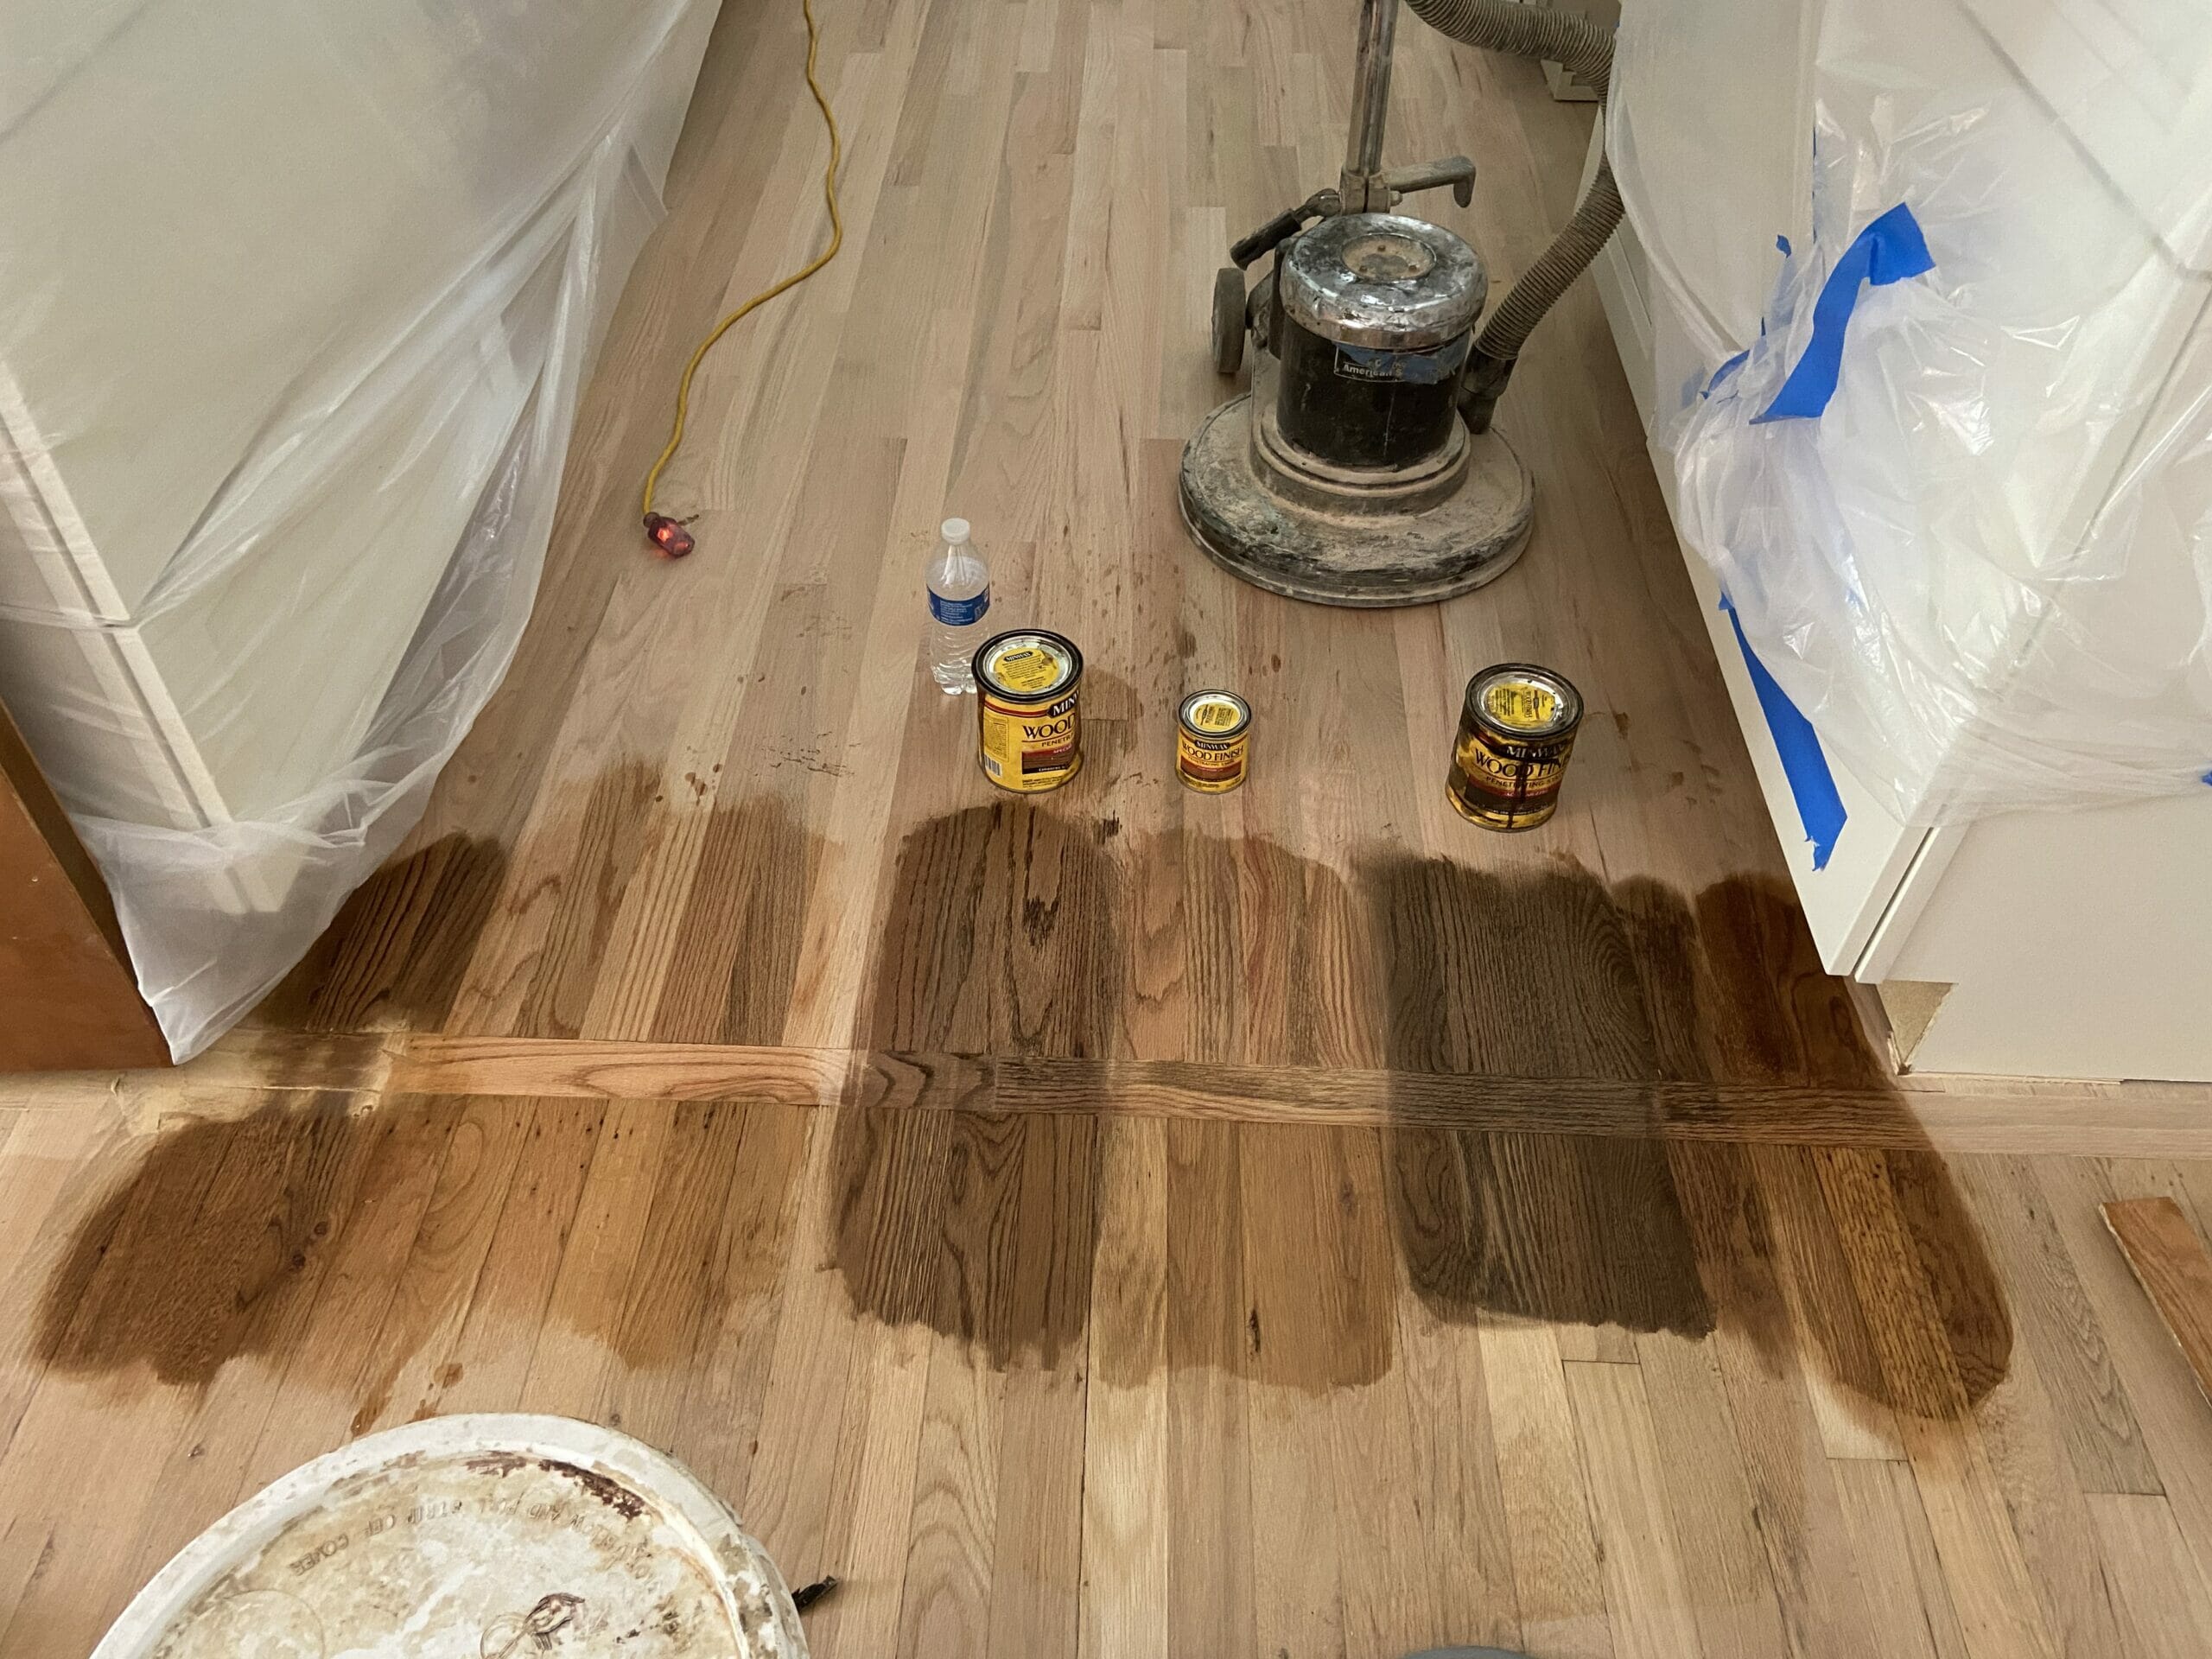
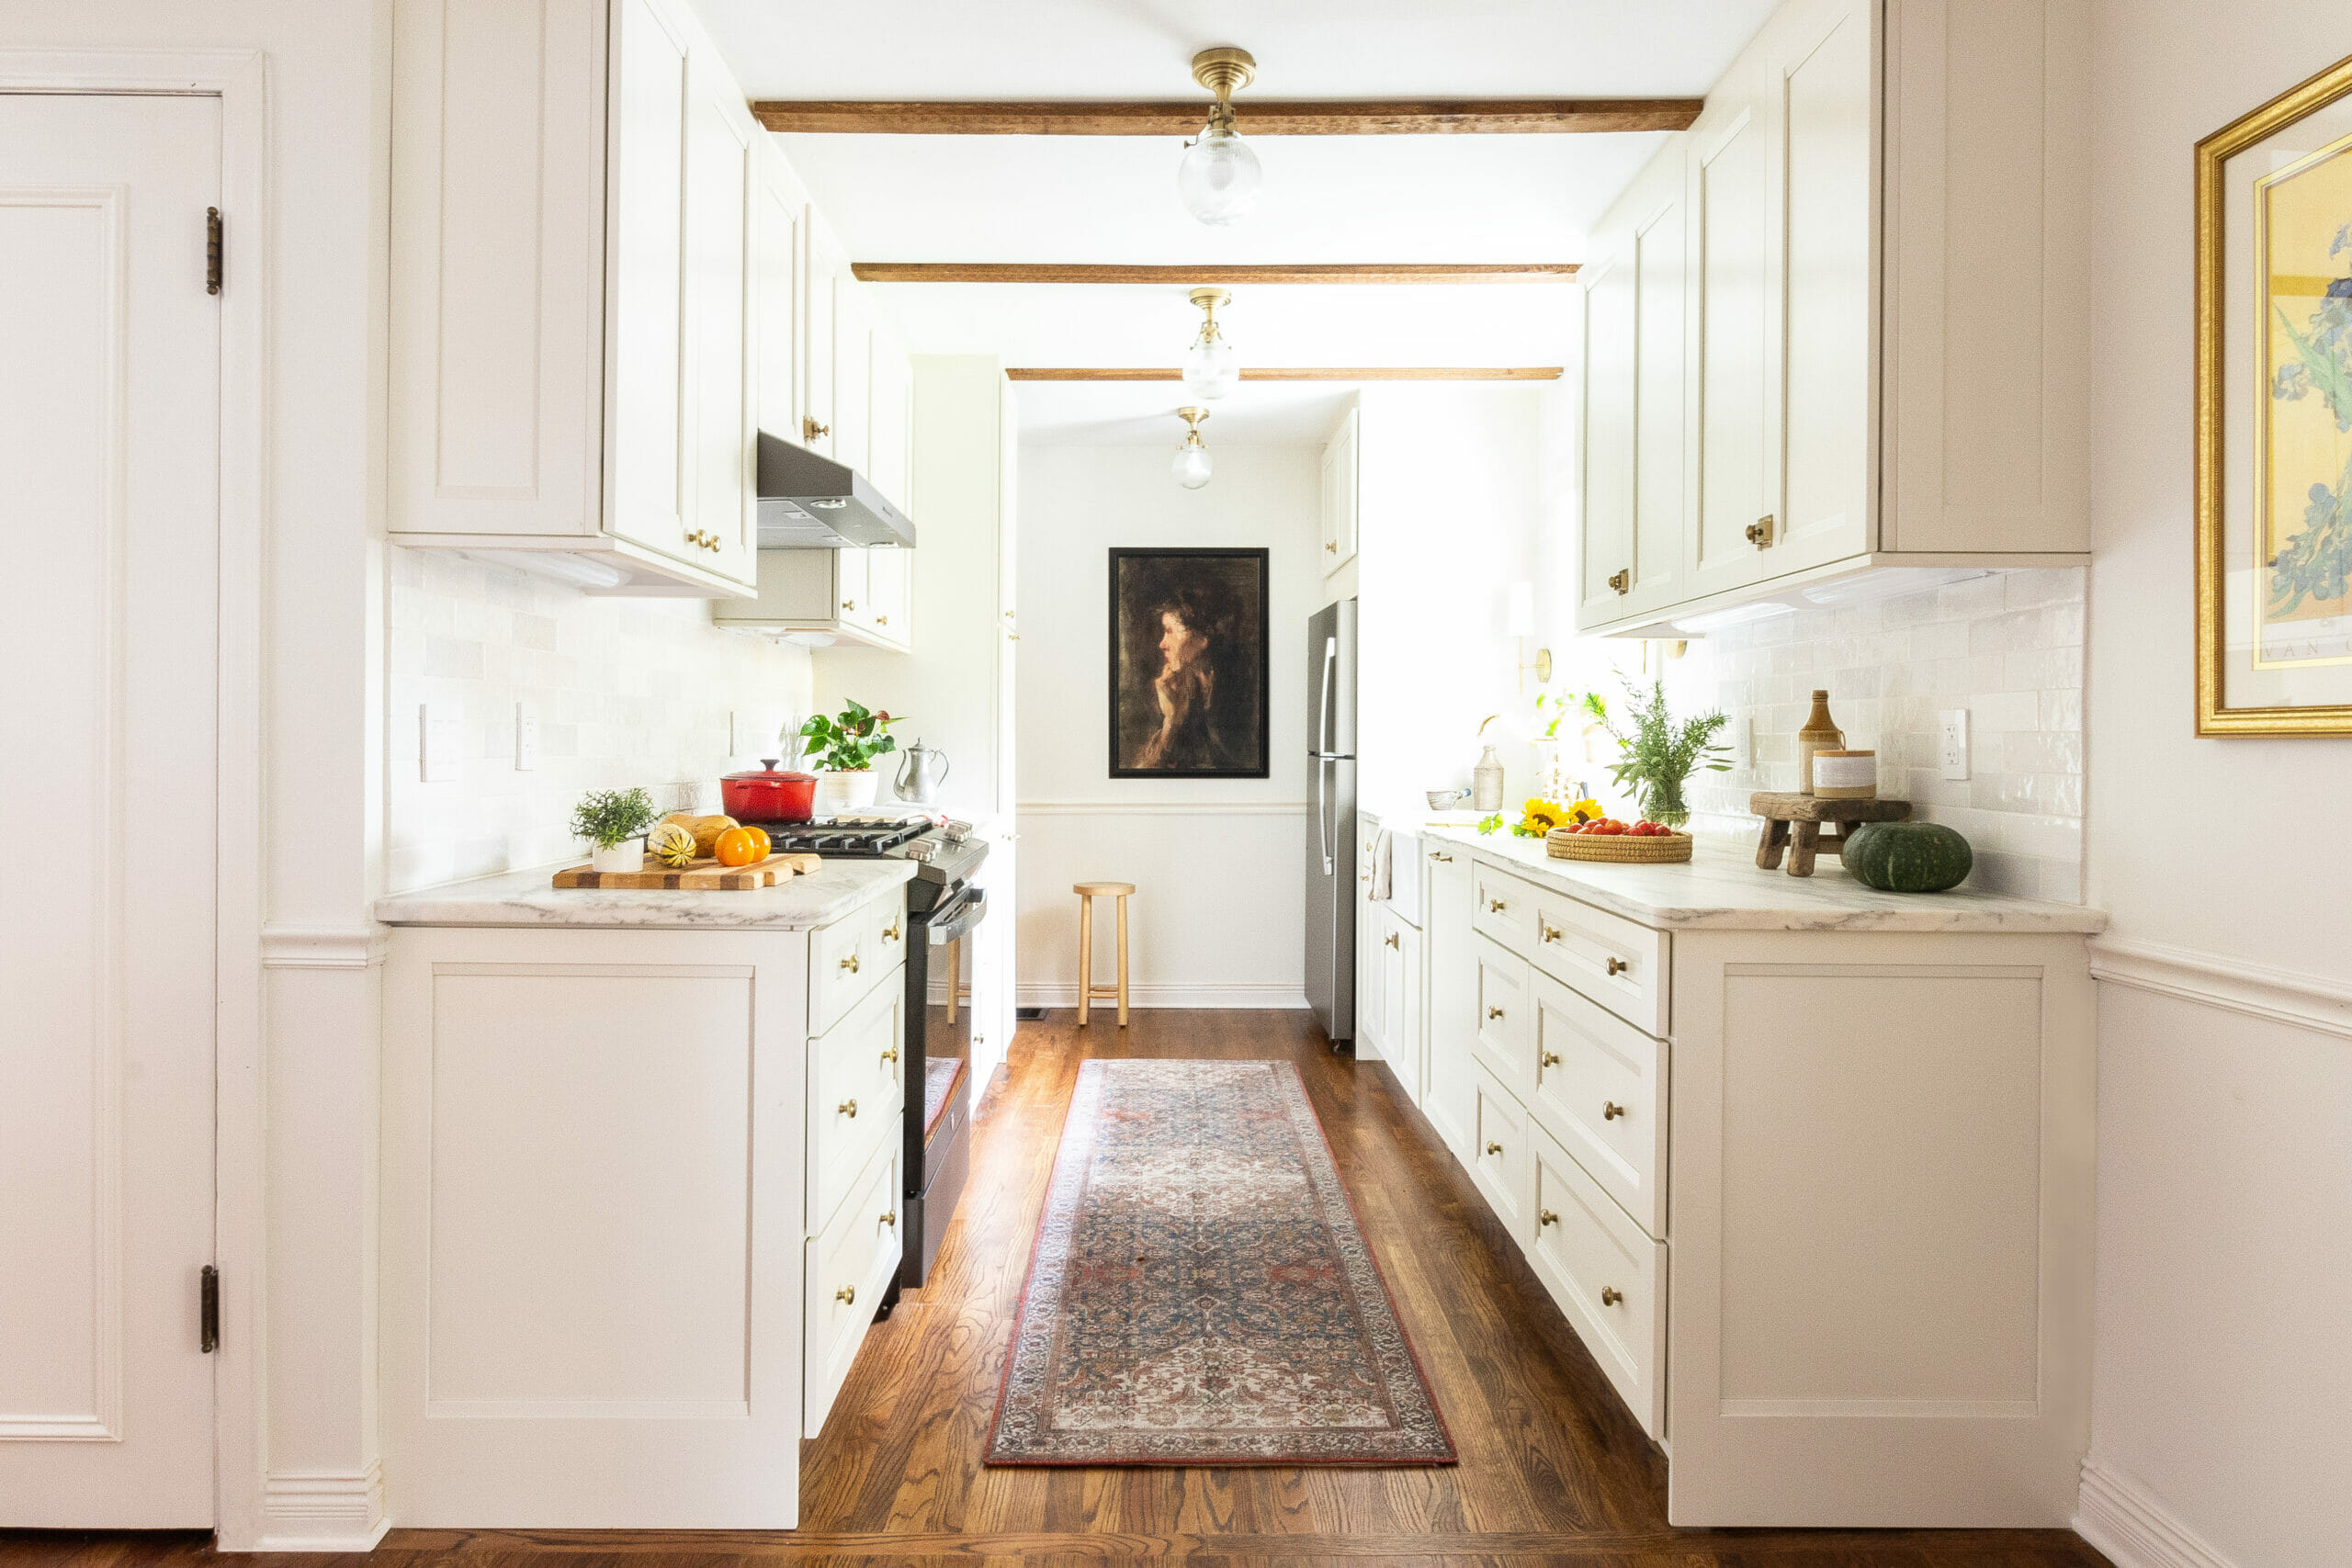
We considered going natural, but don’t love the orangey tint that natural red oak develops over time so we chose to use Minwax Provincial stain. We’ve used this stain on red oak in almost every project we’ve done (including our own home!) and it comes out beautifully every time. In the photo below, you can see how the stain looks nearly identical on the old wood and new wood. Mission accomplished!
We’re SO happy with the end result! It was worth the extra effort to go with unfinished flooring that would allow us to create an exact flooring match in the kitchen. It looks like it’s always been there.
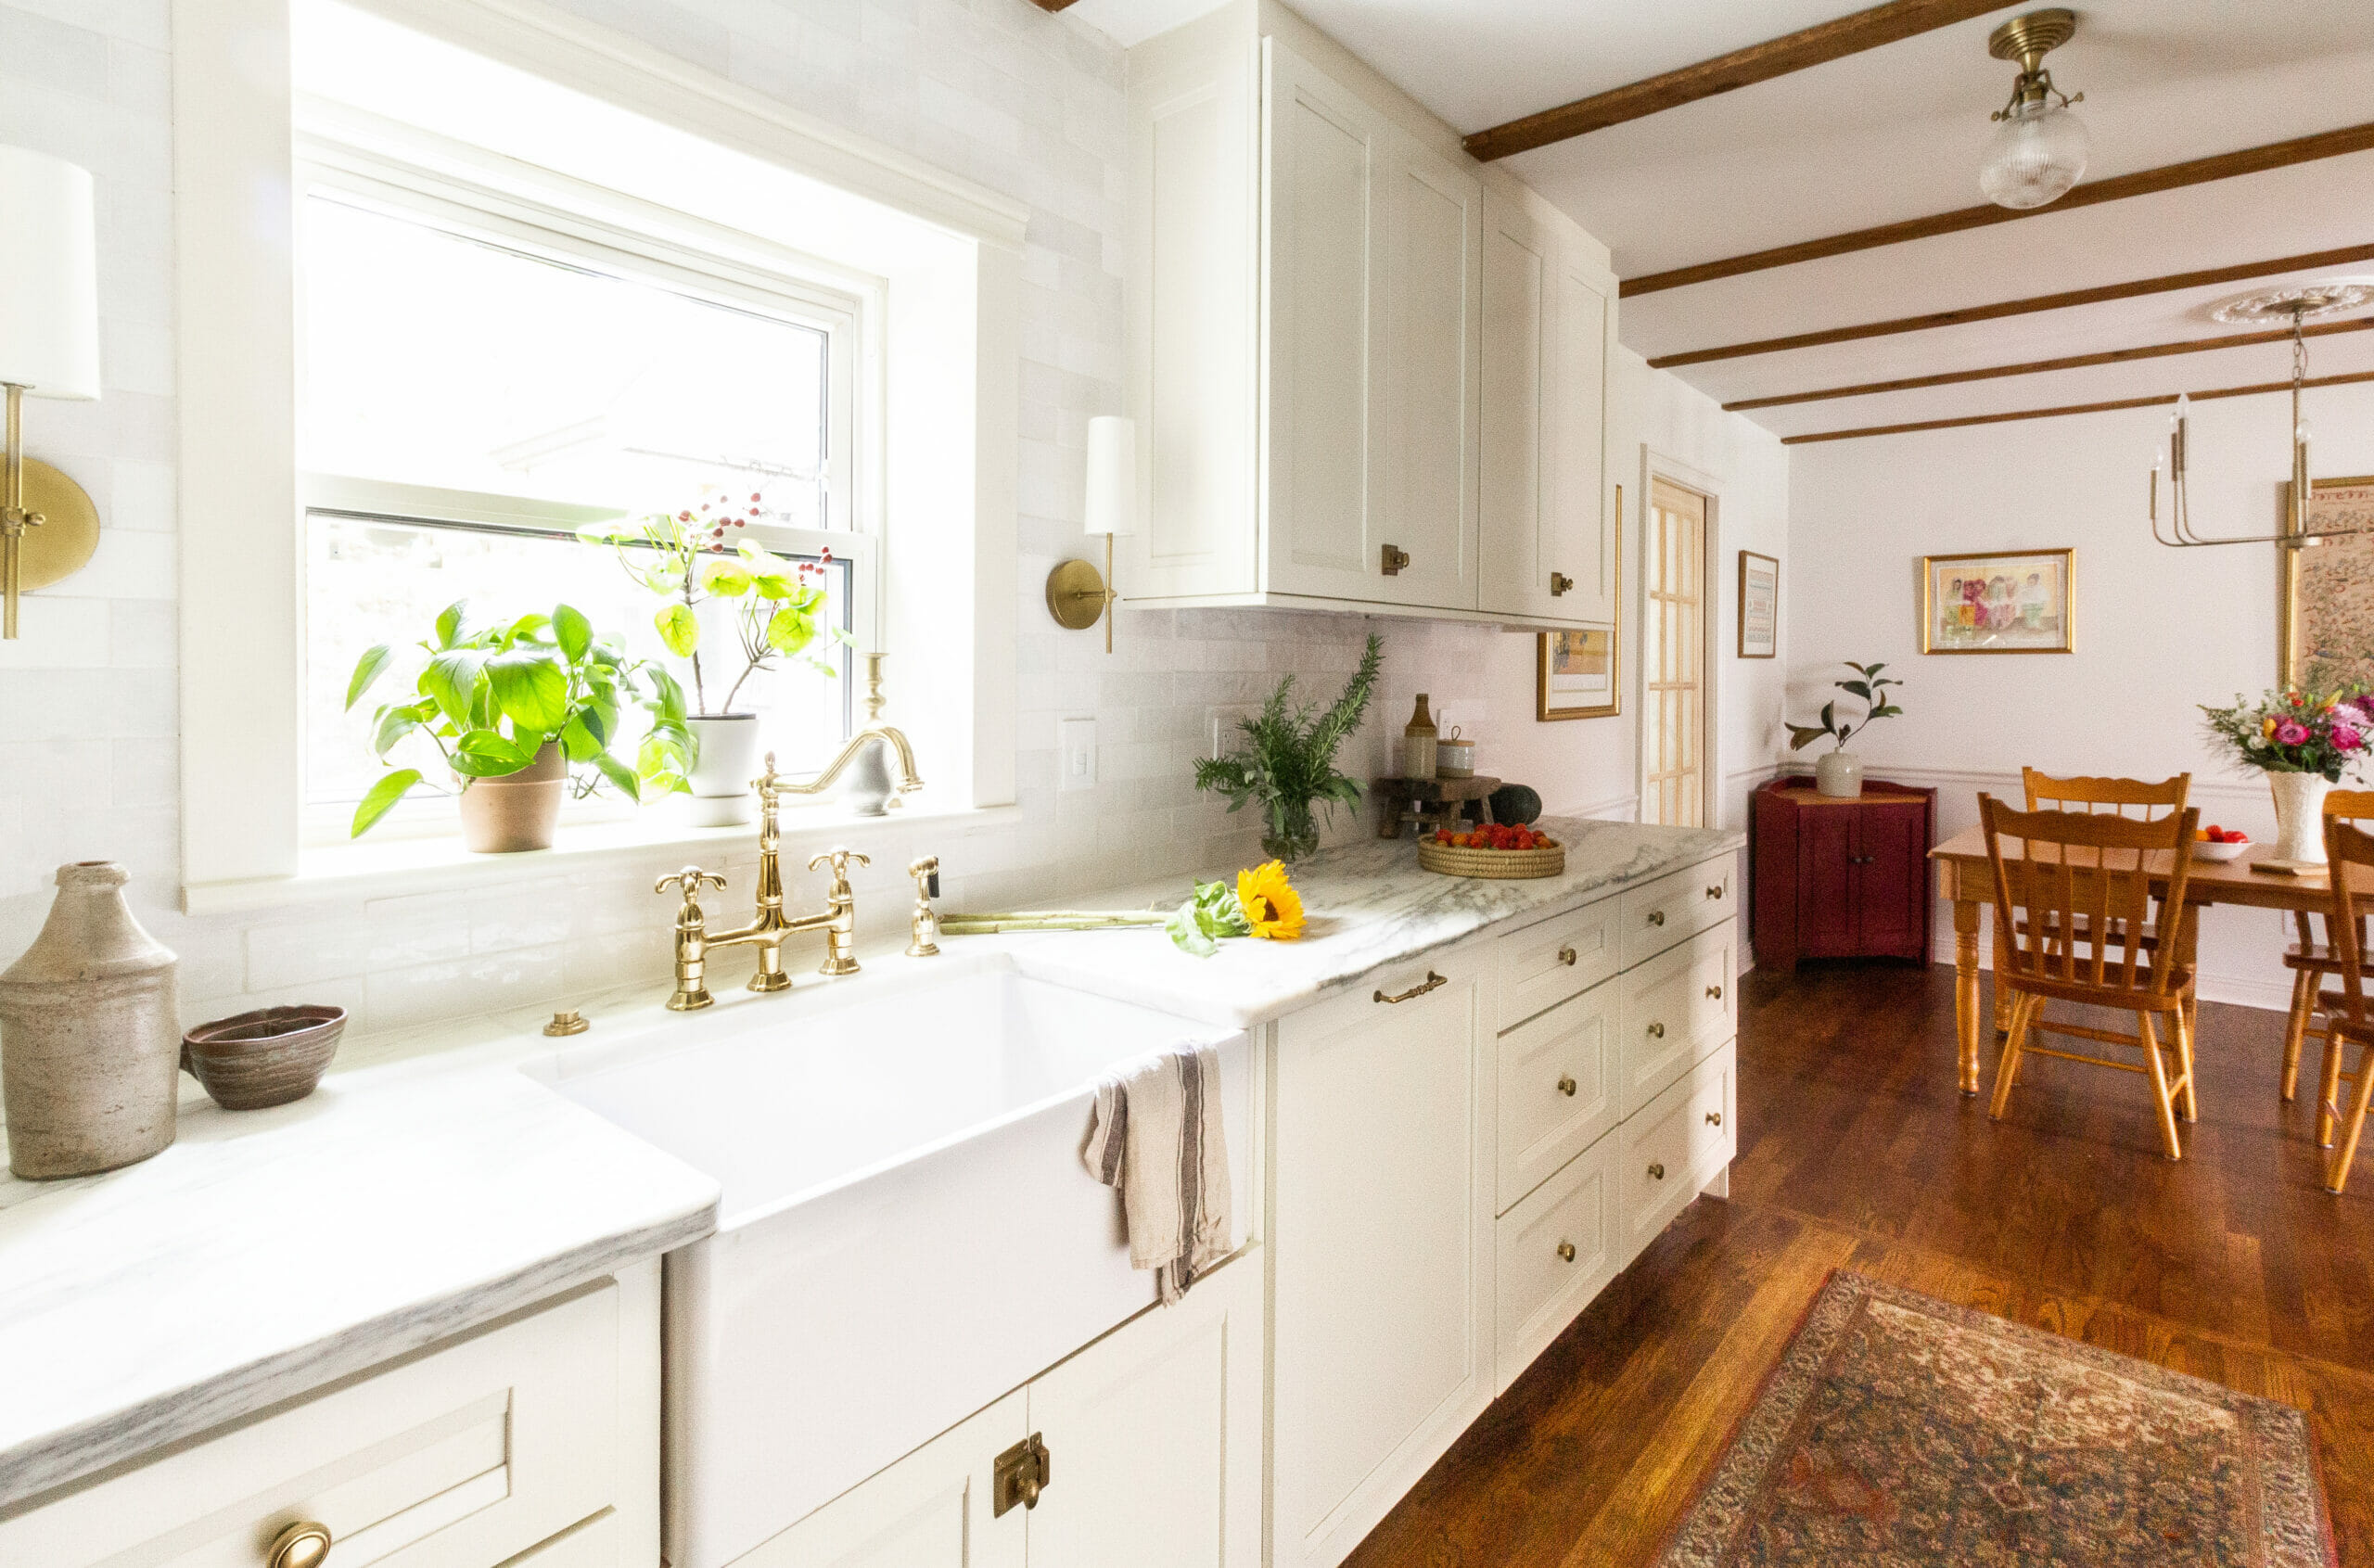
Big improvement, right??
Here’s a few more photos showing the transition.
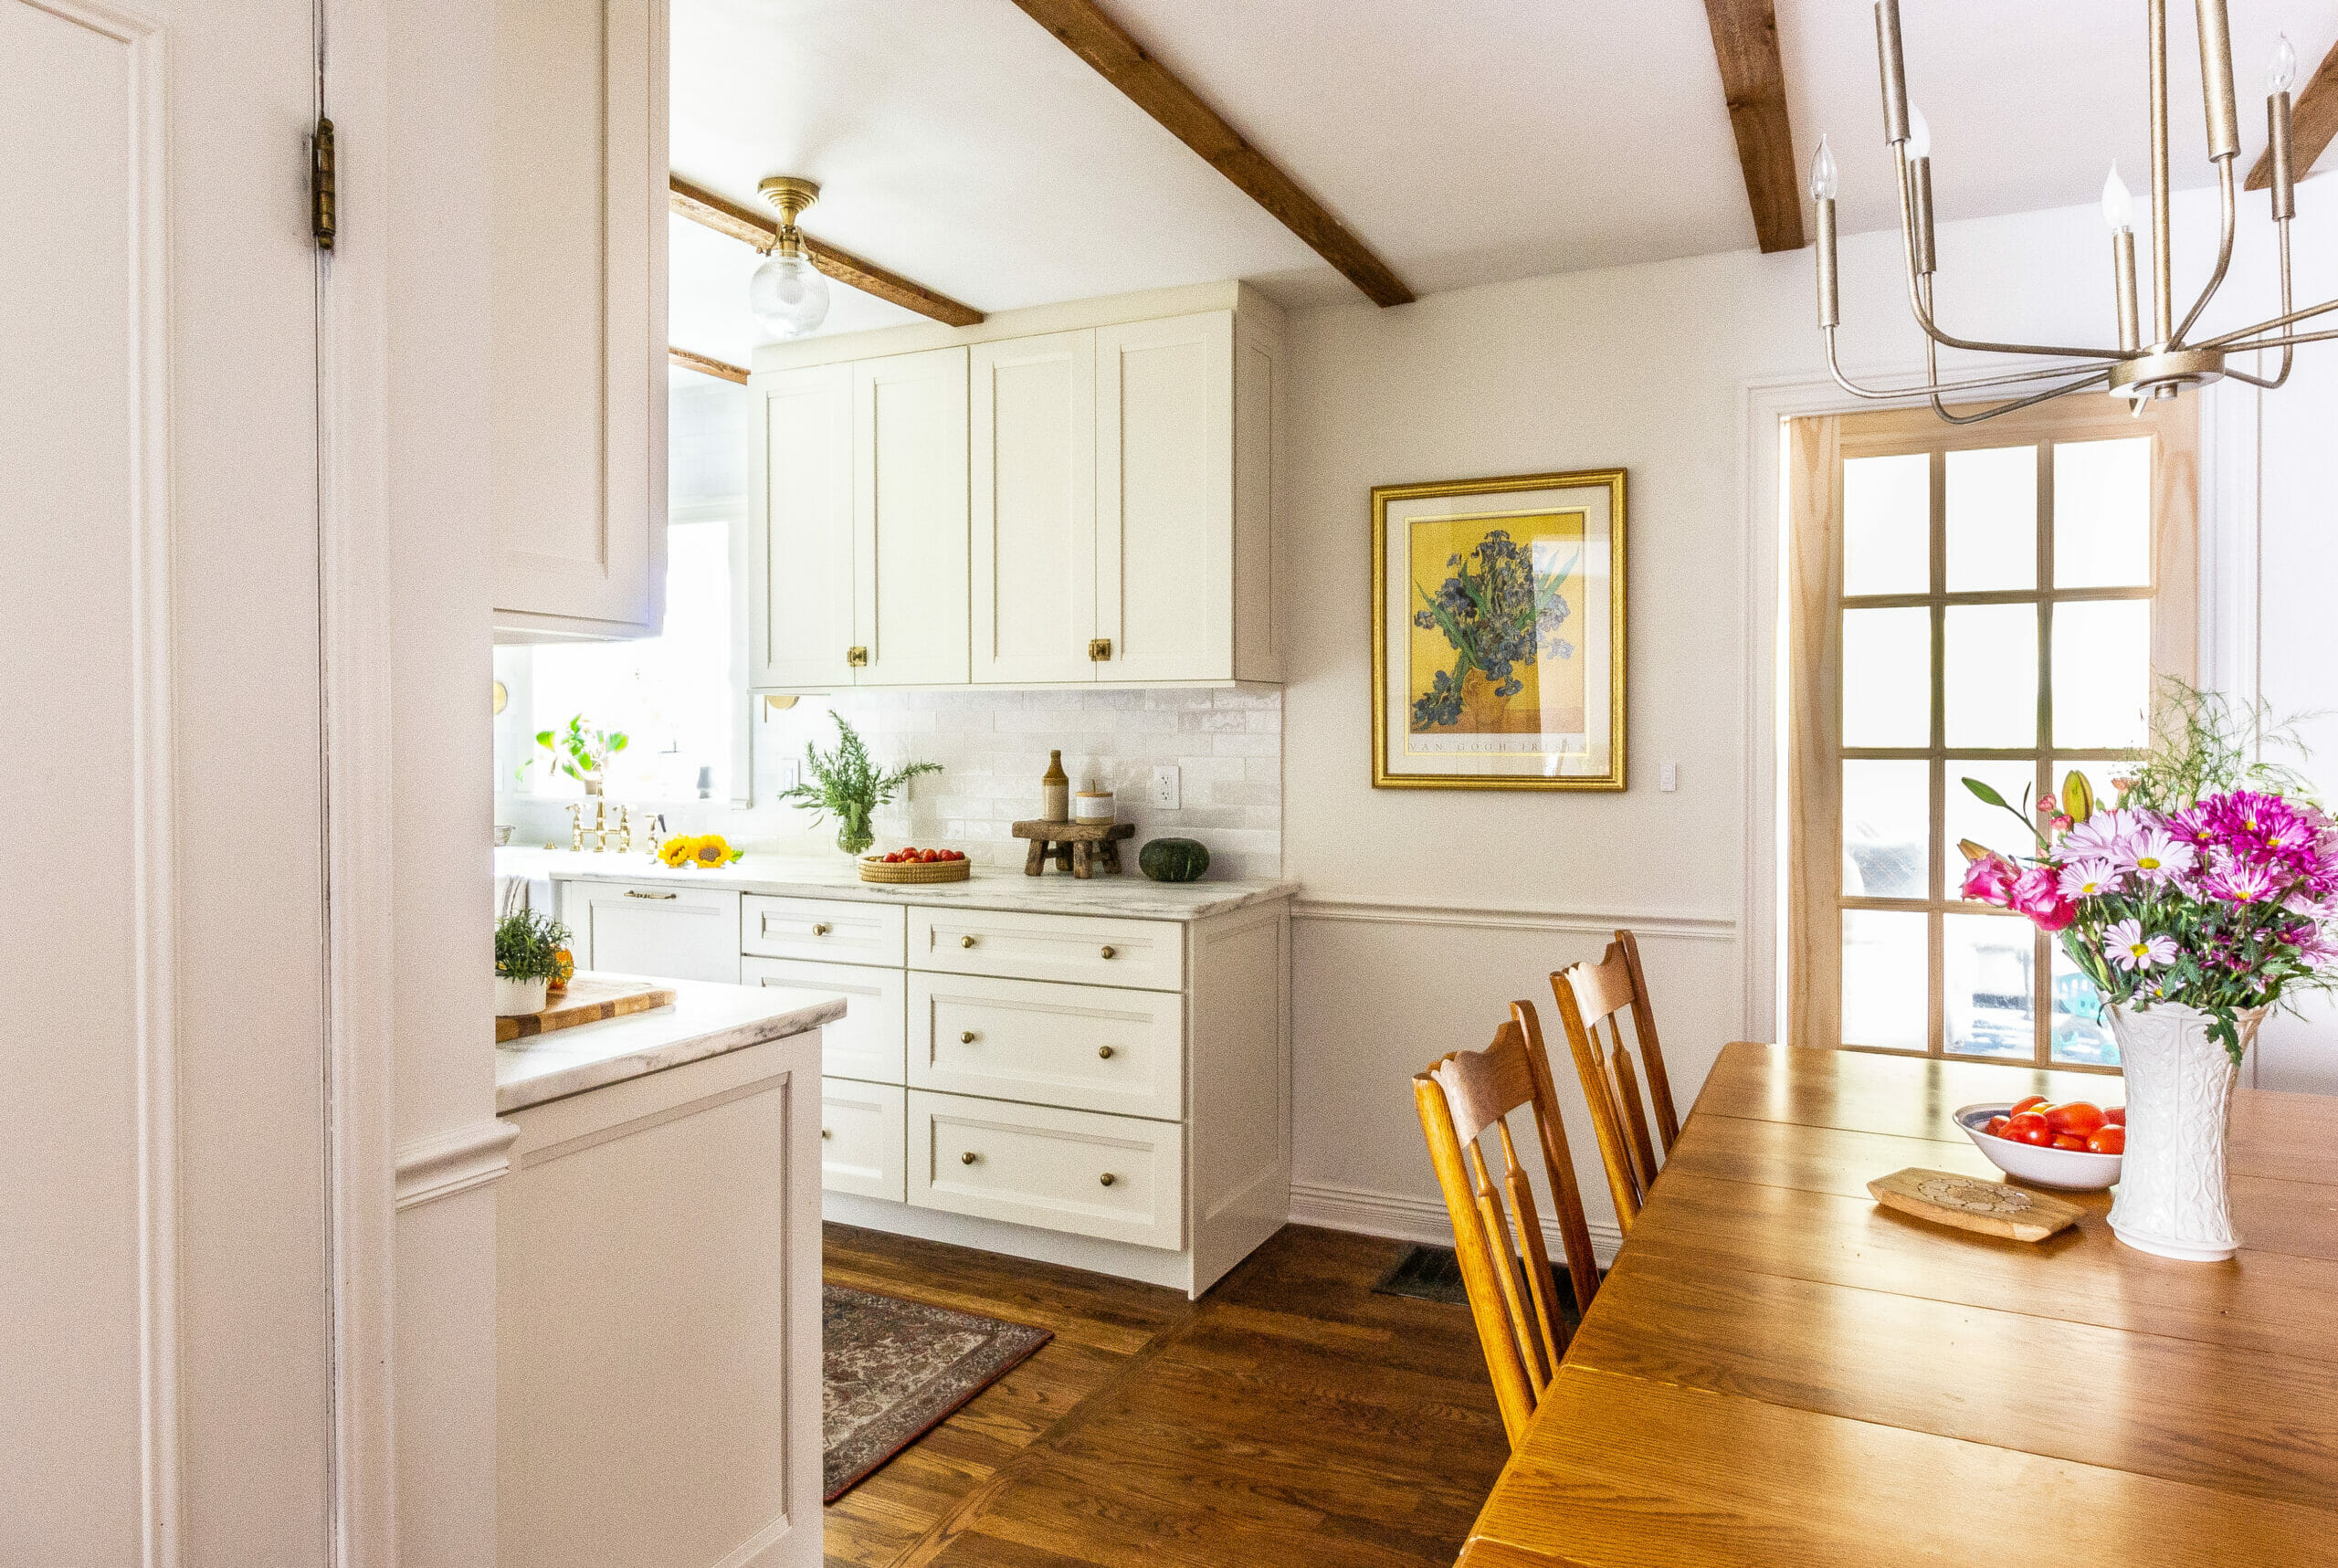
What do you think?


We used Provincial in our kitchen, too. It looks great!
It’s the best!
Wow! It looks awesome! I love! Most importantly, I have long noticed how much better wood looks than a stone on the floor. We have tiles on the floor in our kitchen now, and it pisses me off so much, so I’m just sitting looking for ideas on how to remake it, and I found mine. And when you wrote the price, I was shocked at all, so cheap and so high quality and beautiful! That’s cool! You need to be more often inspired by other people’s achievements and then you will do your own faster! Thanks for such a cool post!