

This post is sponsored by Lowe’s. All thoughts & opinions are our own.
Remember this rendering we shared of the #pearlround2 kitchen design? (If you didn’t, you can catch up here and get the DL on the whole project here).
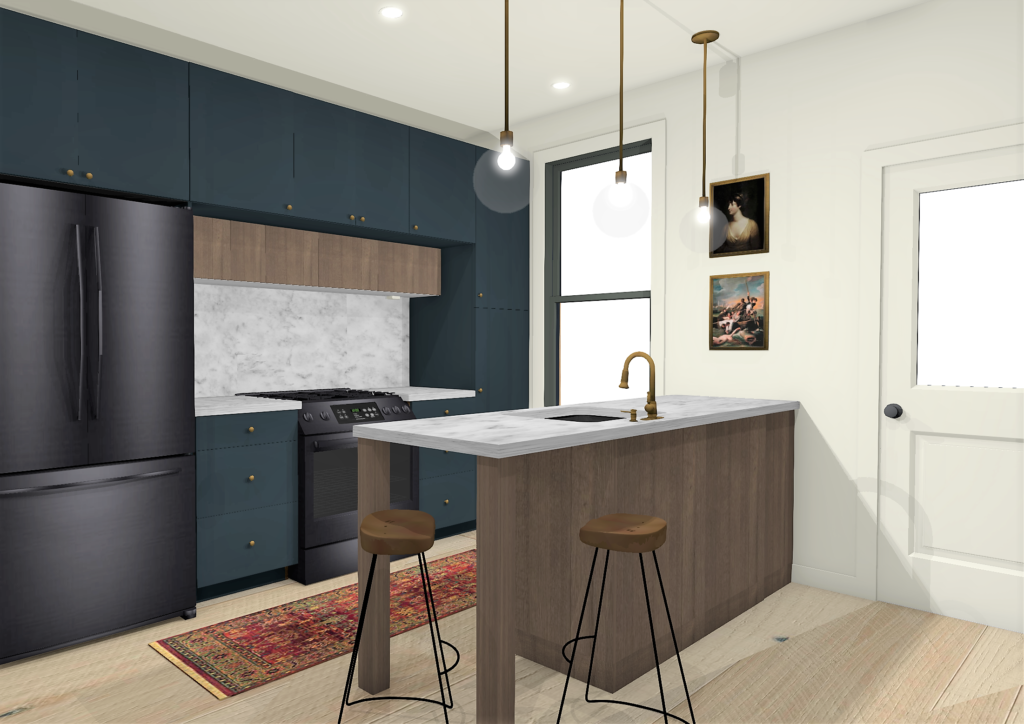
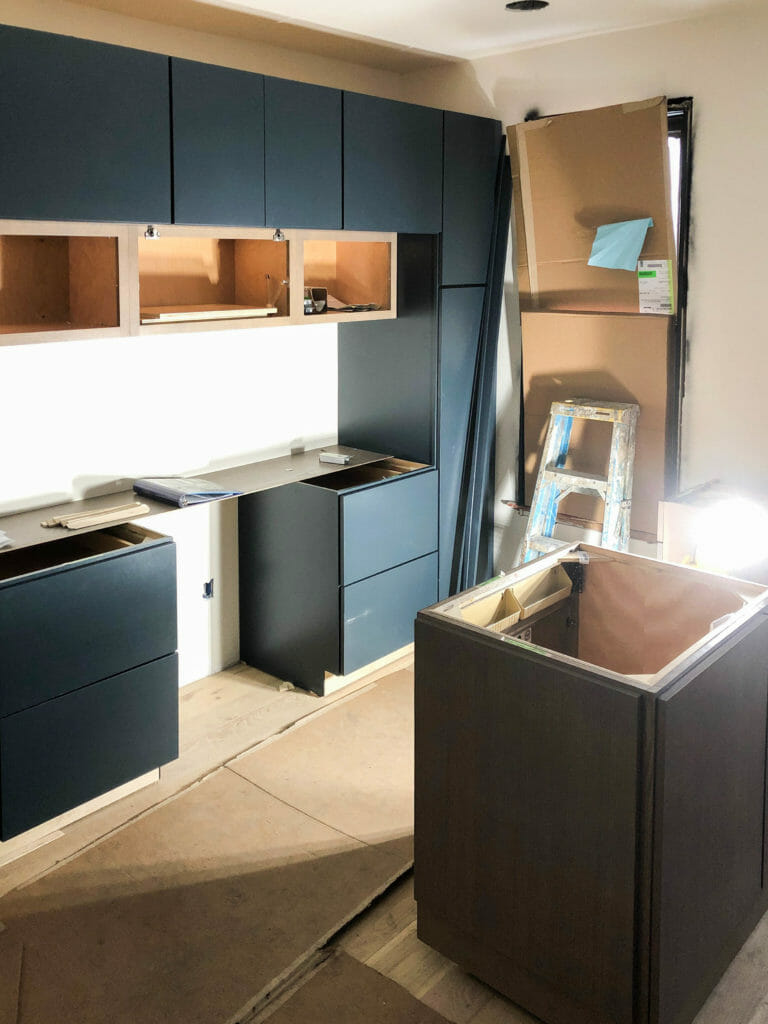
Well friends, the cabinets and floors were installed, and we are loving them! The cabinets are Diamond brand and they are SOLID. We’re really impressed with the quality and are so happy we went with that brand.
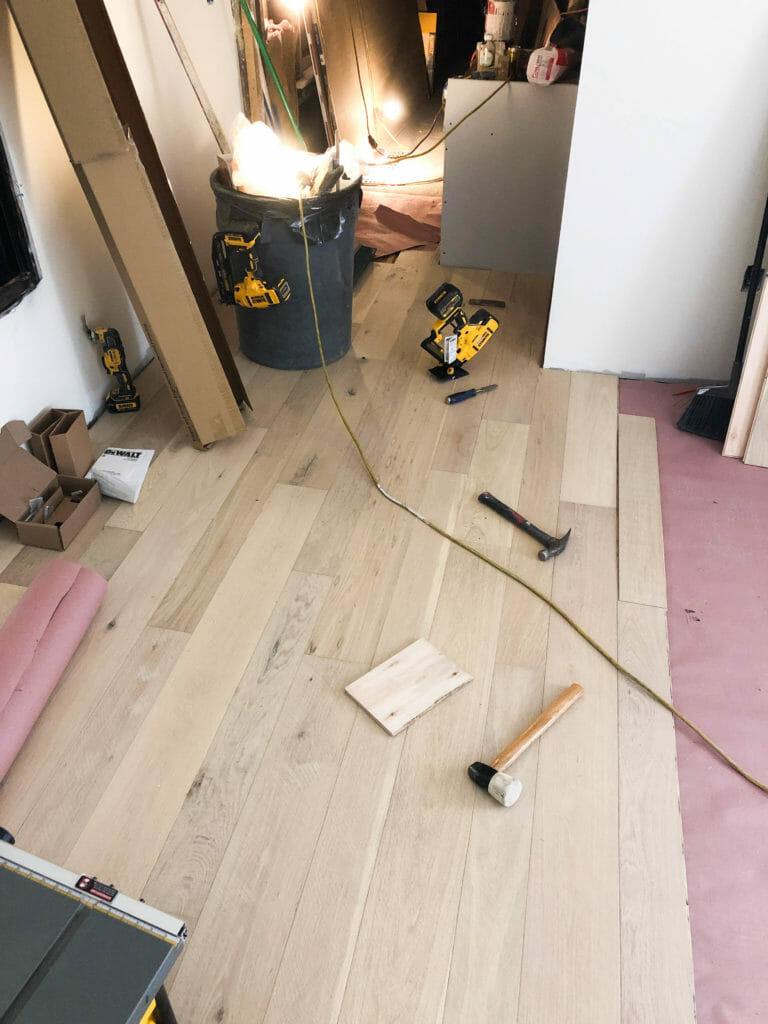
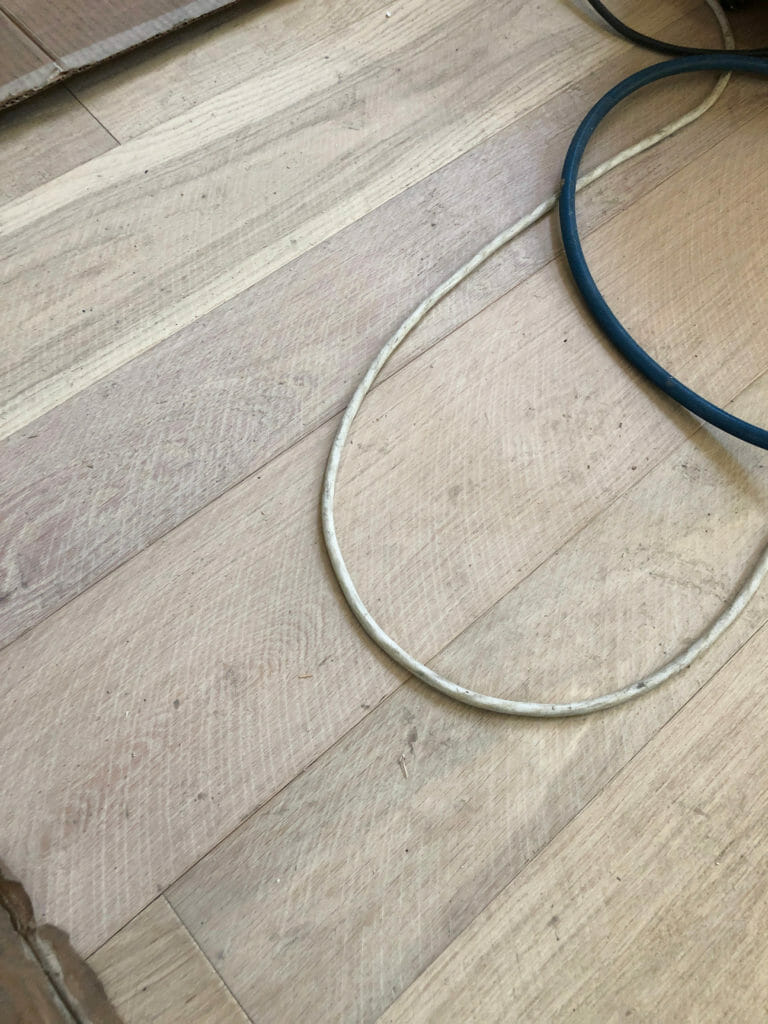
The engineered hardwood floors we selected are also installed and look even better in person than we expected. They’re hand scraped and feel rustic & refined at the same time, and are reasonably priced, too (just under $5 per square foot). It’s our first time ever going light on the floors, and we’re so happy we made the decision to try something new.
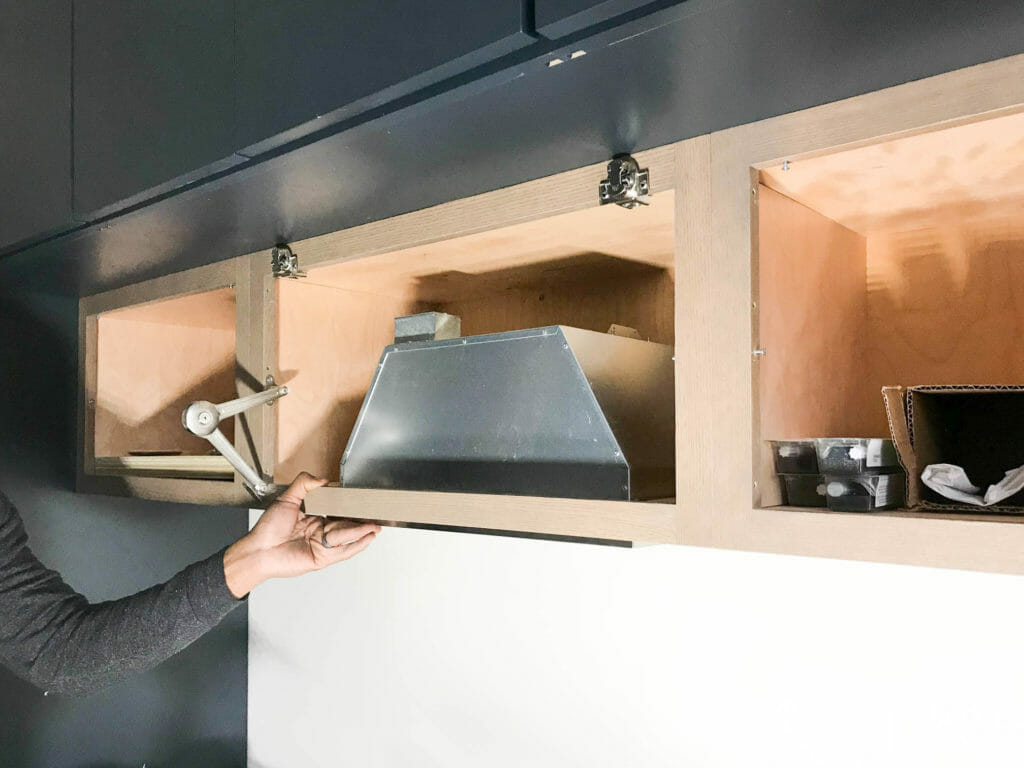
In our rendering, you may have noticed that there’s no range hood. Not to worry, it’s there, but it’s hidden in the cabinet above the range! Today, we’re going to show you how we planned for & installed our insert to make it look like it’s not even there.
1. Select the right insert
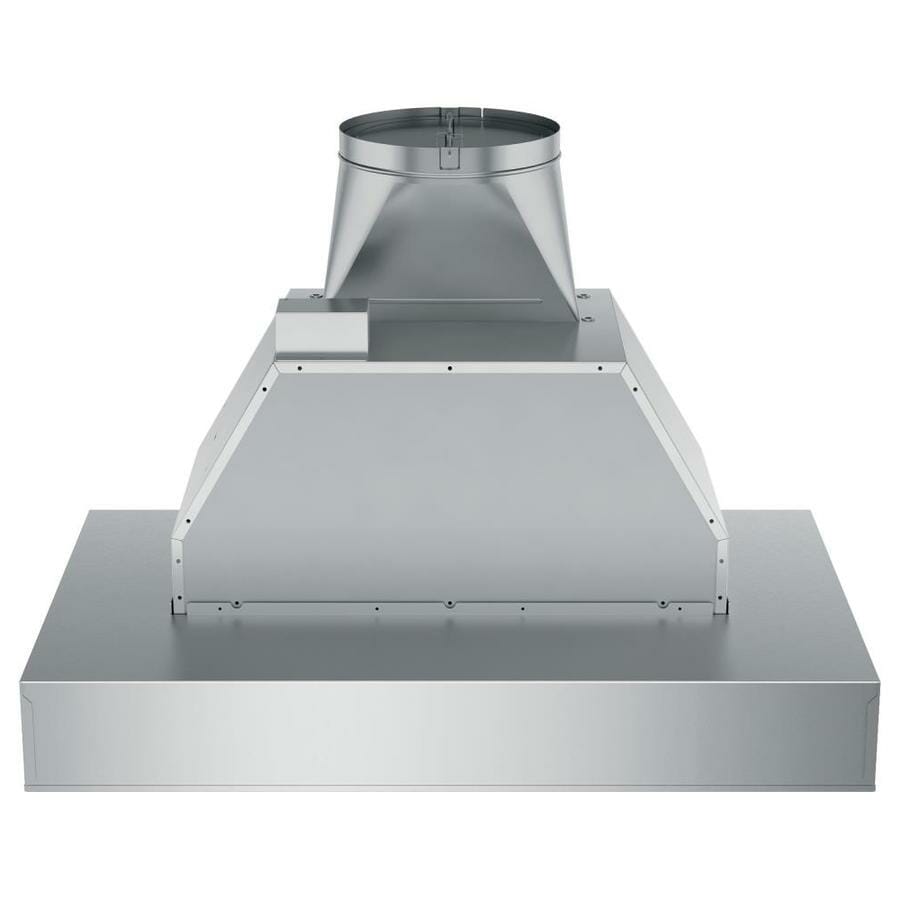
Planning is super important when concealing a range hood or building a custom one… maybe the most important step in the whole process. There are many different inserts on the market in different sizes, so when doing our search, we knew we needed to find one that would fit inside our specific cabinet. We landed on the GE 30-in Undercabinet Range Hood Insert from Lowe’s.
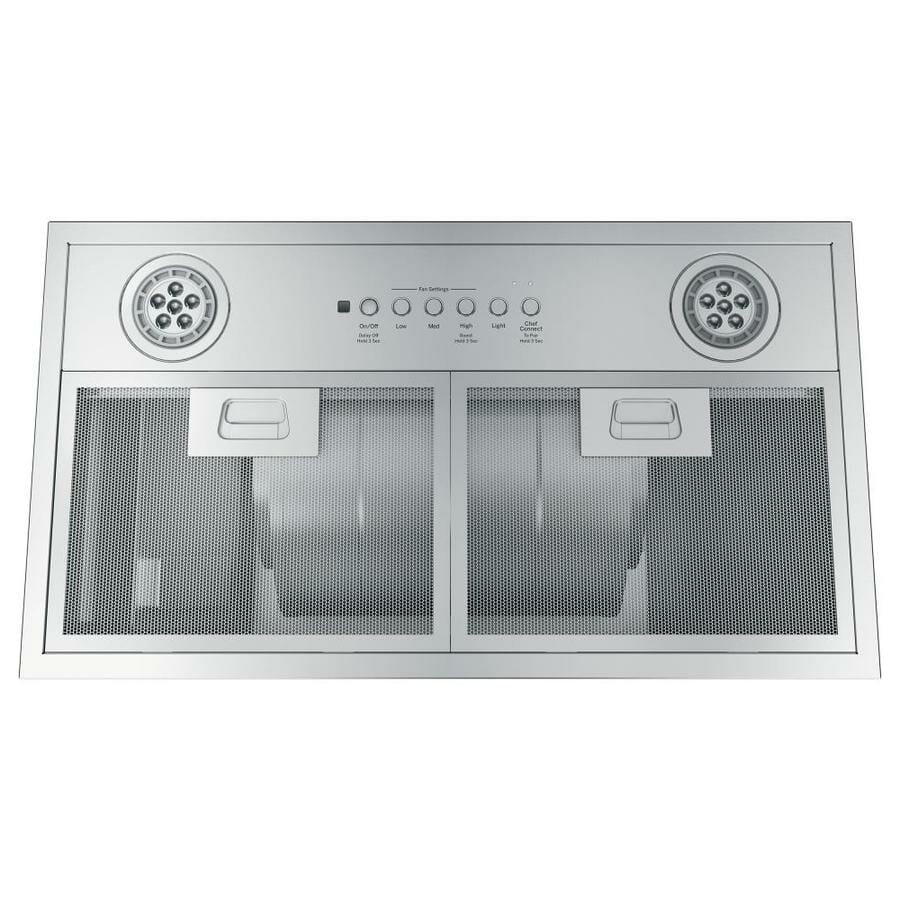

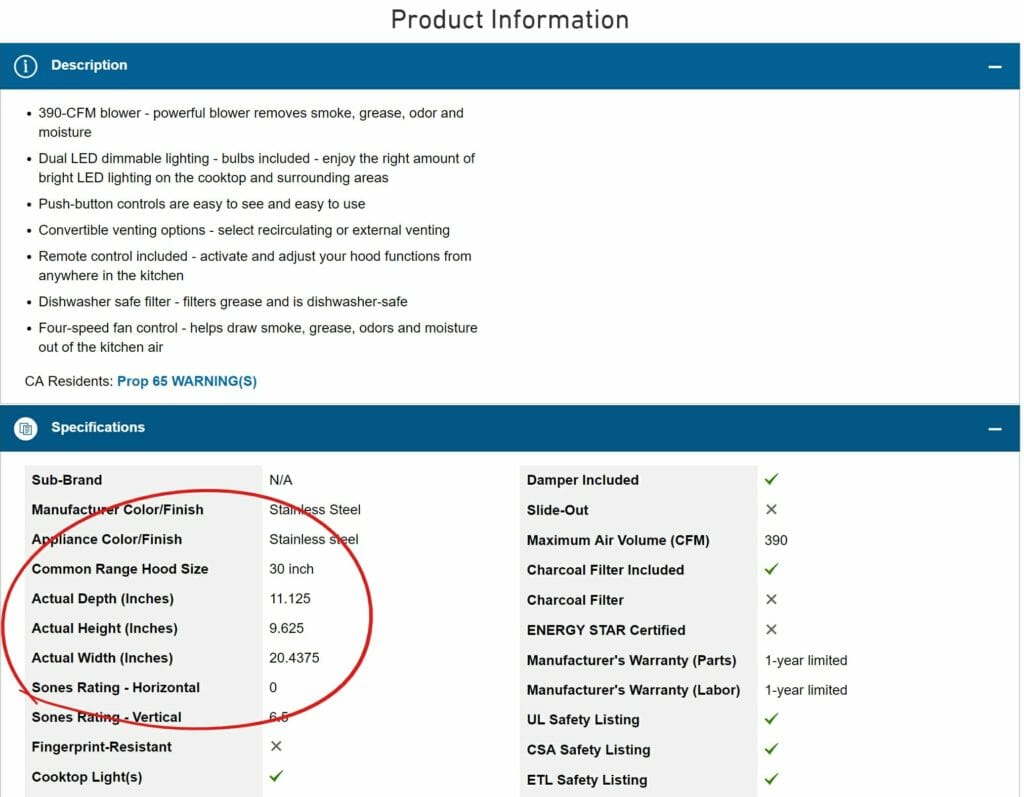
Not only does this one have 10/10 5-star reviews, but we saw that the dimensions listed in the Spec section of the product listing were in line with what we needed. The insert is 11.125″ deep x 9.625″ tall x 20.44″ wide, which is a perfect fit for our 12″ deep x 15″ tall x 30″ wide cabinet above the range.
After we found our range hood insert, we sent it over to the Lowe’s kitchen team we’re working with to verify that it would work before finalizing our cabinet order.
PS – Lowe’s has a really informative Range Hood Buying Guide on their site that’s worth checking out if you’re in the market for a new range hood or hood insert.
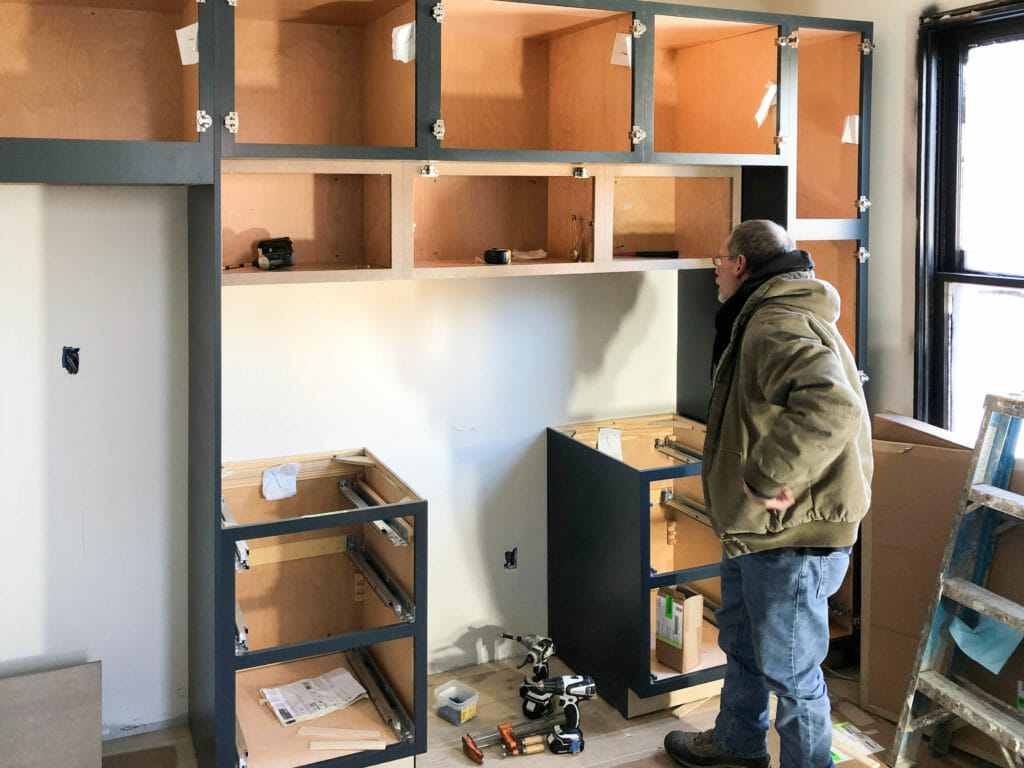
2. cabinet install
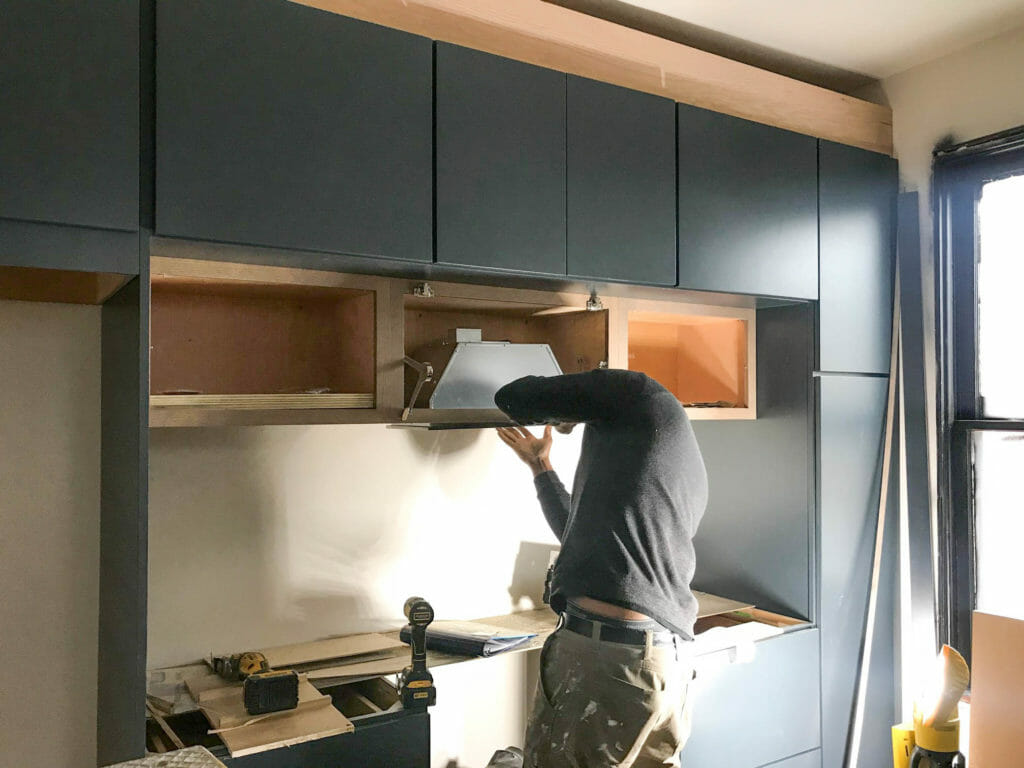
The team at Lowe’s installed our cabinets in this kitchen, which was a nice change of pace for Bryan who usually does it himself. (Sidenote: did you know that Lowe’s has install services and can actually do entire remodels & handle permits? We didn’t before this project!) All of the frames were set & secured before we started our range hood insert install, but the crew left the doors off on the lower tier cabinets for easy access.
3. measure the insert opening
We referred to the instruction manual on how large to make the opening in the cabinet.

We placed the insert where we wanted it to go (centered in the cabinet) and traced a line around it with a pencil.
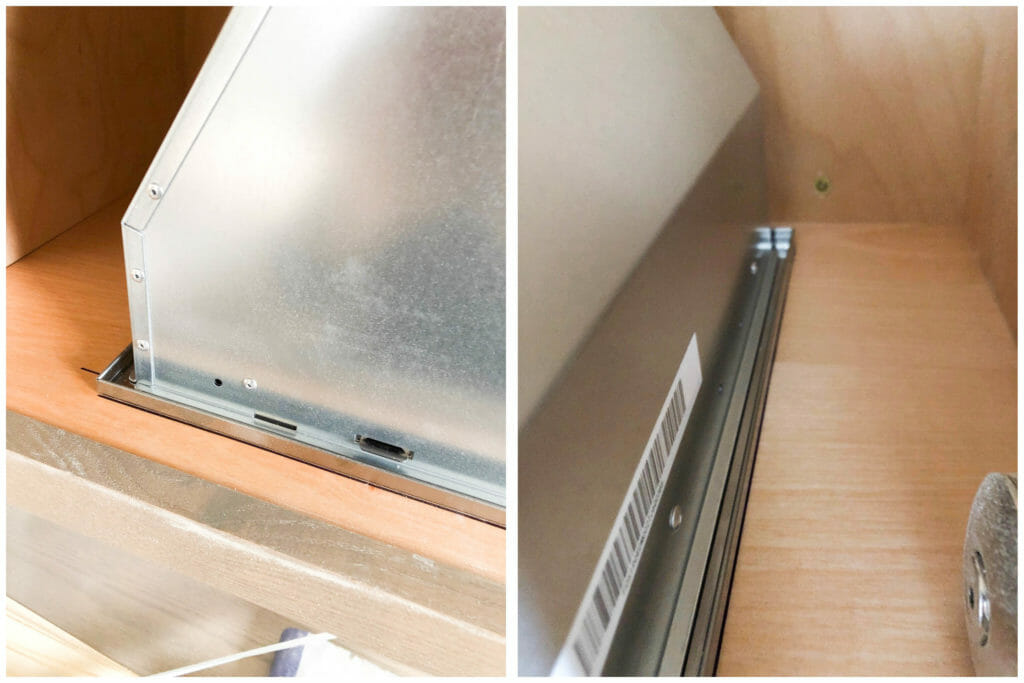
Once we had our lines drawn, we could begin cutting the opening.
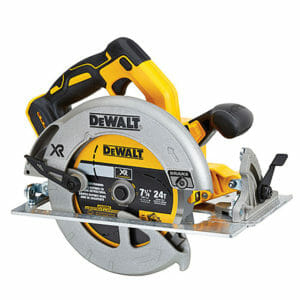
5. cut
A few different types of tools could be used to cut the opening. Bryan used a circular saw for the straight lines and an oscillating multi-tool for the corners. You could also use a jigsaw. We linked Bryan’s Dewalt favorites below (he loves the cordless ones!)
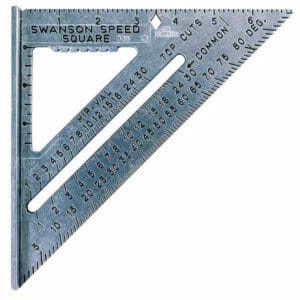
Before cutting, he used a speed square to make sure that the hood was square with the edge of the cabinet.


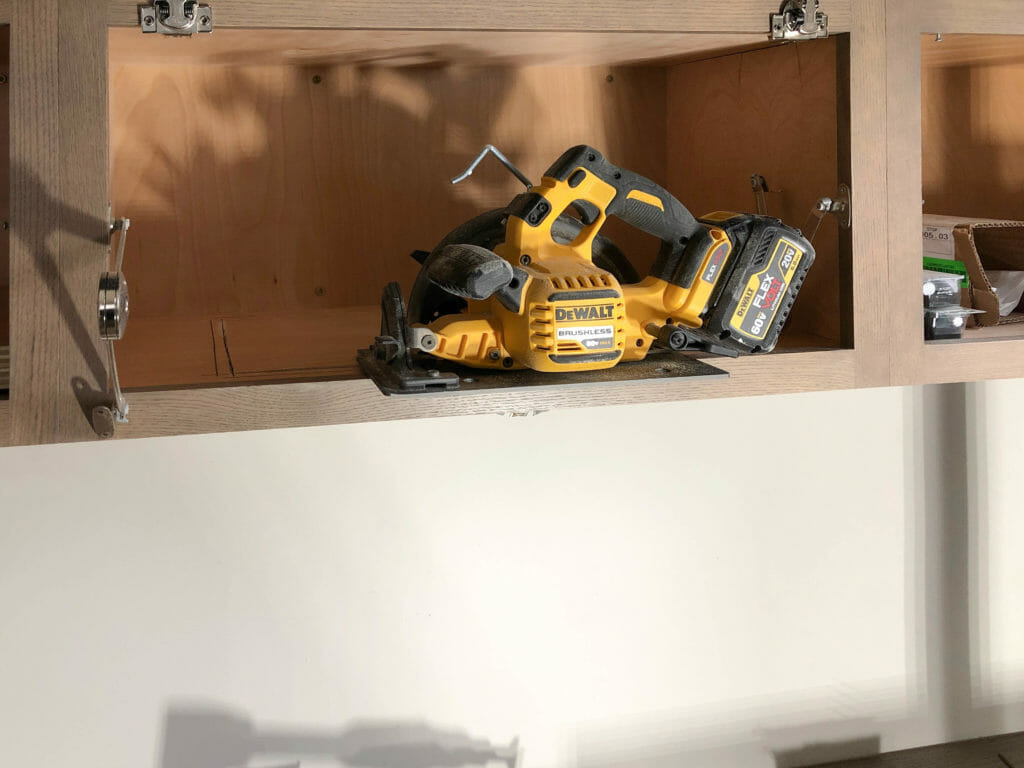
6. SECURE
Once the opening was cut out, we secured the range hood with the screws provided.
7. Vent
This insert is a vented insert, so we will be venting it up above the cabinets and over to the outside wall on the right. Here’s a drawing of how it’ll work.
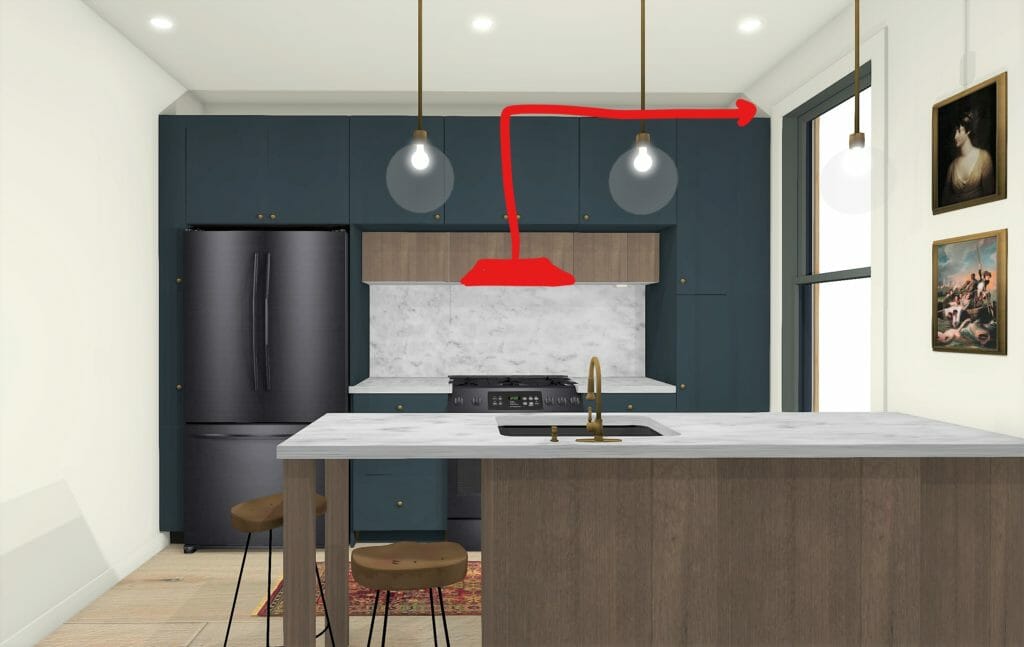
We know this will use up some of the blue cabinet space above the insert, but because the blue upper cabinets are all 24″ deep, we’ll still have plenty of usable storage space in front of the duct. Once we have it vented, we will add some trim to conceal the duct work above the cabinets and you’ll never know it’s there.
Have you ever installed a concealed range hood before? Do you like the look? Share in the comments below!


So is there a way to get blog posts delivered to in box. Obvious note. I’m over 65. So. Technical details often escape me. Thx.
Hi Chris! We just added an email subscription pop-up to the site. If you head to beginninginthemiddle.com and wait about 5 seconds, you’ll see the pop-up and can enter your email there to get posts directly to your email. Thanks for following along!
This couldn’t have come at a better time! I’m installing a hidden hood in my new kitchen and was worried about how hard it would be. Thank you for the simple, informative DIY. Your project looks great! Can’t wait to see it all finished.
I am very interested in hearing how well your vent operates with the 90• turn. It would be our best option too and much more affordable than going through the 2nd floor!
Hidden Range Hood in Your Kitchen so beautiful. I am hoping to update my range hood this year and they way you did your’s gave me some great ideas on how I could do mine. Thanks so much for sharing your insights.
Exactly which cabinet did you use to house the insert? We need to install an insert the same size and even on the Lowe’s website I can’t find that style cabinet where the door opens up off the front.
The cabinet isn’t available off the shelf – you’d need to ask one of the kitchen designers! The brand is Diamond, and it’s hinged from the top.
This is beautiful! Can you please tell me how high off the counter top the range hood is? Is it more than the standard 18”?
Thank you! It’s about 20″.
I was so excited to see your post. I have been wanting to do something very similar, but couldn’t find many examples of hidden hoods. Do you find that it works well to ventelate the kitchen even though it doesn’t come out as far over the range?
So glad to hear it! Yes, it works great. It’s installed at the recommended height above the stove, which is 24-30″.
So there is no need for a liner if you flush mount it under a cabinet? It says the cabinet preparation liner is optional, but I’m confused on what it would be used for.
Which product are you using? Ours is installed inside the cabinet with an insert. Others can be installed under cabinets. All need proper ductwork to vent (unless they’re vent-free).
Excellent job! Such a useful post this is for the DIYers!
[…] How to Install a Hidden Range Hood […]
[…] … make it cohesive. For example, if you pick a matte black range with a stainless steel handle and knobs, it would be appropriate to install a stainless steel range hood instead of finding the perfect matte black match. Going this route could save hundreds, if not thousands of dollars! Because a range and range hood are so close, we’d suggest finding a model that doesn’t have a brand name on it or opting for a hood insert that can be hidden behind a cabinet or custom hood (more on exactly how to do that here). […]